Proximity sensors, particularly those designed for human detection, are integral components in modern industrial automation, safety systems, and smart building management. As an electrical engineer, understanding the proper procedures for deactivating these sensors is crucial for maintenance, system reconfiguration, or troubleshooting. This guide provides a professional, step-by-step methodology, emphasizing safety and adherence to industry standards.
Firstly, it is imperative to understand the type of proximity sensor in question. Common variants include capacitive, inductive, ultrasonic, and infrared (IR) sensors. Human proximity detection typically employs capacitive or passive infrared (PIR) sensors. The deactivation process varies significantly based on the technology and its integration into a larger control system.
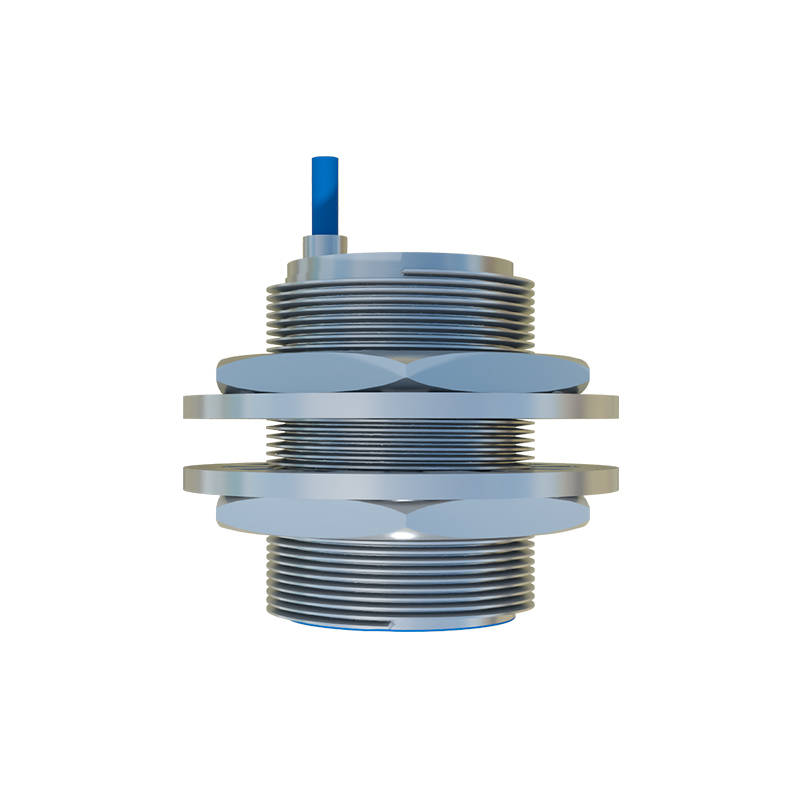
Fundamental Pre-Deactivation Protocol:
1. System Analysis & Documentation: Before any physical interaction, consult the system's electrical schematics, ladder diagrams, and the sensor's datasheet. Identify the sensor's model, power requirements, output type (e.g., NPN/PNP, NO/NC), and its role within the control logic. Document the current state.
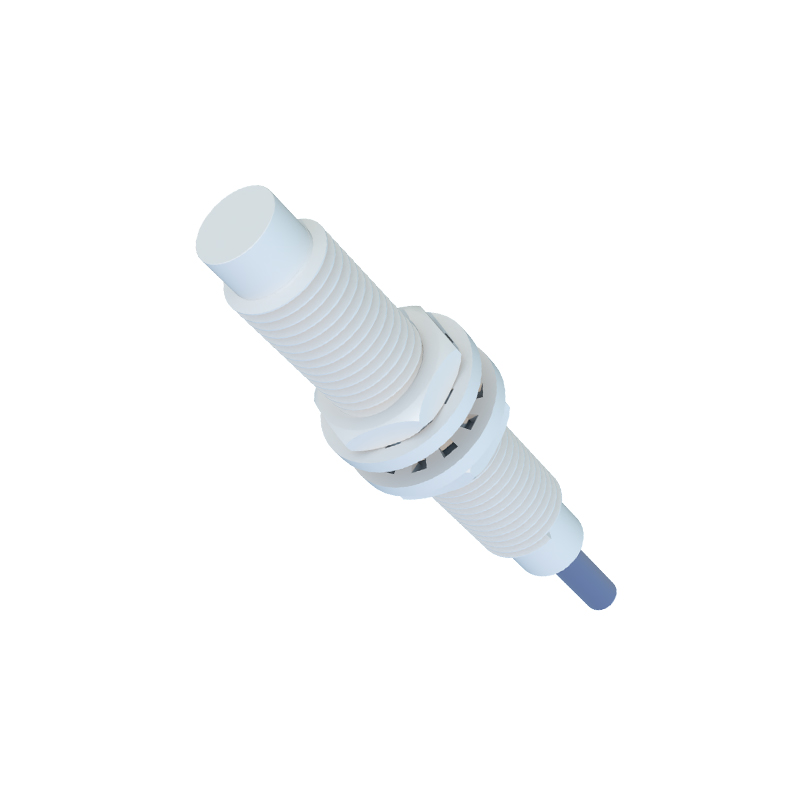
2. Lockout-Tagout (LOTO): This is non-negotiable. Follow established LOTO procedures to isolate all energy sources powering the sensor and the associated machinery. This includes disconnecting the main power supply, pneumatic, or hydraulic sources. Verify a zero-energy state using appropriate testing equipment.
3. Notify Stakeholders: Inform system operators, maintenance teams, and relevant personnel that the sensor circuit will be taken offline.
Primary Deactivation Methods:
Method 1: Physical Disconnection at the Sensor.
This is the most definitive method for complete isolation.
Locate the sensor's connection point, typically a pre-wired quick-disconnect (e.g., M8/M12 connector) or terminal block.
For terminal blocks, carefully note the wiring scheme (e.g., +V, 0V, Signal) before disconnecting wires. Use photographs or detailed sketches.
Disconnect the plug or loosen the terminal screws to remove the wires. Insulate any exposed wire ends immediately with appropriate caps or tape.
This method physically removes the sensor from the circuit, ensuring no signal output.
Method 2: Deactivation via Control Logic (PLC/Controller).
Often, temporary or logical deactivation is preferred without physical disassembly.
Access the Programmable Logic Controller (PLC) or system controller programming software.
Locate the input register or tag associated with the proximity sensor (e.g., I:0.0/3).
To deactivate, you can either:
Force the Input: Use the programming software to "force" the specific input to the OFF (or inactive) state. This overrides the physical signal. Caution: Forcing inputs is a powerful tool; clearly document and remove forces after maintenance. Never force outputs in this context.
Bypass in Logic: Modify the control program by creating a bypass rung or condition that ignores the sensor's input. This often involves paralleling the sensor's contact with a manual override bit or unconditionally setting the logic path to true. Always retain a backup of the original program.
Method 3: Deactivation via Circuit Configuration.
For sensors integrated into relay or hard-wired logic.
Identify the sensor's output relay or solid-state switch within the control panel.
To deactivate, you may need to:
Remove the Output Load: Disconnect the wire from the sensor's output terminal that leads to the subsequent control element (e.g., a PLC input module, a relay coil).
Utilize a Bypass Switch: If designed into the system, engage a maintained bypass selector switch that provides a direct path for the control signal, circumventing the sensor.
Method 4: Adjustment of Sensing Parameters.
Some advanced sensors allow de facto deactivation through parameterization.
Using the sensor's teach-in button, dip switches, or configuration software (e.g., via IO-Link), adjust the sensing range to its minimum possible value or set a masking function to ignore the detection zone entirely. This effectively renders the sensor inactive while it remains powered and connected.
Post-Deactivation Verification & Reactivation:
1. After performing the chosen deactivation method, carefully restore power (following LOTO reversal procedures) only if necessary for testing.
2. Use a multimeter or oscilloscope to verify the sensor's output signal state. A deactivated sensor should not provide an active signal upon target (human) presence.
3. Test the larger system function to confirm the sensor's influence has been nullified.
4. For reactivation, reverse the process precisely. Reconnect wires,