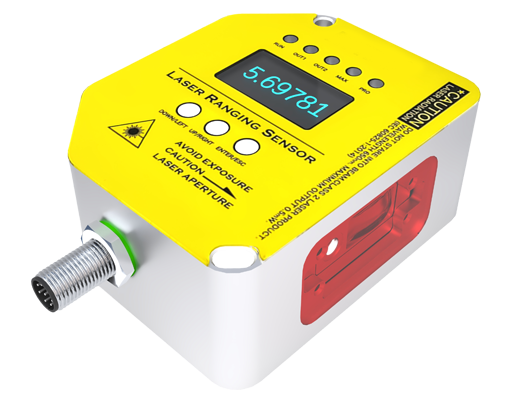
Laser distance sensors have become indispensable tools in modern industrial automation, robotics, and DIY electronics projects due to their high accuracy, fast response times, and non-contact measurement capabilities. When combined with the versatile Arduino microcontroller platform, these sensors enable hobbyists, engineers, and researchers to implement precise distance sensing solutions efficiently. This article provides a comprehensive guide on interfacing a typical laser distance sensor, such as the popular VL53L0X or similar Time-of-Flight (ToF) modules, with an Arduino board.
First, understanding the working principle is crucial. Most affordable laser distance sensors for Arduino utilize the Time-of-Flight method. They emit a pulsed laser beam towards a target object and measure the time it takes for the light to reflect back to the sensor. Since the speed of light is constant, the sensor calculates the distance based on the elapsed time. This method offers good accuracy over short to medium ranges, typically from a few centimeters up to several meters, depending on the specific module.
To begin the hardware setup, you will need an Arduino board (Uno, Nano, or Mega are commonly used), a laser distance sensor module (e.g., VL53L0X), and connecting wires (jumper wires). Many laser sensor modules communicate via I2C (Inter-Integrated Circuit) protocol, which requires only four connections: VCC (power), GND (ground), SDA (data line), and SCL (clock line). Connect the VCC pin of the sensor to the 5V or 3.3V pin on the Arduino (check your sensor's datasheet for voltage requirements), GND to GND, SDA to the Arduino's A4 pin (or the dedicated SDA pin on boards like the Uno), and SCL to A5 (or the SCL pin). Ensure connections are secure to avoid communication errors.
On the software side, the Arduino IDE simplifies programming. Start by installing any necessary libraries. For the VL53L0X, you can use the "Adafruit_VL53L0X" library, which is available through the Library Manager in the IDE. Open the IDE, navigate to Sketch > Include Library > Manage Libraries, search for "VL53L0X," and install it. Once installed, you can write a basic sketch to read distance values. A simple code structure includes initializing the I2C communication, setting up the sensor object, and continuously reading measurements in the loop function. For instance, the code might call a function likesensor.rangingTest(&measure) to get a distance reading in millimeters, which can then be printed to the Serial Monitor for debugging or used in control logic.
Calibration and error handling are important for reliable operation. Environmental factors such as ambient light, surface reflectivity, and object color can affect accuracy. Some sensors include calibration routines or settings to compensate for these variables. In your Arduino code, you can implement averaging multiple readings to reduce noise or set thresholds to filter out erroneous values. Additionally, consider the sensor's minimum and maximum range limits; placing an object too close or too far may result in out-of-range errors.
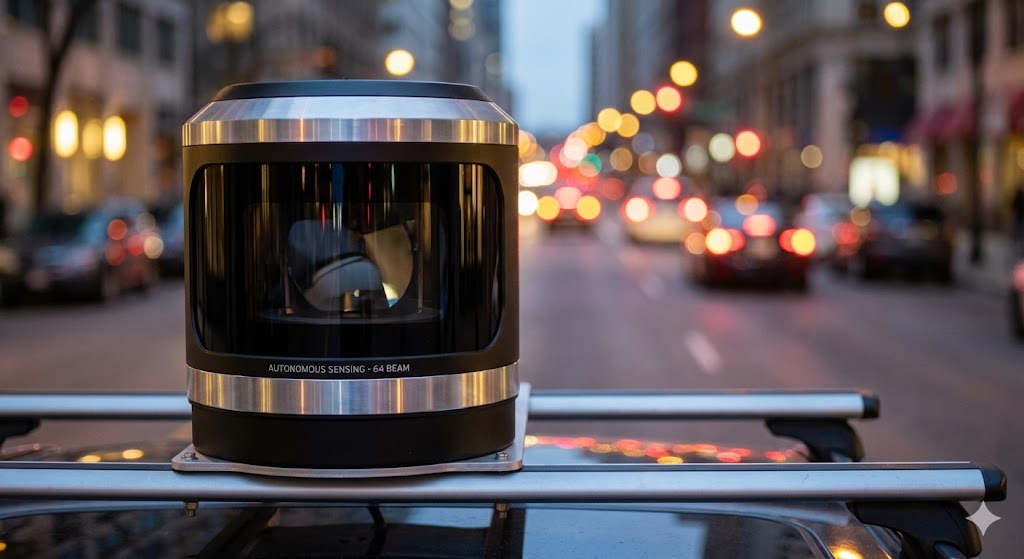
Practical applications are vast. In robotics, laser sensors assist in obstacle avoidance and navigation. In industrial settings, they can monitor object positioning on conveyor belts or measure fill levels in containers. For DIY projects, they are used in smart tape measures, gesture control interfaces, or automated focusing systems. The Arduino's flexibility allows integration with other components like servos, displays, or wireless modules to create complex systems. For example, you could build a scanning lidar system by mounting the sensor on a rotating servo to capture 2D distance maps.
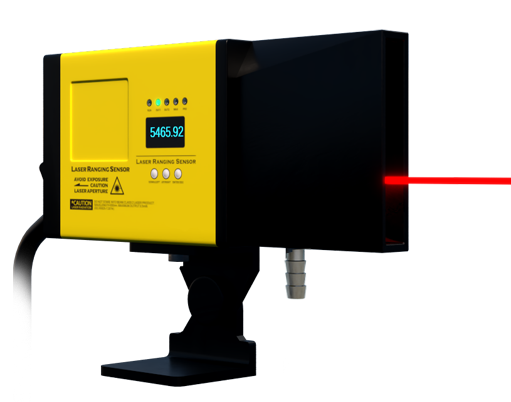
When selecting a laser distance sensor for Arduino, consider parameters like range, accuracy, update rate, power consumption, and interface compatibility. Modules like the VL53L0X offer a balance of performance and ease of use, with a range up to 2 meters and millimeter-level accuracy. For longer ranges, sensors with higher-power lasers might be needed, but they often require more complex interfacing. Always refer to the manufacturer's datasheet for detailed specifications and wiring diagrams.
In conclusion, integrating a laser distance sensor with Arduino opens up numerous possibilities for precise measurement projects. By following the steps outlined—connecting hardware, installing libraries, writing code, and considering calibration—you can quickly deploy a functional distance sensing system. As technology advances, these sensors continue to become more accessible, empowering innovators to develop smarter, more responsive electronic solutions across various fields.