Laser sensors are critical components in modern industrial automation, robotics, and measurement systems. As an electrical engineer, encountering malfunctioning laser sensors is inevitable. Understanding how to diagnose and repair these devices can save significant time and costs. This guide provides a step-by-step approach to repairing laser sensors, emphasizing safety, troubleshooting, and practical techniques.
First and foremost, safety is paramount when working with laser sensors. Always disconnect power sources before inspection. Wear appropriate laser safety goggles to protect your eyes from accidental exposure, even if the sensor is believed to be inactive. Ensure the work area is clean, dry, and free from electrostatic discharge risks, as laser sensors often contain sensitive optical and electronic parts.
Begin with a thorough visual inspection. Check for obvious physical damage such as cracks in the housing, misaligned lenses, or loose connectors. Dust, oil, or debris on the lens surface is a common cause of performance degradation. Use a soft, lint-free cloth and approved optical cleaning solution to gently clean the lens. Avoid abrasive materials that could scratch the coating.

Next, proceed to electrical diagnostics. Using a multimeter, verify the power supply voltage matches the sensor’s specifications (commonly 12-24 V DC). Irregular voltages can indicate power supply issues or faulty wiring. Measure current draw; abnormal readings may point to internal short circuits or component failure. Inspect cables and connectors for wear, corrosion, or breaks—often the simplest fix is replacing a damaged cable.
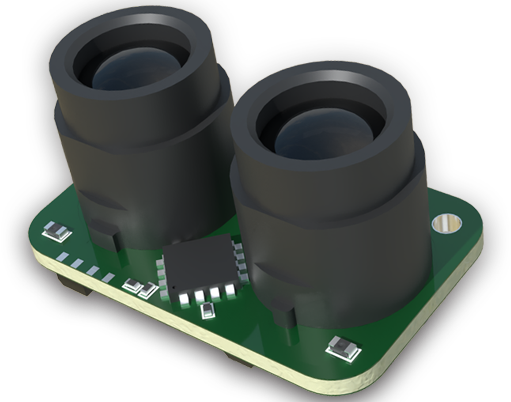
If power supply checks out, move to signal analysis. Many laser sensors have indicator LEDs for status (e.g., power, output signal). Refer to the manufacturer’s manual to interpret these indicators. Use an oscilloscope to examine the output signal waveform. A distorted or absent signal might suggest problems with the laser diode, receiver circuit, or processing unit. For analog sensors, ensure the output range aligns with expected values; for digital sensors, check switching consistency.
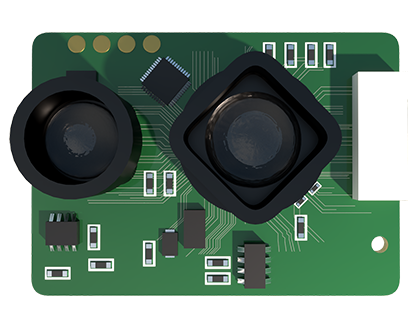
Laser diode failure is a frequent issue. Diode degradation can result from overheating, excessive current, or aging. To test, carefully measure the diode’s forward voltage drop with a multimeter in diode mode. A significant deviation from typical values (often 1.5-2.5V for infrared diodes) indicates failure. Replacing a laser diode requires precision: desolder the old diode, install a compatible replacement (mind polarity and thermal management), and recalibrate. Always handle electrostatic-sensitive components with anti-static precautions.
Optical alignment is another critical aspect. Misalignment between the laser emitter and receiver leads to inaccurate readings. For through-beam sensors, ensure emitter and receiver are precisely opposite each other. For reflective sensors, check the alignment angle and distance. Use alignment tools if provided, and adjust gradually while monitoring the output. In complex systems, software calibration via manufacturer interfaces may be necessary.
Internal circuitry repairs demand advanced skills. Common faults include blown capacitors, damaged integrated circuits, or faulty transistors. Visually inspect the printed circuit board (PCB) for burnt marks, swollen capacitors, or cold solder joints. Use a soldering iron with temperature control to replace defective surface-mount or through-hole components. After repairs, conduct functional tests under controlled conditions to verify performance.
Firmware or software issues can also affect sensor operation. If the sensor has programmable features, try resetting to factory defaults or updating firmware via the manufacturer’s software tools. Corrupted memory or configuration errors might mimic hardware failures.
When repairs exceed practical limits—such as damaged proprietary ASICs or irreparable optical assemblies—consider replacement. Weigh the cost of repair versus a new unit, factoring in downtime. For high-value sensors, professional repair services may be economical.
Preventive maintenance extends sensor life. Regularly clean lenses, ensure stable power supplies, avoid mechanical shocks, and operate within specified temperature and humidity ranges. Document all repairs and calibrations for future reference.
In summary, repairing laser sensors combines methodical troubleshooting, technical skill, and adherence to safety protocols. By mastering these steps, electrical engineers can effectively restore sensor functionality, ensuring reliability in automated systems.