Proximity sensors are critical components in industrial automation, machinery, and electronic systems, detecting the presence or absence of objects without physical contact. When a proximity sensor fails, it can lead to production downtime, safety hazards, or system malfunctions. Understanding how to diagnose and address damage is essential for maintaining operational efficiency. This guide outlines practical steps for troubleshooting and repairing damaged proximity sensors, tailored for electrical engineers and maintenance professionals.
First, identify common symptoms of a faulty proximity sensor. These may include inconsistent detection, no output signal, erratic behavior, or complete failure to respond. Before assuming the sensor is damaged, rule out external factors such as power supply issues, wiring faults, or environmental interferences like dust, moisture, or electromagnetic noise. Use a multimeter to check voltage levels at the sensor's terminals, ensuring it receives the correct input (e.g., 12-24V DC for many industrial models). Verify that the load (e.g., PLC, relay) is functioning properly, as a faulty load can mimic sensor failure.
Next, inspect the sensor physically for visible damage. Look for cracks in the housing, corrosion on connectors, or signs of overheating. Proximity sensors in harsh environments—like those exposed to chemicals, extreme temperatures, or mechanical stress—are prone to degradation. If the housing is compromised, moisture or contaminants may have entered, affecting internal circuitry. Clean the sensor face with a soft cloth and isopropyl alcohol to remove debris that could obstruct detection, but avoid abrasive materials that might scratch sensitive surfaces.
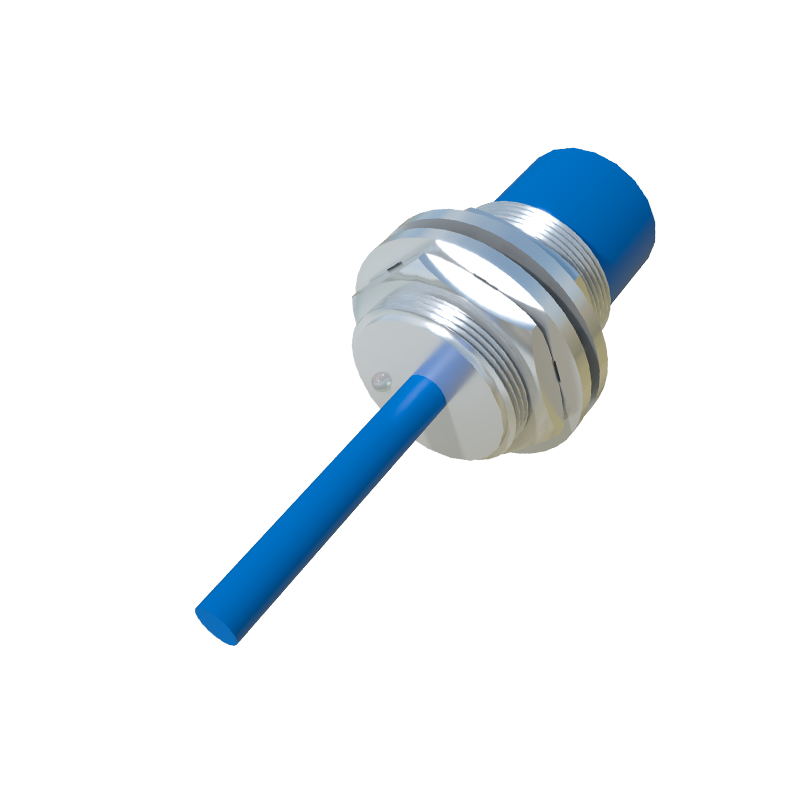
For electrical testing, disconnect the sensor from the system. Measure its output using an oscilloscope or multimeter. Inductive and capacitive proximity sensors typically produce a digital signal (e.g., PNP or NPN output). Apply a metal target (for inductive sensors) or a dielectric material (for capacitive sensors) within the sensing range, and observe if the output switches states. If there's no change, the sensor's internal components—such as the oscillator, amplifier, or output transistor—may be damaged. Compare readings with the manufacturer's datasheet specifications, including sensing distance, response time, and current ratings.
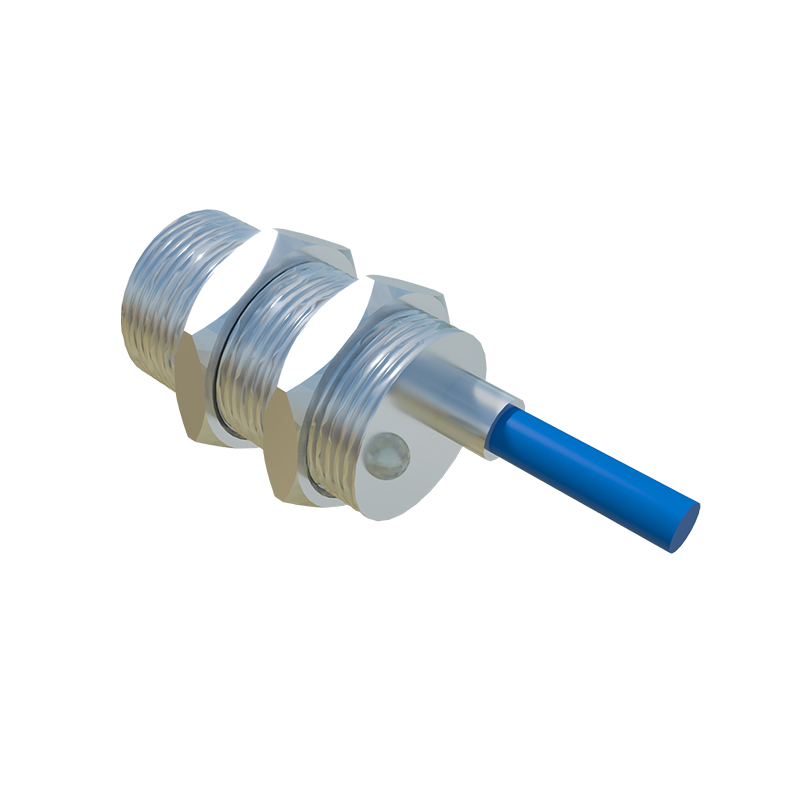
If the sensor is damaged, consider repair or replacement. Some modular sensors allow component-level repairs, like replacing a broken cable or connector. However, most integrated sensors are sealed units; attempting to open them can void warranties and risk further damage. In such cases, replacement is often more cost-effective. When selecting a new sensor, match technical parameters: sensing type (inductive, capacitive, ultrasonic), output configuration, voltage range, and environmental ratings (IP67 for waterproofing, etc.). Ensure proper installation by following guidelines—mounting securely, aligning correctly, and maintaining recommended clearance from other objects to prevent false triggers.
Preventive maintenance can extend sensor lifespan. Regularly check wiring integrity, use shielded cables in high-noise areas, and install protective housings in abrasive settings. Implement routine calibration, especially for analog sensors, to ensure accuracy. Document failures and solutions to build a knowledge base for future troubleshooting.

In summary, addressing a damaged proximity sensor involves systematic diagnosis—from checking external factors to electrical testing—and deciding on repair or replacement based on feasibility. By adopting proactive maintenance practices, engineers can minimize downtime and enhance system reliability in industrial applications.