In industrial automation and precision measurement, laser sensors are indispensable components, valued for their accuracy, speed, and reliability. One common configuration used in various applications is the normally open (NO) setup. This article provides a comprehensive guide for engineers and technicians on implementing a normally open configuration for laser sensors, covering principles, steps, and best practices.
Understanding Normally Open Configuration
A normally open configuration refers to a state where the sensor's output circuit is open (i.e., non-conducting) when no target is detected. When the laser beam is interrupted by an object within its sensing range, the circuit closes, triggering an output signal. This setup is widely used in safety systems, object detection, and counting applications, as it ensures that a failure (like power loss) results in an open circuit, often interpreted as a safe state.
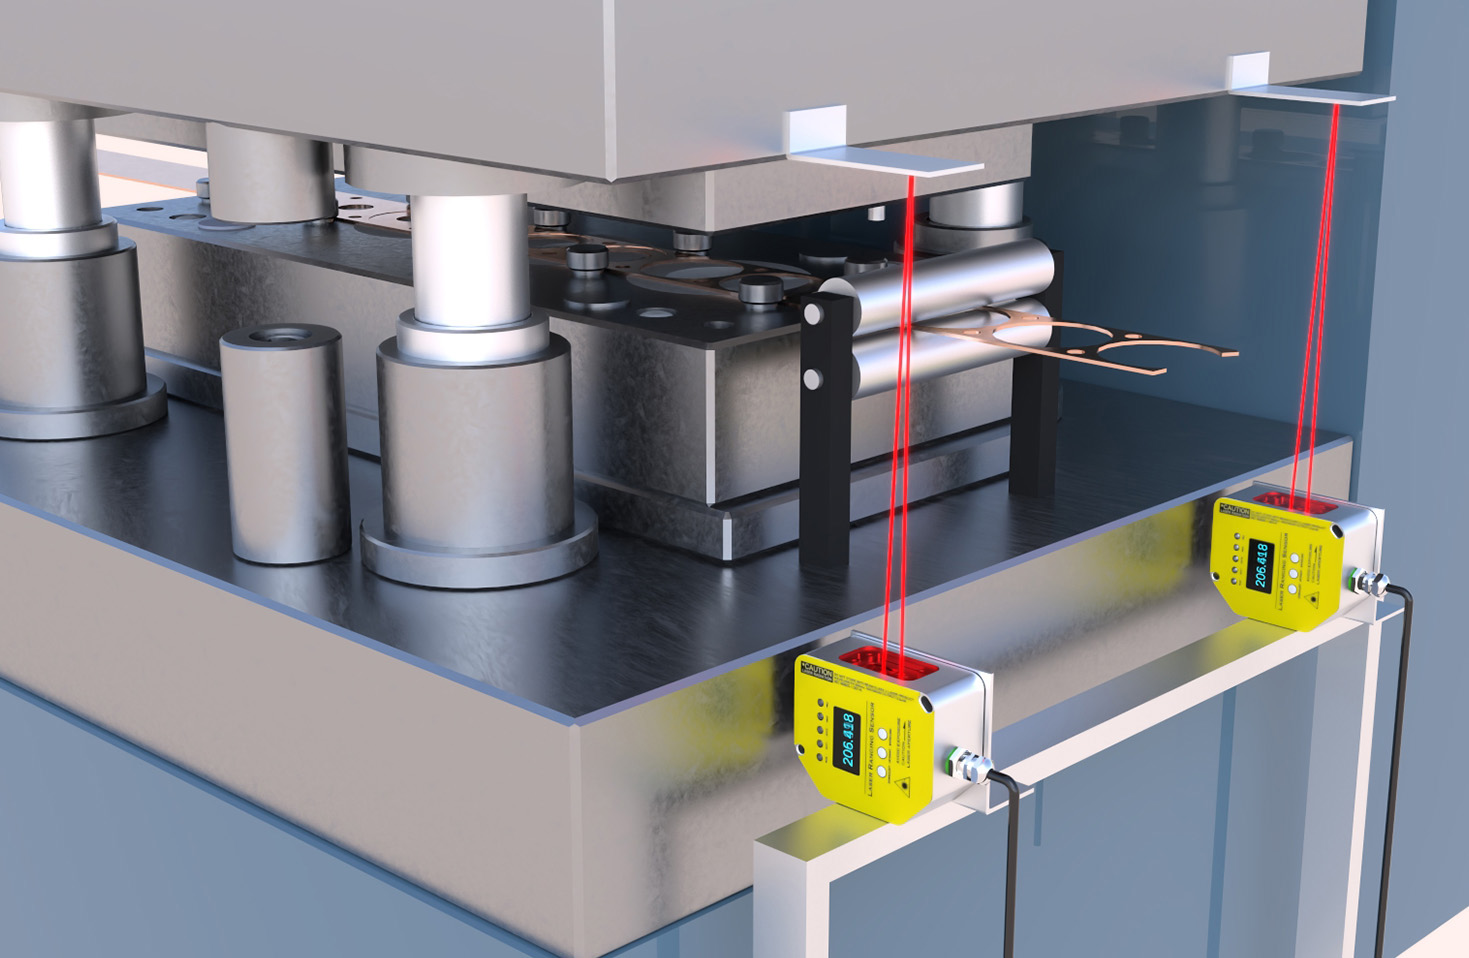
Key Components and Working Principle
Laser sensors operate by emitting a focused beam of light toward a target. The sensor's receiver detects the reflected or transmitted light, and based on the intensity or time-of-flight, it determines the presence or absence of an object. In a normally open configuration, the output relay or transistor remains off until an object is detected. This contrasts with normally closed (NC) setups, where the output is active by default and turns off upon detection.
Selecting the Right Laser Sensor

Before configuration, choose a sensor suitable for your application. Consider factors like sensing range, response time, environmental conditions (e.g., dust, temperature), and output type (e.g., PNP, NPN, relay). Most modern laser sensors offer programmable outputs, allowing easy switching between NO and NC modes via software or hardware settings.
Step-by-Step Setup Guide

1. Power and Safety: Ensure the sensor is disconnected from power. Verify the voltage requirements (typically 12-24V DC) to prevent damage.
2. Mounting: Position the sensor stably, aligning the laser beam with the target path. Avoid vibrations or obstructions that could cause false triggers.
3. Wiring: Connect the power supply to the sensor's V+ and V- terminals. For the output, in a NO setup, wire the load (e.g., PLC input, relay) between the output terminal and the positive supply. Refer to the datasheet for specific pinouts.
4. Configuration: Use the sensor's interface (buttons, dip switches, or software) to set the output to normally open mode. Adjust sensitivity and response delay as needed to minimize noise.
5. Testing: Power on the sensor and test with a target object. Confirm that the output activates only when the beam is interrupted, and returns to open when clear.
Best Practices and Troubleshooting
- Calibration: Regularly calibrate the sensor to maintain accuracy, especially in environments with temperature fluctuations.
- Alignment: Ensure precise beam alignment to avoid partial detection issues. Use alignment tools if provided.
- Environmental Protection: Shield the sensor from harsh conditions using enclosures or selecting IP-rated models.
- Common Issues: If the sensor fails to trigger, check wiring, power supply, and sensitivity settings. For false triggers, inspect for ambient light interference or reflective surfaces.
Applications of Normally Open Laser Sensors
This configuration is ideal for applications requiring fail-safe operation. Examples include:
- Safety curtains in machinery, where beam interruption stops equipment.
- Object detection on conveyor belts for counting or sorting.
- Level monitoring in tanks, triggering alarms when material is absent.
Conclusion
Setting up a laser sensor in a normally open configuration is straightforward with proper knowledge and tools. By following this guide, engineers can ensure reliable and safe operation in diverse industrial settings. Always refer to manufacturer guidelines for model-specific details, and prioritize regular maintenance to sustain performance.