In industrial automation, precision measurement, and various scientific applications, laser sensors play a critical role in ensuring accuracy, reliability, and efficiency. However, like any optical instrument, they are susceptible to performance degradation due to contamination from dust, oil, smoke, or other particulates. Accumulated debris on the sensor's lens or housing can scatter or absorb the laser beam, leading to erroneous readings, signal loss, or complete failure. Regular and proper cleaning is therefore not merely a maintenance task but a vital procedure to uphold system integrity. This guide provides a detailed, industry-standard protocol for safely and effectively cleaning laser sensors.
Before initiating any cleaning procedure, the foremost step is safety and preparation. Always consult the sensor's specific manufacturer manual for any unique warnings or recommended cleaning agents, as materials can vary. The primary safety rule is to ensure the system is completely powered down and disconnected from its energy source. This prevents accidental activation of the laser, which could pose an eye hazard, and eliminates any electrical risks. Allow the sensor to cool to ambient temperature if it has been operating in a high-temperature environment. Gather the necessary cleaning materials in a clean, lint-free workspace. Essential supplies typically include: compressed air (canned or from a regulated, oil-free source), high-purity isopropyl alcohol (IPA, 99% or higher concentration), optical-grade lens cleaning wipes or swabs (made from materials like microfiber or cellulose), and disposable, powder-free nitrile gloves to prevent fingerprint oils from transferring to optical surfaces. Avoid using standard paper towels, facial tissues, or cloth rags, as they can scratch delicate coatings and leave fibers.
The cleaning process should be methodical. Begin with dry cleaning to remove loose particulate matter. Hold the can of compressed air upright and use short, controlled bursts to blow dust and debris away from the lens and housing vents. Do not shake the can, as this can release propellant liquid. Maintain a distance of several inches to prevent the force of the air from causing physical stress. Never use your breath to blow on the lens, as this introduces moisture and microscopic contaminants.
For more tenacious contamination like grease or oil stains, a wet cleaning method is required. Don clean gloves. Moisten a fresh optical wipe or swab with a small amount of isopropyl alcohol. It should be damp, not dripping wet. Excess liquid can seep into housing seams and cause internal damage. Gently wipe the lens surface in a straight line or a circular motion from the center outward, applying minimal pressure. Use a single pass per wipe area; do not rub back and forth. For recessed lenses, use a foam-tipped swab for better control. Immediately after wiping with alcohol, use a second dry, clean optical wipe or swab to gently remove any remaining moisture and streaks. This two-step process ensures no residue is left behind.
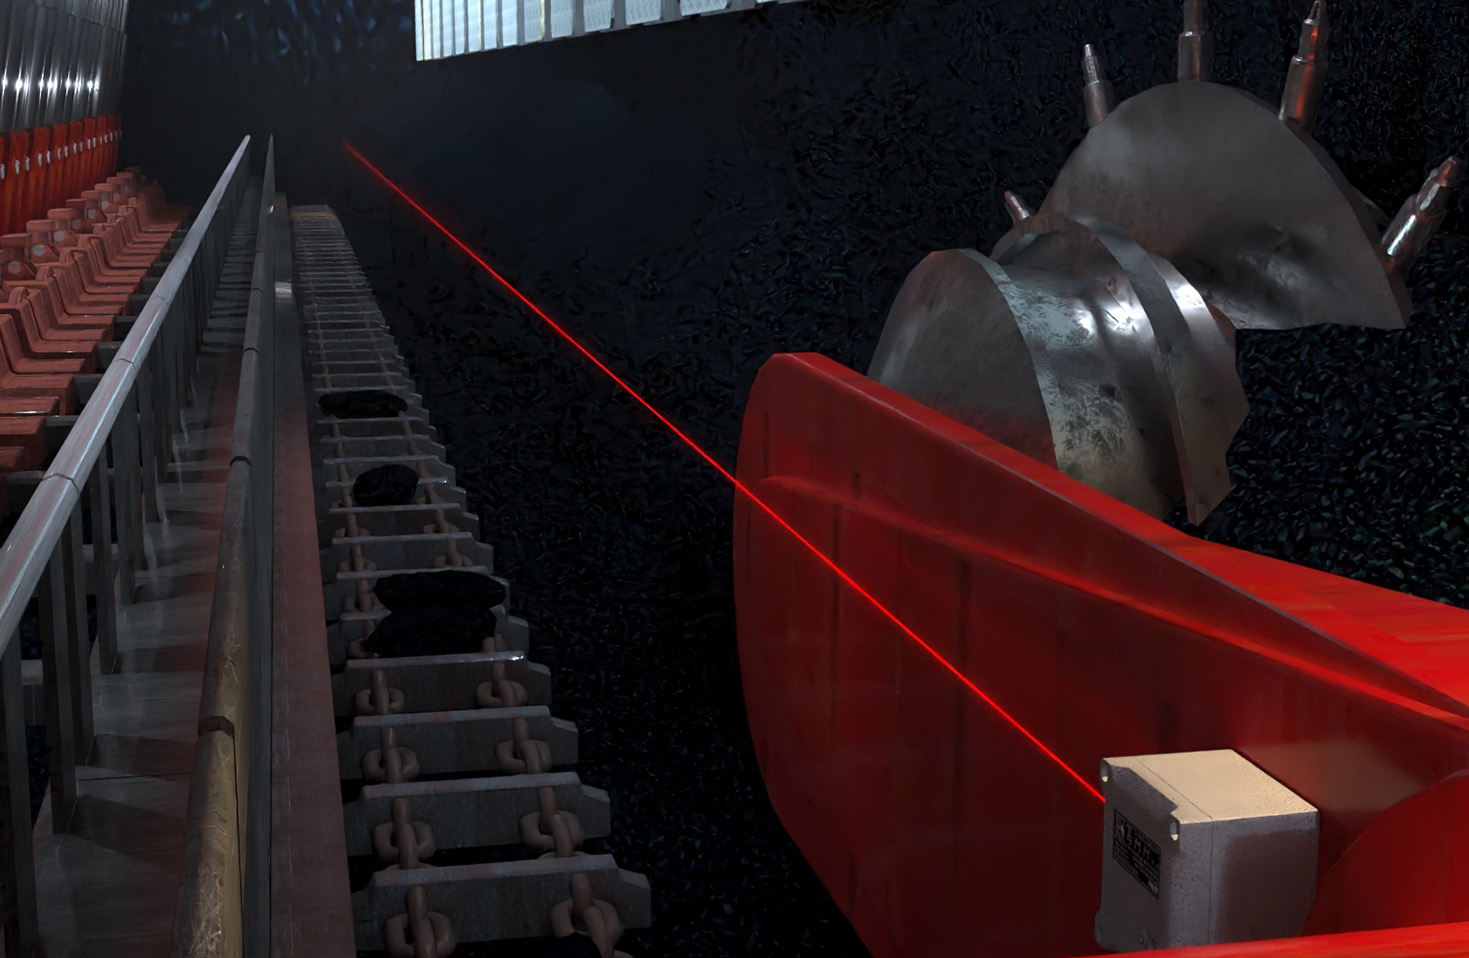
Pay attention to the sensor's housing and mounting bracket as well. Wipe these surfaces with a cloth slightly dampened with IPA or a mild detergent solution to remove grime that could eventually migrate to the optical path. Ensure no moisture enters any ventilation holes or cable ports. After cleaning, inspect the lens carefully under good lighting. Look for any remaining smudges, streaks, or particles. If necessary, repeat the wet cleaning step with fresh materials.
Finally, allow the sensor to air-dry completely for a few minutes before reconnecting power. This ensures all volatile cleaning agents have evaporated. Once reinstalled and powered, perform a functional test. Verify the sensor's output signal against a known reference or target to confirm it is operating within its specified parameters. Document the cleaning activity in your maintenance log, noting the date and any observations.
Establishing a preventive maintenance schedule is key. The frequency of cleaning depends entirely on the operating environment. A sensor in a clean, controlled lab may only need inspection every six months, while one in a machining or welding cell might require weekly attention. Regular inspection, even without full cleaning, can identify buildup before it affects performance. By adhering to these meticulous steps, you significantly extend the operational lifespan of your laser sensors, maintain measurement accuracy, and reduce costly downtime due to sensor-related faults. Remember, when in doubt, or if contamination is severe or internal, contact the sensor manufacturer or a qualified technician for service.