In the realm of precision measurement and industrial automation, the laser displacement sensor stands as a cornerstone technology. Its ability to deliver non-contact, high-accuracy distance and position data is indispensable. However, the journey to reliable data begins long before the first measurement is taken; it starts with a proper and informed power-up sequence. Incorrect startup procedures can lead to inaccurate readings, reduced sensor lifespan, or even immediate failure. This guide provides a comprehensive, step-by-step approach to powering up your laser displacement sensor, ensuring optimal performance from the very first cycle.
Before applying any power, a thorough pre-power inspection is paramount. Begin with the physical and environmental setup. Verify that the sensor is securely mounted according to the manufacturer's specifications, ensuring stability and minimizing vibration. Check the alignment of the sensor head relative to the target surface. The target material and surface finish should be compatible with the sensor's specifications; a highly reflective or transparent surface may require specific sensor models or settings. Inspect the lens for any dust, oil, or debris, cleaning it gently with appropriate materials if necessary, as contaminants can scatter the laser beam and cause significant error.
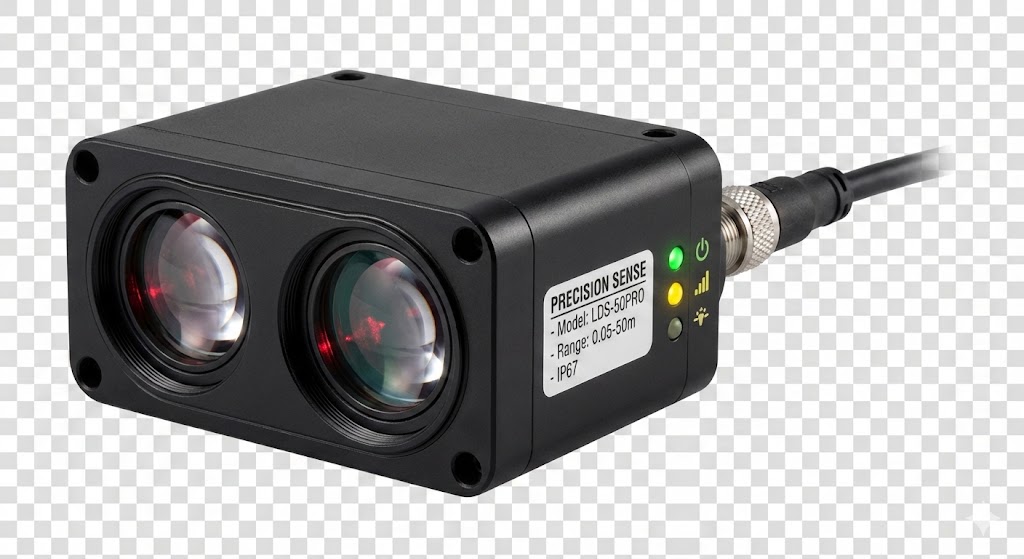
Next, examine all cable connections. Ensure the power cable, output cable (e.g., analog, digital, or fieldbus), and any optional I/O cables are firmly connected to both the sensor and the corresponding controller, PLC, or interface unit. Look for any signs of cable damage, such as cuts, kinks, or exposed wiring, which pose a safety hazard. Pay close attention to the electrical specifications. Confirm that your power supply voltage (commonly 12-24 VDC) matches the sensor's requirements and that the polarity is correct. A reverse polarity connection, even momentarily, can cause irreversible damage to the internal circuitry.
The core of the startup process is the application of power. Connect the sensor to the verified power supply. It is considered best practice to have the output load (e.g., your data acquisition system or controller) already connected and powered, or at least in a high-impedance state, before applying sensor power. This prevents voltage spikes on the output lines. Apply power steadily. Upon power application, observe the sensor's indicator LEDs. Most sensors feature a power/status LED that may blink in a specific pattern during initialization. Consult the user manual to interpret these patterns, as they are diagnostic tools indicating self-check routines, boot-up completion, or potential errors.
Following a successful power-on self-test (POST), the sensor enters a stabilization period. This is a critical yet often overlooked phase. The laser diode and internal electronic components, particularly the oscillator driving the laser, require time to reach thermal equilibrium. During this period, which can last from several minutes to over an hour depending on the model and environmental temperature drift, the output may exhibit minor drift. For the highest accuracy applications, it is recommended to allow the sensor to warm up for the duration specified in the datasheet before taking critical measurements or performing calibration.
Once stabilized, initial configuration and verification are necessary. If your sensor has programmable parameters (e.g., measurement mode, response time, output scaling), now is the time to set them via the teach-in button, built-in interface, or software. Use a known reference target—a calibration gauge block or a fixed, stable surface—to perform a quick functional test. Command the sensor to take a measurement of this reference and verify that the output value (voltage, current, or digital value) corresponds to the expected distance within a reasonable tolerance. This step confirms basic functionality and output scaling.
Finally, integrate the sensor into the system loop. With the sensor verified, monitor its output in the actual application context. Observe the behavior as the target moves through its intended range. Check for signal stability, noise, and any unexpected dropouts. Ensure that the selected response time is appropriate for the target's speed to avoid lag or aliasing. Document the startup parameters, environmental conditions, and initial performance metrics for future reference and troubleshooting.
Adhering to this disciplined startup procedure mitigates risk and lays the foundation for the long-term, reliable operation of your laser displacement sensor. It transforms the simple act of turning on a device into a deliberate engineering practice that safeguards your investment and ensures the integrity of your measurement data. Remember, in precision metrology, consistency begins at startup.