In the realm of automotive diagnostics and maintenance, the oxygen sensor (O2 sensor) is a critical component for engine management and emissions control. Over time, these sensors can become contaminated with carbon deposits, oil ash, and fuel additives, leading to inaccurate readings, reduced fuel efficiency, increased emissions, and potential engine performance issues. Traditional cleaning methods often fall short or risk damaging the sensitive sensing element. This is where advanced laser cleaning technology presents a revolutionary, non-contact, and highly effective solution. This guide details the professional process of cleaning an oxygen sensor using a laser system.
Understanding the Oxygen Sensor and Contamination
Before initiating any cleaning procedure, it's essential to understand the sensor's construction. A typical zirconia-based O2 sensor has a porous ceramic element coated with platinum electrodes, housed within a protective metal shell. Contaminants like carbon soot from rich fuel mixtures or silicone from sealants can coat this ceramic bulb, insulating it and slowing its response to oxygen level changes in the exhaust stream. Physical scrubbing or chemical baths can be too abrasive for the fragile ceramic and platinum layers, often causing irreversible damage. Laser cleaning offers a precise alternative that targets only the contaminant layer.
Principles of Laser Cleaning
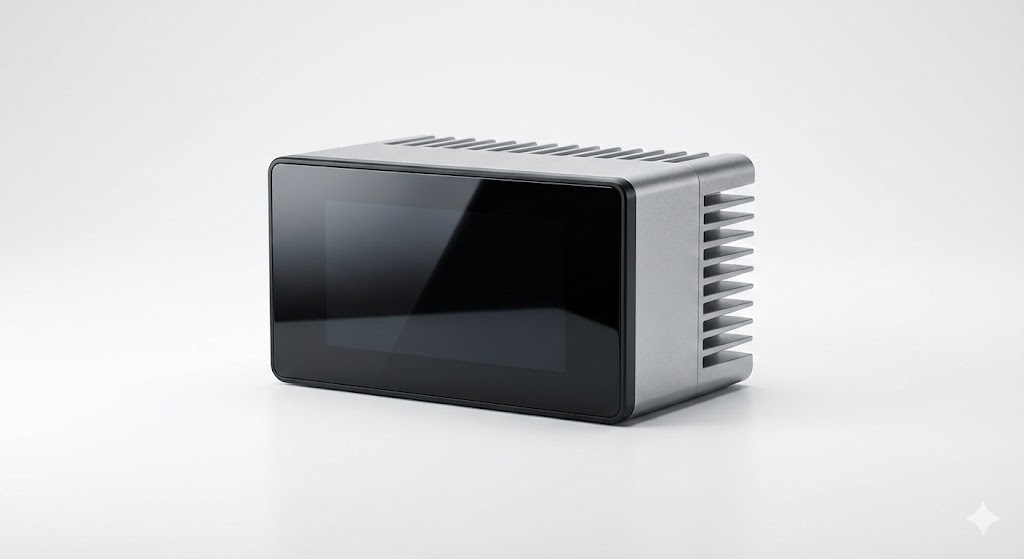
Laser cleaning works on the principle of selective photothermal ablation. A focused, pulsed laser beam is directed at the contaminated surface. The wavelength and pulse duration of the laser are carefully selected—often using fiber lasers in the 1-micron wavelength range—so that the energy is preferentially absorbed by the contaminant layer (e.g., carbon) but reflected or transmitted by the underlying ceramic substrate. The intense, rapid heating causes the contaminants to vaporize or be ejected from the surface through sublimation and plasma expansion, leaving the base material untouched and clean. This process is cold for the substrate, preventing thermal damage.
Step-by-Step Laser Cleaning Procedure
1. Sensor Removal and Initial Inspection: Safely remove the oxygen sensor from the exhaust manifold or pipe following standard vehicle service procedures. Allow it to cool completely. Conduct a thorough visual inspection. Check for physical damage such as cracks in the ceramic element, crushed housing, or broken wires. Laser cleaning cannot repair mechanical damage. Sensors with visibly damaged elements should be replaced.
2. Pre-Cleaning Preparation: Using a dry, clean cloth, wipe away any loose, heavy debris from the sensor's exterior shell and threads. It is crucial to remove the sensor from the vehicle; *never attempt to laser clean a sensor while it is installed*. Ensure the work area is well-ventilated, as the process will produce fine particulate matter. The operator must wear appropriate laser safety goggles rated for the specific laser wavelength.
3. Sensor Fixturing and Access: Secure the sensor in a vise or fixture by its hex flats, ensuring the sensitive tip with the ceramic element is fully exposed and accessible. The goal is to present a clear, unobstructed line of sight for the laser beam to the contaminated ceramic bulb inside the protective slotted shield.
4. Laser System Setup and Parameter Calibration: This is the most critical step. Connect and initialize the laser cleaning system. Key parameters must be calibrated:
* Power: Start with low power (e.g., 20-30% of maximum) to test the effect.
* Pulse Frequency: A medium frequency (20-50 kHz) is often effective for layer-by-layer removal.
* Scanning Speed/Spot Overlap: Use a handheld laser gun or a galvanometer scanner to ensure the beam scans evenly across the target area without dwelling in one spot.
* Spot Size: A defocused beam with a larger spot size (1-3mm) is generally safer for initial passes to avoid excessive energy density on one point.
* Always consult the laser equipment manufacturer's guidelines for recommended starting parameters on similar materials.
5. The Cleaning Process: Position the laser output head approximately 50-100mm from the target area. Activate the laser in short, controlled bursts, directing the beam through the slots in the sensor's shield onto the ceramic element. Use a consistent, sweeping motion. You will observe a faint plume of smoke or dust as contaminants are ablated. Frequently pause to inspect the ceramic surface under bright light or magnification. The goal is to restore the original light gray or white color of the ceramic. Stop immediately if you see any signs of melting, discoloration (blueing or blackening) of the ceramic, or damage to the metal shield.
6. Post-Cleaning Inspection and Testing: After cleaning, use compressed air to gently blow away any residual particles from the sensor tip and threads. Re-inspect the ceramic element. It should appear clean and free of glossy carbon deposits. For a functional test, the sensor should be reinstalled in the vehicle. Using a diagnostic scan tool, monitor the sensor's voltage signal. A properly functioning sensor should switch rapidly between rich (high voltage ~0.8-1.0V) and lean (low voltage ~0.1-0.3V) states in closed-loop operation. A slow response or stuck signal indicates the sensor may be too degraded and requires replacement.
Advantages and Limitations
Advantages: Laser cleaning is non-abrasive, eco-friendly (no chemicals), highly precise, and repeatable. It can restore performance to sensors that are merely contaminated, not failed, offering significant cost savings compared to replacement.
Limitations: The initial investment in laser equipment is high. The process requires trained personnel to avoid damaging components. It is not a cure-all; sensors with aged or poisoned (e.g., by leaded fuel) elements, or internal heater circuit failures, cannot be salvaged.
Conclusion
Laser cleaning represents the cutting edge of maintenance technology for sensitive automotive components like the oxygen sensor. When performed correctly by a trained technician with calibrated equipment, it provides a safe, effective, and sustainable method to remove harmful deposits and extend sensor life. This procedure underscores a shift towards precision, non-destructive repair techniques in modern automotive engineering, contributing to both economic and environmental benefits by reducing waste and improving engine efficiency.