Installing a laser sensor correctly is crucial for ensuring reliable performance in industrial automation, quality control, and safety systems. As an experienced electrical engineer, I will guide you through a comprehensive, professional procedure to install a laser sensor effectively. This guide assumes you have basic knowledge of electrical systems and safety protocols. Always prioritize safety by disconnecting power before starting any installation.
Step 1: Pre-Installation Planning and Site Assessment
Before mounting the sensor, conduct a thorough site assessment. Identify the target object, its material, surface properties, and the required measurement range. Consider environmental factors such as ambient light, temperature extremes, dust, moisture, and potential vibrations. Select a laser sensor model suitable for these conditions—common types include diffuse reflective, retro-reflective, and through-beam sensors. Ensure the sensor’s specifications (e.g., sensing distance, response time, output type) match your application needs. Gather all necessary tools: mounting brackets, screws, a power supply, cables, and possibly a controller or PLC.
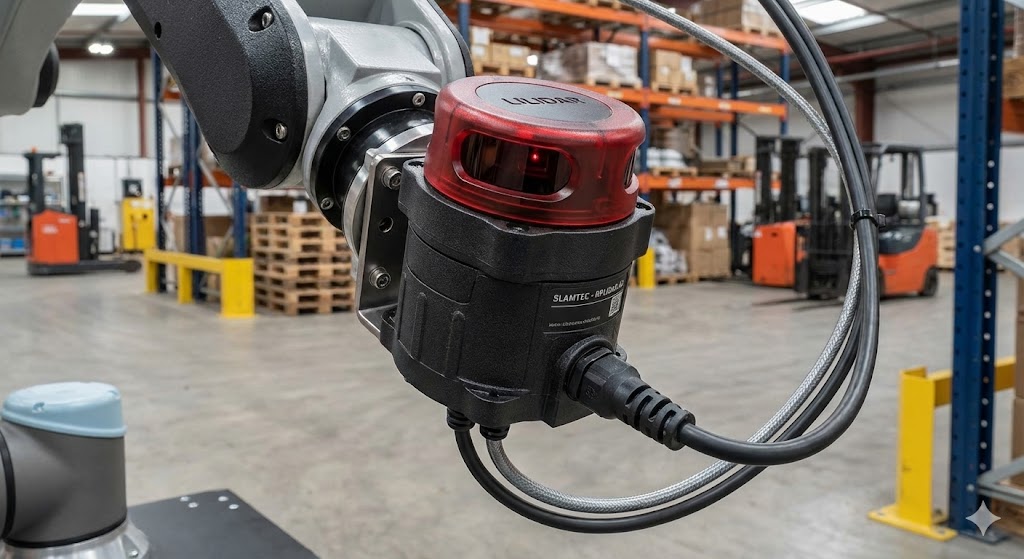
Step 2: Mounting the Sensor Securely
Proper mounting ensures stability and accuracy. Use the provided bracket or a rigid fixture to attach the sensor. For through-beam sensors, align the emitter and receiver precisely on opposite sides of the target area. For diffuse or retro-reflective types, mount the sensor at the recommended distance and angle relative to the target. Avoid mounting on vibrating surfaces; if unavoidable, use vibration-damping materials. Ensure the sensor’s lens is clean and free from obstructions. Tighten all fasteners to prevent shifting but avoid over-tightening, which could damage the housing.
Step 3: Electrical Wiring and Connections
Laser sensors typically have three or four wires: power (V+ and V-), output, and sometimes a control wire. Refer to the manufacturer’s datasheet for the exact wiring diagram. Connect the power supply wires to the appropriate terminals, ensuring correct polarity. Most industrial sensors operate on 12-24V DC. For the output, common configurations include NPN (sinking) or PNP (sourcing) transistor outputs, or analog outputs (0-10V, 4-20mA). Connect the output wire to your control system (e.g., PLC input module). Use shielded cables in electrically noisy environments and ground the shield at one end to prevent interference. Secure cables with cable ties to avoid strain on the connections.
Step 4: Alignment and Calibration
Power on the system and perform alignment. For through-beam sensors, adjust the emitter and receiver until the alignment indicator (often an LED) shows a stable beam connection. For diffuse sensors, aim the laser spot at the target and adjust the position until the output triggers correctly. Many sensors feature sensitivity adjustments or teach-in functions—use these to set the detection threshold, avoiding false triggers from background objects. Calibrate analog sensors by mapping the output signal to the desired measurement range using the controller. Test the sensor with the target object at different positions to ensure consistent operation.
Step 5: Testing and Troubleshooting
Conduct extensive testing under actual operating conditions. Verify the sensor’s response time, repeatability, and accuracy. Check for interference from other light sources or reflective surfaces. Common issues include unstable output due to misalignment, electrical noise, or environmental factors. If problems arise, double-check wiring, realign the sensor, or adjust sensitivity settings. Consult the manufacturer’s manual for error codes or diagnostic features. Document the installation details, including settings and test results, for future maintenance.
Step 6: Maintenance and Best Practices
Regular maintenance prolongs sensor life. Periodically clean the lens with a soft, lint-free cloth to remove dust or debris. Inspect mounting hardware for looseness and cables for wear. In harsh environments, consider protective enclosures or air purging systems. Keep firmware updated if the sensor supports it. Always follow lockout-tagout procedures during maintenance to ensure safety.
By following these steps, you can achieve a reliable laser sensor installation that enhances system efficiency and reduces downtime. Remember, attention to detail during planning and alignment is key to success in industrial applications.