Disassembling a proximity sensor may be necessary for maintenance, repair, or curiosity about its internal workings. However, it requires careful handling to avoid damage to sensitive components. This guide provides a detailed, step-by-step approach to safely take apart a typical inductive or capacitive proximity sensor, commonly used in industrial automation and electronic devices.
Before starting, ensure you have the right tools: a set of precision screwdrivers (often Phillips or flathead), needle-nose pliers, a plastic prying tool, and an anti-static wrist strap if working with circuit boards. Always disconnect the sensor from any power source and wiring to prevent electrical shock or short circuits. Wear safety glasses to protect your eyes from small debris.
First, inspect the sensor housing. Most proximity sensors consist of a cylindrical or rectangular plastic or metal casing. Look for screws, clips, or seams that indicate how the unit is assembled. Common models have a front sensing face and a rear cable gland or connector. Remove any external screws securing the housing. If there are no visible screws, the casing might be snapped together—use a plastic tool to gently pry open the seams, working around the edges to avoid cracking the material.
Once the outer cover is off, you’ll typically see the internal assembly: a coil (for inductive sensors), a oscillator circuit, and output switching components mounted on a small PCB. Note the orientation and connections before proceeding. Carefully detach any wires or connectors linking the PCB to the sensor face or cable. Use needle-nose pliers to unplug these if they are tight, but avoid pulling on wires directly.
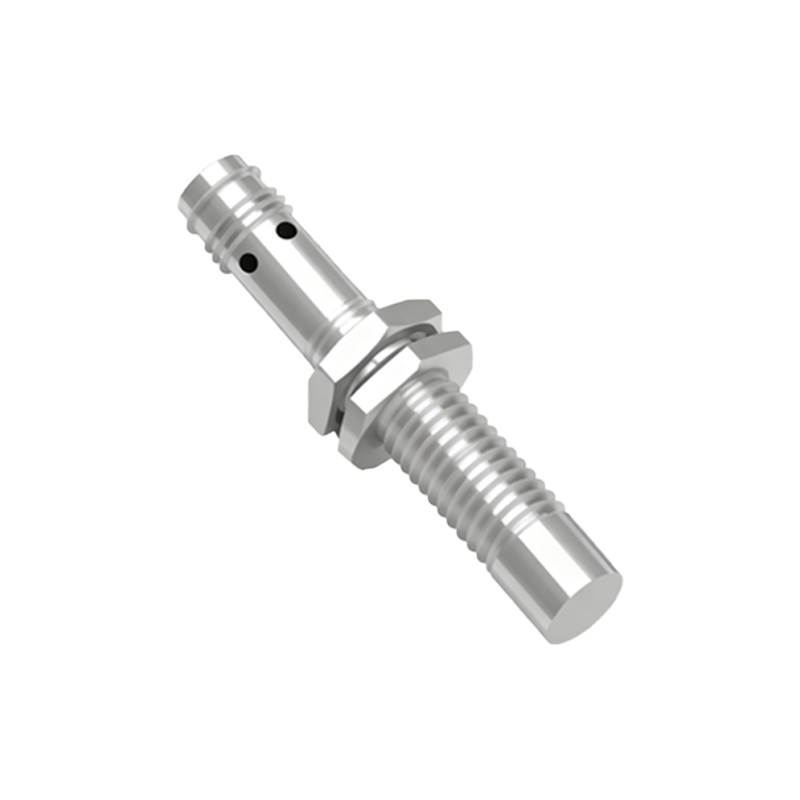
Next, remove the PCB if needed. It is usually held by tiny screws or plastic brackets. Unscrew these and lift the board out slowly. Place it on an anti-static surface. Beneath the PCB, you might find the sensing element—a coiled wire or capacitive plate—embedded in epoxy or potting material. Do not attempt to remove this potting, as it protects the core components and is difficult to reassemble.
For sensors with adjustable sensing ranges, there may be a potentiometer or trimmer on the PCB. Avoid touching its setting unless you plan to recalibrate later. Clean any dust or debris with compressed air, but avoid liquids.
Reassembly is the reverse process. Ensure all components fit snugly, and wires are reconnected correctly. Test the sensor before reinstalling it in its application. If the sensor malfunctions after disassembly, it may be due to disturbed connections or internal damage—consider replacing it if repair isn’t feasible.
Remember, disassembling a proximity sensor can void warranties and may impair its functionality. Only proceed if you have technical confidence, and consult the manufacturer’s documentation if available.