Laser sensors are critical components in modern industrial automation, offering precise detection and measurement capabilities. However, like any electronic device, they can malfunction due to environmental factors, wear, or improper handling. As an electrical engineer, understanding how to diagnose and repair laser sensors is essential for minimizing downtime and maintaining system efficiency. This guide provides a systematic approach to troubleshooting and repairing common laser sensor issues, tailored to industry standards.
First, ensure safety by disconnecting power and following lockout-tagout procedures. Laser sensors often operate with high voltages and emit concentrated light beams, which can pose electrical and ocular hazards. Wear appropriate personal protective equipment, including laser safety goggles rated for the sensor's wavelength.
Begin with a visual inspection. Check for obvious physical damage, such as cracks in the housing, misaligned lenses, or loose connections. Dust, oil, or debris on the lens can scatter the laser beam, leading to inaccurate readings. Clean the lens gently with a lint-free cloth and isopropyl alcohol, avoiding abrasive materials that could scratch the surface. Inspect wiring and connectors for corrosion, fraying, or poor contact—these are frequent culprits in sensor failure.
Next, use a multimeter to test electrical continuity. Measure voltage at the sensor's power supply terminals to confirm it matches the specifications (commonly 12-24 VDC). If voltage is absent or unstable, trace the circuit back to the power source, checking for blown fuses or tripped breakers. Test the sensor's output signal by connecting the multimeter to the output terminals while simulating a detection event. For digital sensors, expect a switch between high and low states; for analog sensors, verify a proportional voltage or current change. No signal may indicate internal circuit damage.
If electrical tests are normal, proceed to optical alignment. Misalignment is a common issue, especially in vibrating environments or after mechanical impacts. Use alignment tools or the sensor's built-in indicators (like LED status lights) to adjust the emitter and receiver. For through-beam sensors, ensure the beam is centered on the receiver; for reflective sensors, check the target distance and angle. Refer to the manufacturer's manual for specific calibration procedures. Some advanced sensors feature software interfaces for fine-tuning sensitivity and response time.
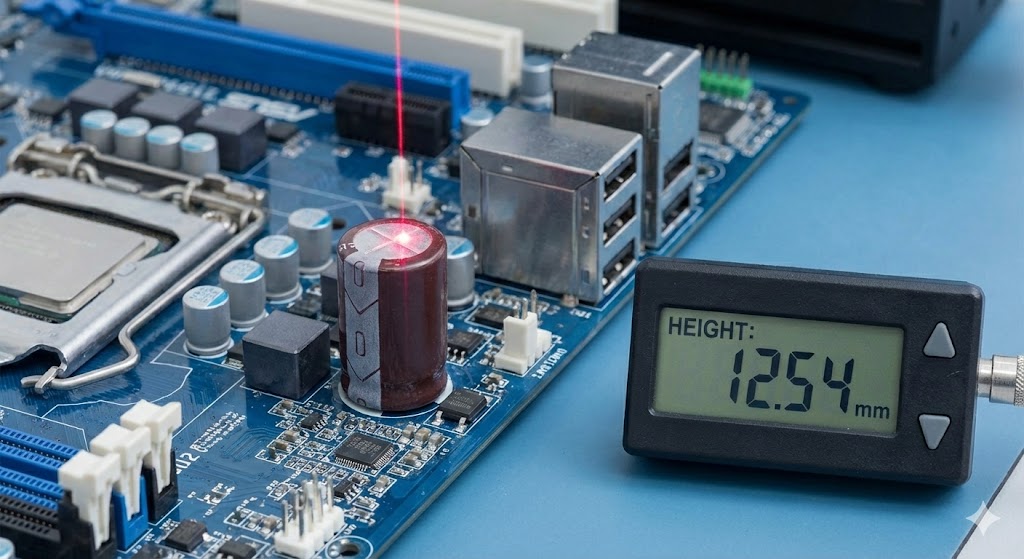
Internal component failures may require disassembly. Open the sensor housing carefully, noting screw placements and seal integrity to maintain ingress protection ratings. Examine the laser diode for discoloration or cracks—a damaged diode often necessitates replacement. Test circuit boards for burnt traces, swollen capacitors, or faulty integrated circuits using an oscilloscope to analyze signal integrity. Desolder and replace defective components with exact equivalents, adhering to electrostatic discharge precautions.
After repairs, reassemble the sensor and perform functional testing. Reconnect power and simulate operational conditions, verifying detection accuracy with calibrated targets. Use a laser power meter to ensure output intensity is within safe and specified ranges. Document the repair process, including replaced parts and test results, for maintenance records.
Preventive maintenance can reduce future failures. Regularly clean sensors, secure mounting brackets, and monitor environmental factors like temperature, humidity, and electromagnetic interference. Implement periodic calibration schedules, especially in high-precision applications.
In summary, repairing laser sensors involves methodical troubleshooting—from visual checks and electrical tests to optical alignment and component replacement. By mastering these steps, electrical engineers can extend sensor lifespan and optimize industrial systems. Always prioritize safety and consult manufacturer guidelines for model-specific details.