Connecting a proximity sensor correctly is essential for ensuring reliable operation in automation, robotics, or security systems. These sensors detect the presence or absence of objects without physical contact, making them versatile for various applications. This guide provides a clear, step-by-step approach to wiring and configuring common types of proximity sensors, focusing on practical implementation and safety.
First, identify the type of proximity sensor you are using. The most common varieties are inductive, capacitive, and ultrasonic sensors. Inductive sensors detect metallic objects and are typically used in industrial settings. Capacitive sensors can detect both metallic and non-metallic materials, such as liquids or plastics. Ultrasonic sensors use sound waves to measure distance to objects. Check the sensor’s datasheet or label for specifications like operating voltage, output type, and sensing range. This information is crucial for proper connection.
Most proximity sensors have three or four wires, though two-wire versions exist. The standard wiring includes power supply, ground, and output wires. For a typical three-wire DC sensor, the wires are often color-coded: brown for positive voltage (e.g., 10-30V DC), blue for ground (0V), and black for the output signal. The output can be either NPN (sinking) or PNP (sourcing), which determines how the sensor interfaces with controllers like PLCs or microcontrollers. NPN outputs connect the load to the positive supply, while PNP outputs connect it to ground. Ensure your controller matches the sensor’s output type to avoid damage.
To connect the sensor, begin by powering off the electrical system to prevent short circuits or shocks. Follow these steps:
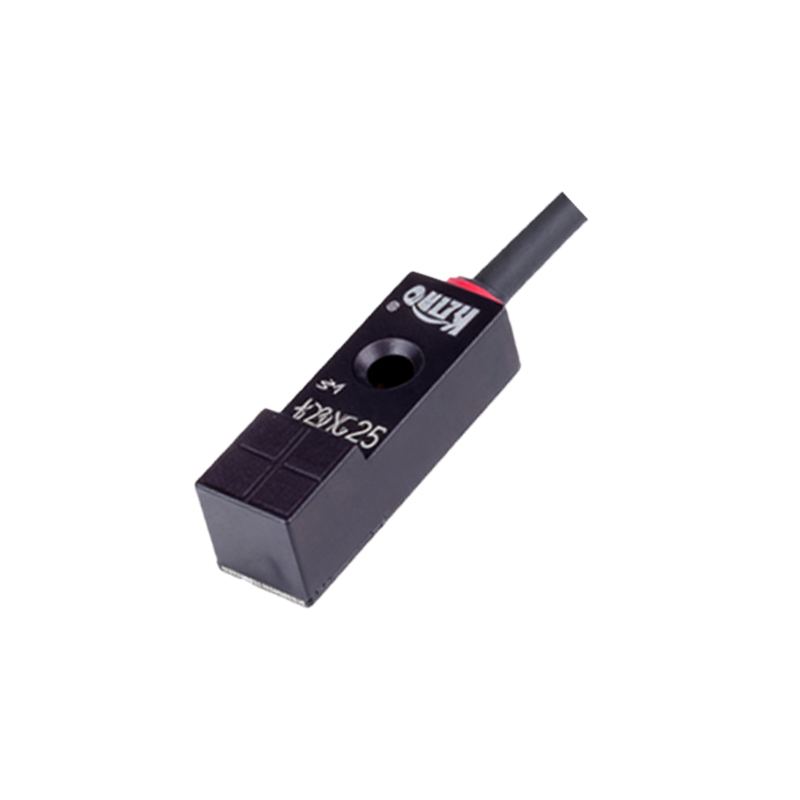
1. Connect the power wires: Attach the brown wire to the positive terminal of your DC power supply and the blue wire to the negative terminal. Verify the voltage matches the sensor’s rating (commonly 12V or 24V DC).
2. Connect the output wire: Link the black wire to the input of your control device. For an NPN sensor, this wire goes to the controller’s input, which should be connected to the positive supply through an internal or external resistor. For a PNP sensor, the output connects to the controller’s input, which is referenced to ground.
3. For sensors with a fourth wire (often white), it may provide a second output or diagnostic function—consult the datasheet for details.
After wiring, secure all connections with appropriate terminals or connectors to avoid loose contacts. Power on the system and test the sensor. Place a target object within the specified sensing range. The sensor’s indicator LED should activate when an object is detected. Use a multimeter to check the output voltage: it should switch between high and low states as the object moves in and out of range. If the sensor fails to respond, double-check wiring polarity, power supply stability, and ensure the target material is compatible (e.g., metals for inductive sensors).
Environmental factors can affect performance. Keep inductive sensors away from other metal objects to prevent false triggers. For capacitive sensors, avoid exposure to moisture or dust unless they are rated as waterproof. Ultrasonic sensors may be disrupted by ambient noise or soft materials that absorb sound. Mount the sensor securely, aligning it properly with the target area. Adjust sensitivity or sensing distance if the sensor has potentiometers for calibration.
Integrating the sensor with a controller like an Arduino or PLC involves connecting the output to a digital input pin. For microcontrollers, add a pull-up or pull-down resistor as needed, depending on the output type. Program the controller to read the sensor’s state and trigger actions, such as activating a relay or logging data. Always follow manufacturer guidelines for load current to avoid overloading the output circuit.
In summary, connecting a proximity sensor requires attention to wiring, output type, and environmental setup. By methodically following these steps, you can ensure accurate detection and long-term reliability. Regular maintenance, such as cleaning the sensor face and checking connections, will help sustain optimal performance in your applications.