In industrial automation, laser sensors play a critical role in precision measurement, object detection, and quality control. However, connection issues can disrupt operations, leading to downtime and reduced productivity. This guide outlines common causes and systematic solutions for laser sensor connectivity problems, tailored for engineers and technicians in the field.
First, verify the physical connections. Loose cables, damaged connectors, or incorrect wiring are frequent culprits. Ensure power supply cables are securely attached and meet the sensor’s voltage specifications (e.g., 12-24V DC). Check for bent pins or corrosion in connectors, especially in harsh environments. Use a multimeter to confirm voltage levels at the sensor terminal. If the sensor has an indicator LED, observe its status: a steady light typically indicates proper power, while blinking or no light suggests issues.
Next, inspect the communication interface. Laser sensors often use protocols like IO-Link, Ethernet/IP, Profinet, or analog outputs. For digital protocols, confirm that the network settings match the controller configuration. Incorrect IP addresses, subnet masks, or baud rates can prevent communication. Review the sensor’s manual for default settings and reset if necessary. For analog sensors, ensure the output range (e.g., 4-20mA or 0-10V) aligns with the PLC input module calibration. Noise interference from nearby motors or drives can distort signals; use shielded cables and proper grounding to mitigate this.
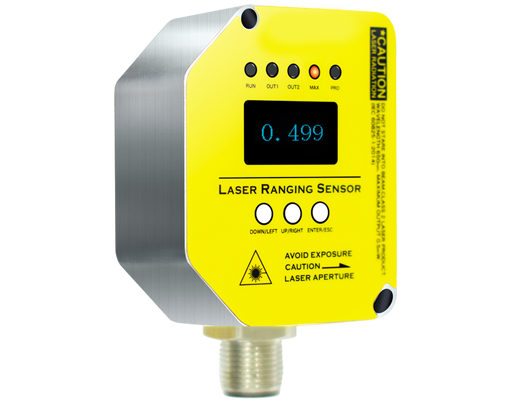
Software configuration is another key area. In PLC or SCADA systems, verify that the sensor’s device description file (GSD for Profinet, EDS for Ethernet/IP) is correctly installed. Missing or outdated files can cause recognition failures. Check parameter settings such as measurement range, response time, and output logic. Some sensors require initialization via software commands; ensure the controller sends the appropriate sequence. For smart sensors with web interfaces, access the IP via a browser to review status logs or update firmware.
Environmental factors often contribute to connectivity problems. Dust, moisture, or extreme temperatures can impair sensor performance. Ensure the sensor’s IP rating suits the operating conditions (e.g., IP67 for dust and water resistance). Vibrations may loosen connections over time; inspect mounting hardware and cable strain reliefs. Additionally, optical interference from ambient light or reflective surfaces can affect laser-based communication; adjust the sensor’s alignment or use protective housings.
If issues persist, perform diagnostic tests. Many sensors have built-in diagnostics via LED codes or software tools. Refer to the manufacturer’s troubleshooting chart for error interpretations. Isolate the sensor by connecting it to a known-working controller or using a simulator to rule out external faults. Test with a replacement sensor or cable to identify faulty components. Document any error codes or unusual behaviors for technical support.
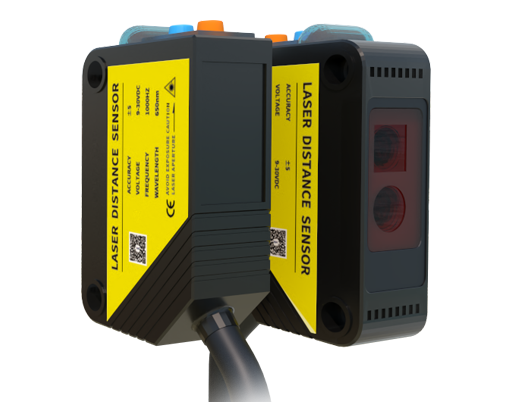
Preventive maintenance reduces connection failures. Regularly clean sensor lenses and connectors, update firmware, and backup configuration files. Train personnel on proper handling and installation procedures. Implement network monitoring tools to detect anomalies early. By following these steps, engineers can quickly restore connectivity and minimize operational disruptions.
In summary, laser sensor connection issues stem from physical, electrical, software, or environmental factors. A methodical approach—checking hardware, verifying settings, and considering external conditions—ensures reliable performance in industrial applications. Always consult the sensor’s documentation and leverage manufacturer resources for complex cases.