In the realm of industrial automation and prototyping, Arduino-based laser sensors have emerged as a versatile and cost-effective solution for precise detection and measurement tasks. This experiment delves into the practical implementation of a laser sensor module with an Arduino microcontroller, highlighting its operational principles, circuit configuration, and programming approach tailored for engineering applications.
Laser sensors, particularly those utilizing modulated infrared or visible light, function by emitting a focused beam toward a target. The reflected light is captured by a photodetector within the sensor module, which converts optical signals into electrical ones. In this setup, we employ a common laser sensor module capable of digital output, often integrated with a comparator circuit to provide a clear HIGH/LOW signal based on a predefined threshold. This makes it ideal for object detection, alignment, or distance-sensing in controlled environments.
For the hardware assembly, connect the laser sensor module to the Arduino Uno board. The module typically has three pins: VCC, GND, and OUT. Link VCC to the 5V pin on the Arduino, GND to the ground pin, and OUT to a digital input pin, such as pin 7. Ensure stable power supply to avoid signal fluctuations. Optionally, incorporate an LED or buzzer on another digital pin to provide visual or auditory feedback upon detection—this mimics industrial indicator systems. A breadboard and jumper wires facilitate easy prototyping.
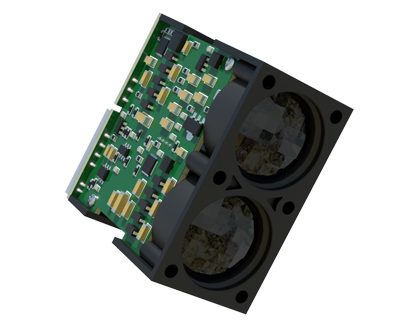
The software aspect involves writing an Arduino sketch in C++ to read the sensor's output. Begin by initializing the sensor pin as INPUT and the feedback pin as OUTPUT in thesetup() function. In theloop() function, usedigitalRead() to monitor the sensor state. When the laser beam is interrupted by an object, the output toggles, triggering an action like turning on the LED. For enhanced accuracy, implement debouncing logic to filter out transient noise, a common consideration in industrial settings to prevent false triggers. Advanced applications may involve analog sensors for distance measurement, requiringanalogRead() and calibration against known distances.
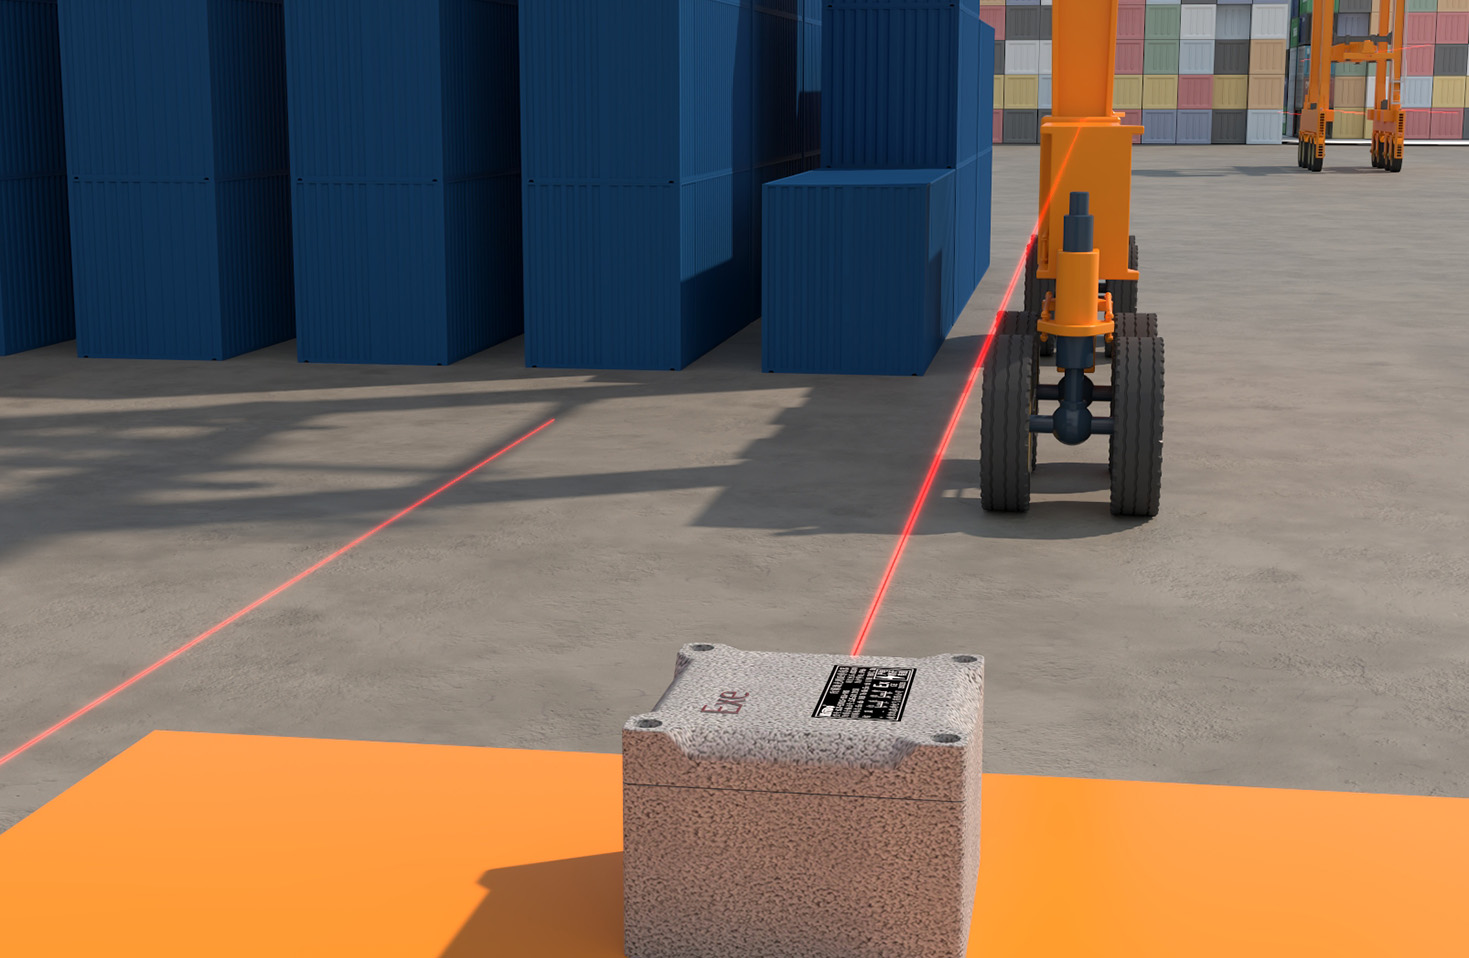
In testing, position the laser sensor and a reflective target precisely. The sensor's effective range depends on its specifications—typically up to several meters for basic modules. Environmental factors such as ambient light or surface reflectivity can affect performance; thus, shielding or filtering techniques may be necessary. This experiment demonstrates how Arduino platforms enable rapid iteration for proof-of-concept designs in automation, robotics, or safety systems, bridging the gap between hobbyist projects and professional engineering solutions.
Potential industrial use cases include conveyor belt object counting, machine guarding, or precision alignment in assembly lines. By integrating with PLCs or IoT networks via serial communication, Arduino laser sensors can scale for complex monitoring tasks. Always adhere to laser safety standards, using low-power modules (Class II or below) to avoid eye hazards. This hands-on approach not only reinforces core electronics and programming skills but also underscores the practicality of open-source hardware in modern engineering workflows.