Programming proximity sensors is a fundamental skill for electrical engineers and automation professionals. These sensors, which detect the presence or absence of objects without physical contact, are pivotal in industrial automation, robotics, and safety systems. This guide, designed to accompany instructional videos, walks through the core programming concepts and practical steps to configure and integrate proximity sensors effectively.
The first step in programming a proximity sensor is understanding its type and output. Inductive sensors detect metallic objects, capacitive sensors handle non-metallic materials, and ultrasonic sensors measure distance. Most modern sensors offer digital outputs (like PNP/NPN) or analog outputs (4-20 mA, 0-10V). Before connecting to a PLC (Programmable Logic Controller) or microcontroller, review the sensor's datasheet for voltage ratings, sensing range, and output characteristics.
In a typical setup, you'll connect the sensor to a control system. For a 3-wire DC sensor, connect the brown wire to positive voltage (often +24V DC), the blue wire to common ground, and the black wire to the input terminal of your PLC. Ensure the PLC input type matches the sensor's output (sourcing vs. sinking). Once wired, power on the system and observe the sensor's indicator LED—it should activate when an object enters the sensing range.
Programming logic depends on your application. For basic object detection, you might use a simple ladder logic rung in a PLC. For instance, with a sensor connected to input I0.0, you can trigger an output coil (e.g., Q0.0) to control a relay or actuator. In structured text or function block diagrams, you can map the sensor input to a variable for more complex sequences, like counting parts on a conveyor belt.
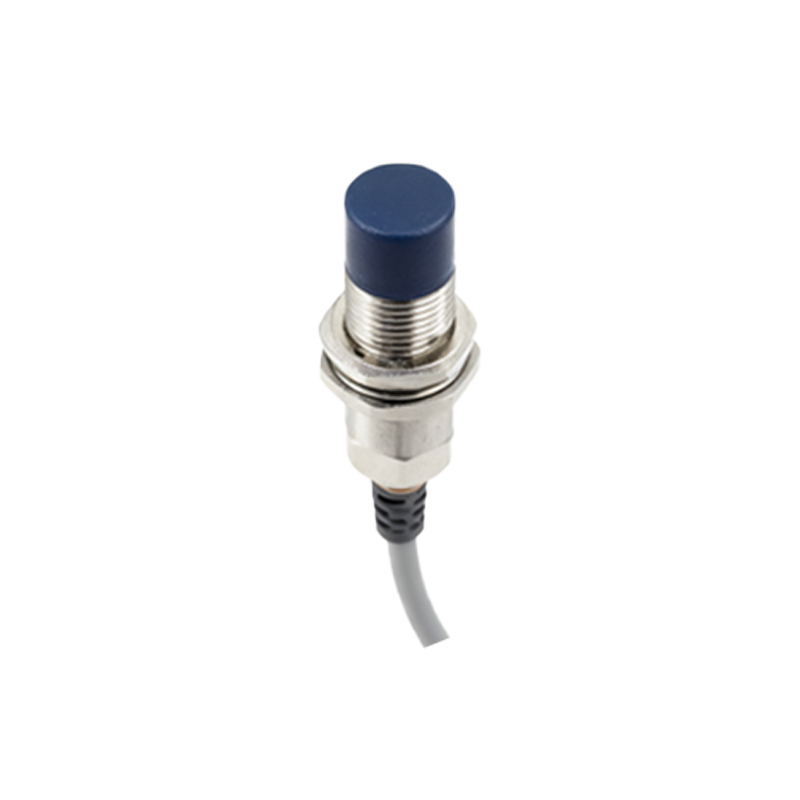
Many sensors feature configurable parameters, such as sensitivity, hysteresis, and response time. To adjust these, use the manufacturer's software or built-in teach-in buttons. For example, capacitive sensors often have a potentiometer to fine-tune sensitivity, preventing false triggers from environmental factors. In videos, you'll see engineers using a screwdriver to rotate the potentiometer while testing with target materials.
Analog sensors require scaling in your program. If a sensor outputs 4-20 mA corresponding to a distance of 0-100 mm, you must scale this input in the PLC to derive accurate measurements. In CODESYS or Siemens TIA Portal, use scaling functions like NORM_X and SCALE_X to convert raw analog values to engineering units. This enables precise control, such as maintaining a specific gap in assembly lines.
Troubleshooting is a key part of programming. Common issues include incorrect wiring, voltage mismatches, or interference from nearby equipment. Videos often demonstrate using a multimeter to check voltage at the sensor output and monitoring PLC input status lights. If the sensor fails to trigger, verify the sensing distance and ensure the target material is compatible. For noisy environments, shield cables and adjust filtering settings in the PLC program.
Advanced applications involve integrating multiple sensors into networked systems. With IO-Link or PROFINET sensors, you can program parameters remotely and collect diagnostic data. In these cases, programming extends to configuring the network master and using dedicated software to set operating modes. This digital communication enhances flexibility, allowing real-time adjustments without physical access.
Finally, always test your program in a simulated or controlled environment before deployment. Use video demonstrations to validate sensor responses under different conditions, such as varying speeds or material types. Document your code with comments and maintain a calibration log for future maintenance. By mastering these programming steps, engineers can optimize sensor performance, reduce downtime, and improve system reliability.
Remember: consistent practice with hands-on video tutorials accelerates learning. Explore resources from sensor manufacturers like Siemens, Omron, or Pepperl+Fuchs for device-specific guides, and engage in forums to share insights with the engineering community.