Removing a proximity sensor nut is a common task in electrical and automation maintenance, requiring precision to avoid damaging sensitive components. Proximity sensors, widely used in industrial machinery for non-contact detection, often feature nuts that secure the sensor in place. Over time, these nuts can become tight due to vibration, corrosion, or overtightening during installation. This guide provides a step-by-step approach to safely and efficiently remove a proximity sensor nut, ensuring minimal downtime and equipment integrity.
First, prioritize safety by disconnecting all power sources to the machinery. Lockout-tagout (LOTO) procedures are essential to prevent accidental energization, which could lead to electrical shocks or unintended machine operation. Wear appropriate personal protective equipment (PPE), such as safety glasses and insulated gloves, to protect against debris and potential electrical hazards. Assess the work area for any obstructions or environmental factors, like moisture, that might affect the process.
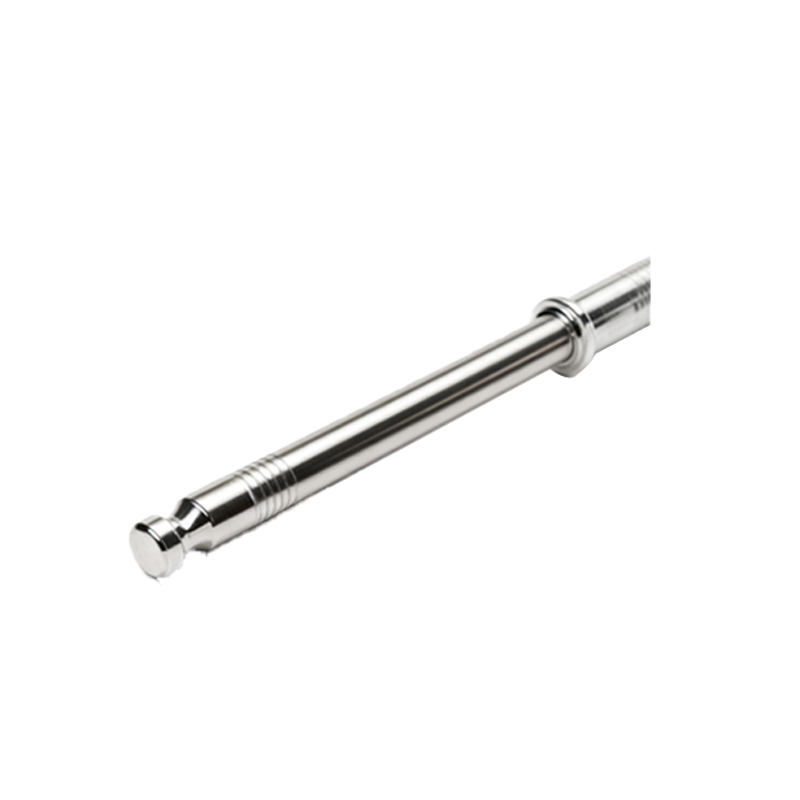
Next, identify the type of nut and sensor. Proximity sensor nuts are typically made of metal, such as stainless steel or brass, and may be hexagonal or flanged. Check the sensor's datasheet or manual for specifications, including torque ratings and material compatibility. This information helps in selecting the right tools and techniques. Common tools include wrenches, socket sets, or specialized nut removers. Ensure tools are in good condition to avoid slippage, which could damage the sensor housing or threads.
If the nut is stuck, apply a penetrating oil like WD-40 or a similar lubricant designed for electrical components. Spray it around the nut and thread area, allowing it to soak for 10-15 minutes to break down rust or debris. Avoid excessive oil that might seep into the sensor, as it could impair functionality. For stubborn cases, gently tap the nut with a hammer to loosen corrosion, but use caution to prevent impact damage to the sensor's internal electronics.
Use the correct-sized wrench or socket to turn the nut counterclockwise. Apply steady, even pressure to avoid stripping the threads. If the nut resists, consider using a breaker bar for additional leverage, but monitor the force to prevent over-torquing. In scenarios where the nut is rounded or damaged, employ a nut splitter or locking pliers to grip and remove it. Alternatively, heat can be applied with a heat gun (not an open flame) to expand the metal slightly, aiding loosening—ensure the sensor is heat-resistant to avoid melting or deforming.
Once the nut is removed, inspect the sensor threads and mounting area for wear or corrosion. Clean the threads with a wire brush or compressed air to remove debris. If reusing the sensor, apply a small amount of anti-seize compound to the threads during reinstallation to facilitate future removal. Reconnect the sensor and test its operation before restoring power. Document the process for maintenance records, noting any issues encountered.
In summary, removing a proximity sensor nut involves safety precautions, proper tool selection, and methodical techniques. Regular maintenance and correct installation practices can prevent future difficulties, ensuring reliable sensor performance in industrial applications.