In industrial automation and control systems, laser sensors are widely used for precise detection, measurement, and positioning due to their high accuracy, reliability, and non-contact operation. One common configuration in sensor setup is the "Normally Open" (NO) mode, which is essential for many control logic applications. This article provides a comprehensive guide on adjusting a laser sensor to a Normally Open configuration, covering principles, steps, and best practices for optimal performance.
Understanding Normally Open Configuration
A Normally Open configuration refers to the state of the sensor's output circuit when no target is detected. In this mode, the output is open (or off) when the sensor is idle, meaning no electrical connection is made. When a target enters the sensing range, the output closes (or turns on), allowing current to flow. This setup is often used in safety systems, start-stop controls, and applications where an active signal indicates presence. Laser sensors, including diffuse, retro-reflective, and through-beam types, can typically be switched between Normally Open and Normally Closed (NC) modes via hardware settings or software programming, depending on the model.
Key Components and Working Principle
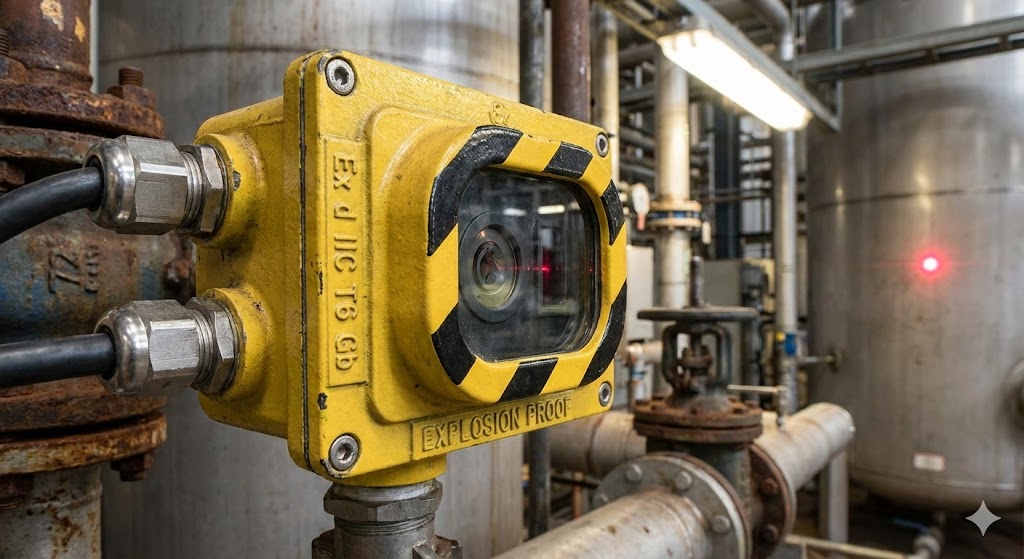
Laser sensors emit a focused beam of light; when this beam strikes a target, it reflects back to the receiver. The sensor processes this reflection to determine presence or distance. The output circuit, which can be configured as NO or NC, is controlled by internal electronics. In NO mode, the output transistor or relay remains off until detection occurs. This configuration aligns with fail-safe designs, as a broken beam or sensor fault often results in an open circuit, signaling an issue.
Step-by-Step Adjustment Process
1. Power Off and Safety First: Before making any adjustments, disconnect the sensor from power to prevent electrical hazards or damage. Ensure the work area is clean and free from obstructions.
2. Access Configuration Settings: Locate the configuration interface on the sensor. This may involve physical switches, dip switches, potentiometers, or a digital display with buttons. Refer to the sensor's datasheet or manual for specific details, as models vary by manufacturer (e.g., Keyence, Banner, or SICK).
3. Set to Normally Open Mode: Identify the switch or parameter labeled "Output Mode," "NO/NC," or similar. Adjust it to the NO position. For programmable sensors, connect to a software interface (like a PLC or dedicated configurator) and select the NO option in the output settings.
4. Adjust Sensing Parameters: Fine-tune the sensitivity, threshold, or timing settings to match your application. For example, set the sensing range to avoid false triggers from background objects. Use the sensor's teach function or manual calibration if available.
5. Test the Configuration: Reconnect power and test with a target object. Verify that the output activates (closes) only when the target is detected. Use a multimeter or oscilloscope to check the output signal: it should show low voltage (off) in idle state and high voltage (on) upon detection.
6. Secure and Document Settings: Once verified, secure any switches or locks to prevent accidental changes. Document the settings for future maintenance or troubleshooting.
Best Practices and Troubleshooting
- Environmental Considerations: Laser sensors can be affected by ambient light, dust, or reflective surfaces. Shield the sensor or use filters to minimize interference. Ensure the target material and color are suitable for the sensor's wavelength (e.g., red or infrared lasers).
- Alignment and Mounting: Proper alignment is critical for through-beam sensors, where the emitter and receiver must be precisely aligned. Use mounting brackets and adjust mechanically for stable operation.
- Common Issues: If the sensor fails to switch to NO mode, check for incorrect wiring or power supply issues. Verify that the load (e.g., PLC input) is compatible with the sensor's output type (PNP or NPN). Consult the manual for error codes or reset procedures.
- Regular Maintenance: Clean lenses periodically to maintain accuracy. Inspect for wear and recalibrate as needed, especially in harsh environments.
Applications and Benefits
Normally Open laser sensors are ideal for applications requiring positive detection signals, such as conveyor belt monitoring, object counting, robotic guidance, and safety curtains. They enhance system reliability by providing clear on/off states, reducing false alarms, and integrating seamlessly with PLCs and control networks. By mastering NO adjustment, engineers can optimize sensor performance, improve efficiency, and ensure compliance with industry standards like IEC 60947 or ISO 13849 for safety systems.
In summary, adjusting a laser sensor to Normally Open involves understanding its output logic, following precise steps, and applying best practices for your specific environment. This configuration offers flexibility and safety, making it a cornerstone of modern automation. Always prioritize manufacturer guidelines and real-world testing to achieve dependable results.