Installing a LiDAR (Light Detection and Ranging) sensor on a vehicle is a precise task that requires careful attention to detail. Whether for advanced driver-assistance systems (ADAS), autonomous vehicle development, or specific research applications, correct installation is critical for optimal performance and safety. This guide outlines the key steps and considerations for a successful installation.
Before beginning any work, consult the specific installation manual provided by the LiDAR manufacturer. Models from companies like Velodyne, Hesai, or Livox have unique mounting requirements, cable specifications, and calibration procedures. Ensure you have the correct tools, a clean workspace, and all necessary components, including the sensor, mounting bracket, cables, and any required gaskets or seals.
The first major decision is selecting the mounting location. Common positions include the roof, front grille, or bumper areas. The primary goal is to achieve an unobstructed 360-degree or the intended field-of-view. The location must provide a clear line of sight, minimizing blind spots caused by parts of the vehicle like pillars, mirrors, or roof racks. Consider the sensor’s environmental rating; most automotive LiDAR units are designed to withstand vibration, dust, and water, but direct exposure to excessive road spray or impacts should be avoided if possible.
Mounting stability is non-negotiable. Vibration can severely degrade data quality. Use the manufacturer-supplied bracket and high-strength fasteners. The mounting surface must be solid and flat. Reinforce thin body panels from behind if necessary. During physical mounting, ensure the sensor is level. Even a slight tilt can introduce significant measurement errors, especially for long-range perception. A digital level is recommended for this step.
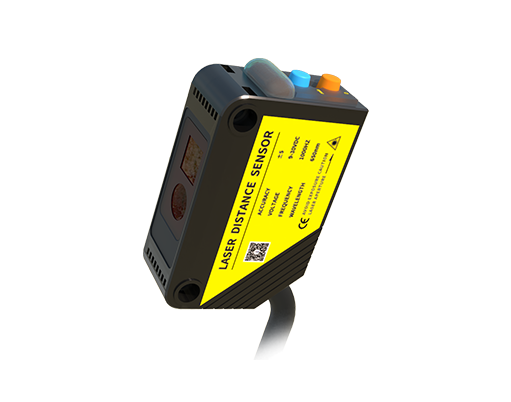
Electrical connection is the next critical phase. Route the power and data cables securely away from moving parts, high-heat areas like the exhaust system, and sources of electromagnetic interference. Use cable ties, conduits, or loom tubing to fasten the cables along existing vehicle wire harnesses. Connect to a clean, stable power source, typically the vehicle’s battery, through an appropriate fuse. A power sequencer or dedicated control unit is often recommended to manage startup and shutdown, preventing voltage spikes that could damage the sensitive electronics.
After the sensor is physically mounted and powered, software configuration and calibration are essential. Connect the sensor to the vehicle's computing unit or data logger via Ethernet. Use the manufacturer's software suite to verify communication. The most crucial step is extrinsic calibration—aligning the LiDAR's coordinate system with the vehicle's. This often involves driving the vehicle in a specific pattern or using calibration targets in a controlled environment. Accurate calibration ensures the point cloud data correctly represents the real-world positions of objects relative to the car.
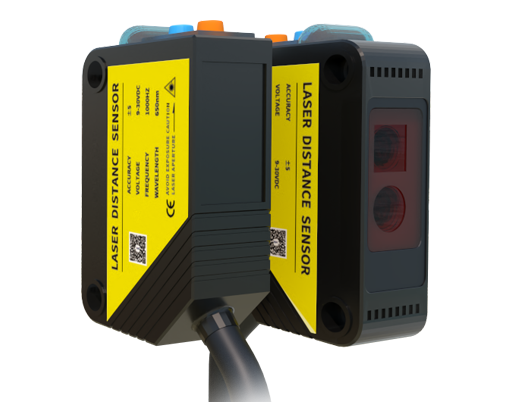
Finally, conduct thorough testing. Perform static tests in a safe area to check data output and field of view. Then, execute low-speed dynamic tests to validate performance under real-world conditions like vibration and wind. Continuously monitor the data for anomalies, dropouts, or misalignments.
Safety is paramount throughout this process. Always disconnect the vehicle's battery before beginning electrical work. Be aware of high-voltage systems in electric or hybrid vehicles. Never obstruct the driver's view or compromise vehicle safety systems. Post-installation, regularly inspect the mount and cables for signs of wear or loosening.
Proper installation of an automotive LiDAR sensor is a blend of mechanical precision, electrical diligence, and software calibration. Taking the time to follow each step meticulously will ensure reliable data collection, system longevity, and, most importantly, safe operation on the road.