In industrial automation and control systems, laser sensors are indispensable components for precision measurement, object detection, and quality control. Their non-contact operation, high accuracy, and fast response times make them superior to many other sensing technologies. However, a common and disruptive issue faced by maintenance engineers and plant operators is laser sensor jamming or "getting stuck." This phenomenon does not refer to a physical mechanical jam but rather to a state where the sensor fails to output a correct signal, appears unresponsive, or provides erratic readings, effectively halting its intended function. Understanding the root causes, systematic troubleshooting steps, and preventive measures is crucial for minimizing downtime and maintaining production flow.
The term "jammed" in this context can manifest in several ways. The sensor might output a constant ON or OFF signal regardless of the target's presence, fail to detect objects within its specified range, or provide fluctuating, unreliable data. This loss of functionality can lead to downstream process failures, product defects, or even safety hazards.
A methodical approach to troubleshooting is essential. The first and most critical step is always to consult the sensor's specific datasheet and user manual. General guidelines, however, involve the following sequence:
1. Power and Electrical Connections: Begin with the basics. Verify that the power supply voltage is stable and within the sensor's specified range (e.g., 10-30 VDC). Voltage spikes or drops can cause erratic behavior. Inspect the wiring for loose connections, corrosion, or damage. Check the integrity of the cable, especially at strain relief points. Ensure the load (e.g., PLC input, relay) is within the sensor's switching capacity. A multimeter is invaluable here for checking voltage at the sensor terminals.

2. Optical Path Inspection: The core of laser sensor operation is its optical path. Any obstruction, contamination, or interference can cause failure.
* Lens Contamination: This is the most frequent cause. Dust, oil mist, coolant, or other particulates can accumulate on the transmitter and receiver lenses, attenuating or scattering the laser beam. Carefully clean the lenses using a soft, lint-free cloth and an appropriate optical cleaner (like isopropyl alcohol). Never use abrasive materials.
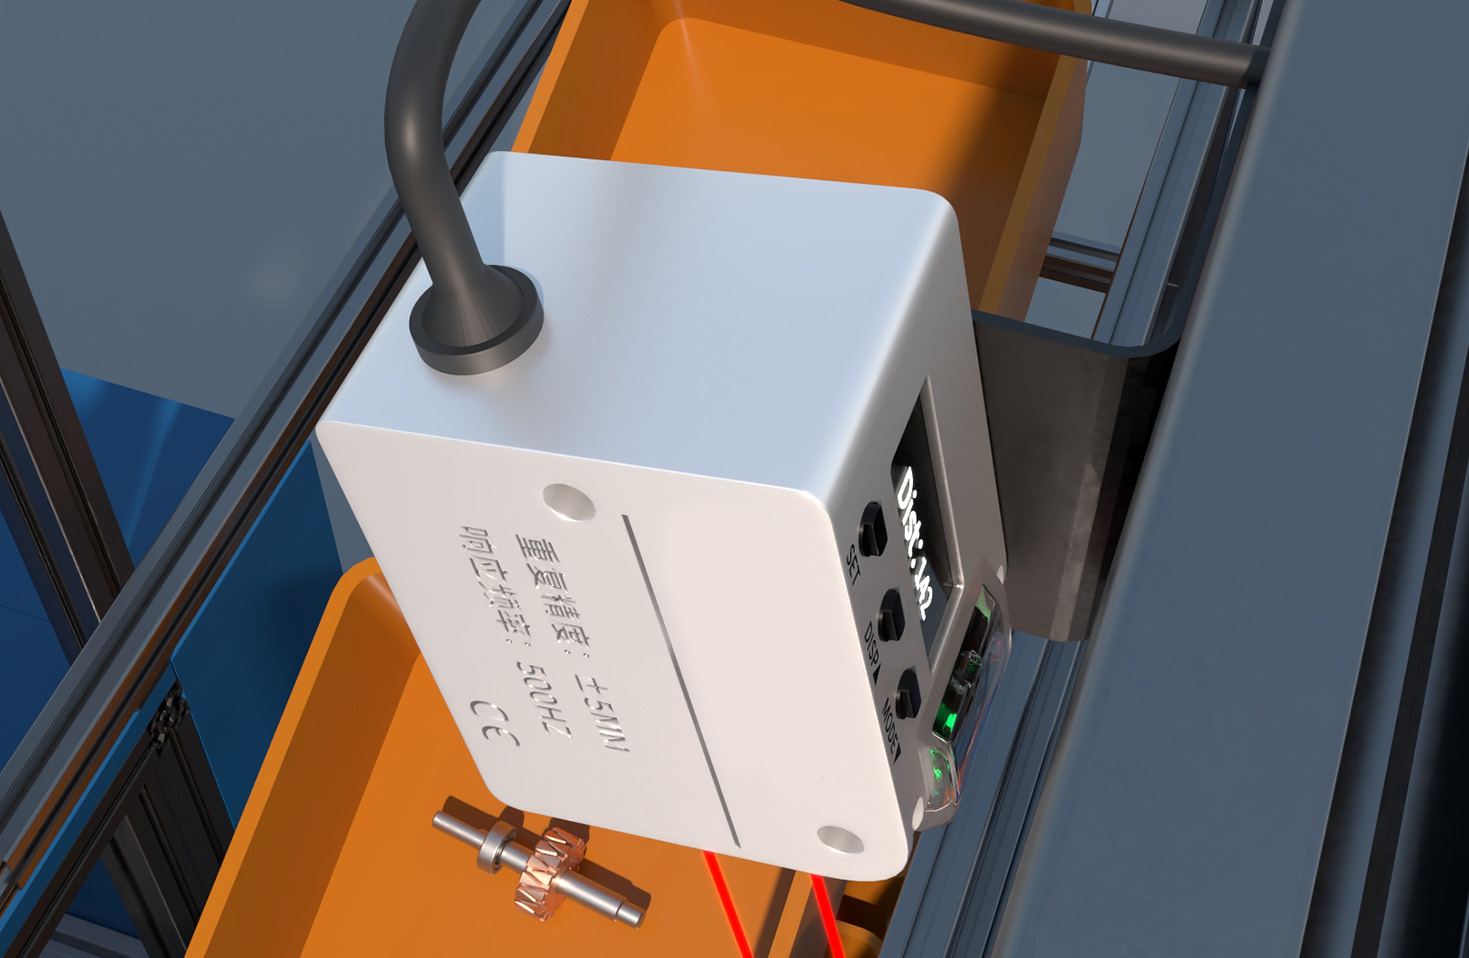
* Physical Obstructions: Ensure no foreign objects, accumulated debris, or even misaligned machine parts are blocking the line of sight between the sensor and its target.
* Environmental Interference: Consider ambient conditions. Intense ambient light (e.g., direct sunlight, arc welding flashes) can swamp the receiver. Similarly, highly reflective backgrounds or multiple reflective surfaces can cause false triggering. The presence of steam, smoke, or dense fog can scatter the beam. Assess if the sensor's housing integrity (IP rating) is sufficient for the environment (e.g., washdown areas).
3. Alignment and Positioning: Laser sensors, especially through-beam types, require precise alignment. Even a slight misalignment due to vibration or mechanical shock can break the beam path. Use alignment tools if provided by the manufacturer. For reflective or diffuse sensors, ensure the target is within the specified sensing distance and that the surface properties (color, material, reflectivity) are compatible with the sensor's specifications. A matte black target may not be detectable by a standard diffuse sensor designed for a minimum reflectance.
4. Parameter Settings and Configuration: Modern laser sensors often have configurable parameters via teach-in buttons or software. Accidental changes to the sensing distance, output delay, or switching mode (light-on/dark-on) can make the sensor appear "jammed." Perform a reset to factory defaults if possible, and reconfigure according to the application needs. For background suppression sensors, the suppression distance must be set correctly.
5. Electrical Noise and EMI: Industrial environments are rich in electromagnetic interference from motors, variable frequency drives (VFDs), and communication cables. This noise can induce false signals in sensor wiring. Ensure proper shielding of sensor cables, grounding practices, and physical separation from high-power lines. Using ferrite cores on the cable near the sensor can sometimes mitigate noise.
6. Sensor Health and Degradation: If all external factors are ruled out, the sensor itself may be failing. The laser diode has a finite lifetime and can degrade over time, reducing output power. Internal electronic components can also fail due to thermal stress or aging. Compare the sensor's performance with a known-good unit if available.
Preventive Maintenance is the most effective strategy to avoid "jamming" episodes. Establish a regular schedule for visual inspection and lens cleaning. Implement protective measures such as installing physical guards or air knives to keep contaminants away from the optical path. For critical applications, consider sensors with built-in contamination monitoring that alerts users when lens dirt reaches a threshold.
In conclusion, a "jammed" laser sensor is typically a symptom of an underlying issue rather than a random failure. By systematically investigating power, optics, alignment, environment, and configuration, engineers can quickly restore functionality. Adopting a proactive maintenance culture focused on the sensor's operating environment will significantly enhance system reliability and reduce unplanned stoppages, ensuring the continued benefits of laser sensing technology in demanding industrial settings.