Laser sensors are critical components in various industrial and commercial applications, ranging from manufacturing automation to precision measurement systems. Proper configuration is essential to ensure accurate, reliable, and safe operation. This guide outlines key steps and considerations for setting up laser sensors effectively.
First, understand the basic operating principle. Most laser sensors emit a focused beam of light and detect reflections from a target. The time-of-flight, triangulation, or phase-shift method is then used to calculate distance or presence. Before installation, review the sensor's datasheet thoroughly. Note specifications such as measurement range, resolution, repeatability, response time, and environmental ratings (e.g., IP protection, temperature limits).
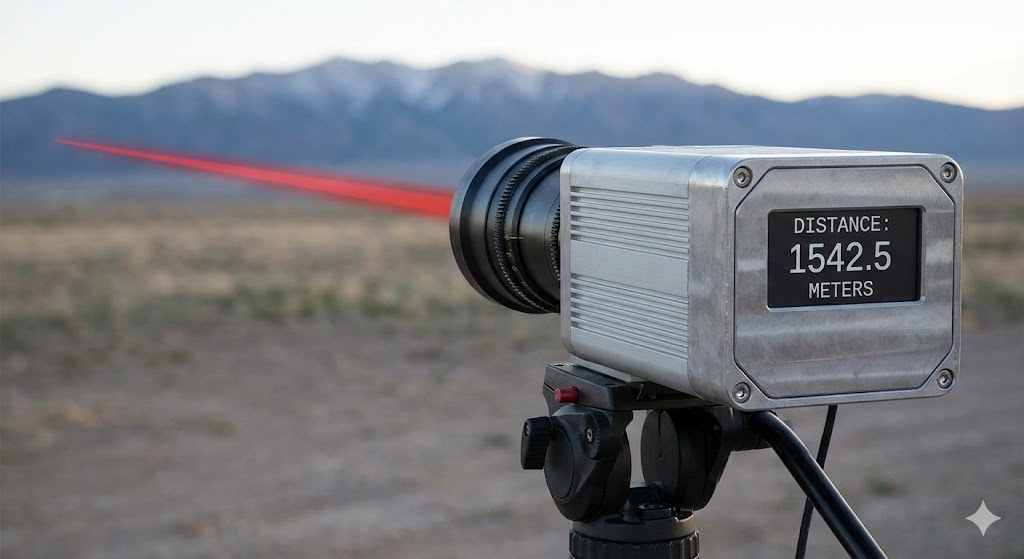
Select an appropriate mounting location. Ensure the sensor is securely fixed to minimize vibrations, which can cause measurement errors. The mounting surface should be stable and aligned parallel to the target plane where possible. Avoid placing the sensor near sources of heat, strong electromagnetic interference, or excessive ambient light, as these can affect performance. For outdoor or harsh environments, use enclosures or sensors with suitable protective ratings.
Power supply and wiring are fundamental. Connect the sensor to a stable power source matching its voltage and current requirements (commonly 12-24 V DC). Use shielded cables to reduce electrical noise, and follow the manufacturer's wiring diagram precisely. Incorrect polarity or voltage can damage the sensor. If the sensor has programmable outputs (e.g., NPN/PNP, analog, digital), configure them according to your control system's needs.
Alignment and calibration are crucial steps. Aim the laser beam perpendicular to the target surface for most distance-measuring applications. Use alignment tools or built-in indicators (like a pilot beam) to assist. For diffuse reflection sensors, ensure the target is within the specified sensing range and has adequate reflectivity. Adjust sensitivity or threshold settings to avoid false triggers from background objects. Many modern sensors feature teach-in functions or software interfaces for easy calibration—follow the provided instructions to set reference points.
Environmental factors must be accounted for. Changes in temperature, humidity, or air pressure can influence laser propagation. Some high-end sensors include compensation algorithms. Additionally, consider the target's properties: color, texture, and material can affect reflectivity. For transparent or shiny surfaces, specialized sensors or filters may be necessary. Regularly clean the lens to prevent dust or debris from scattering the beam.
Testing and validation should not be overlooked. After configuration, perform tests under actual operating conditions. Check for consistency in readings and response times. Use calibration standards if available. Monitor for intermittent issues, which might indicate loose connections or environmental interference. Document the settings for future reference or troubleshooting.
Safety is paramount. Laser sensors, especially Class 2 or higher, can pose eye hazards. Never look directly into the beam. Install warning labels and use protective housings if accessible to personnel. Comply with local regulations such as IEC 60825 for laser product safety.
Finally, maintenance ensures longevity. Schedule periodic inspections for physical damage, lens cleanliness, and connection integrity. Update firmware if the manufacturer releases improvements. Keep spare parts for critical applications to minimize downtime.
By following these practices, you can optimize laser sensor performance, enhance system accuracy, and extend operational life. Always refer to the specific manufacturer's guidelines, as procedures may vary between models.