Assembling a laser sensor for industrial use requires precision, an understanding of electro-optical principles, and adherence to safety protocols. This guide provides a systematic approach for engineers and technicians to ensure a reliable and accurate final product. The process begins long before physical assembly, with thorough preparation being paramount.
First, gather all necessary components on a clean, static-free workbench. Essential parts typically include the laser diode module (specified for the required wavelength, such as 650nm red or 850nm infrared), the photodetector (photodiode or position-sensitive device), the sensor housing or body, lens elements for collimation or focusing, driver and signal conditioning circuitry, power supply terminals, and output connection ports (e.g., M8/M12 connectors). Verify each component against the bill of materials and inspect for any physical damage. Wear appropriate personal protective equipment (PPE), primarily laser safety goggles rated for the diode's wavelength and output power.
The core assembly starts with the optical train. Carefully install the laser diode into its designated mount within the housing. Ensure the diode pins are correctly aligned to prevent reverse polarity damage. Secure it using the provided set screws or adhesive, following the manufacturer's specified torque. Next, install the collimating lens at the prescribed distance from the diode emitter to produce a parallel beam. Use alignment tools if necessary to minimize beam divergence. For sensors requiring a focused spot, such as for precision measurement, a secondary focusing lens group may be installed downstream.

Simultaneously, prepare the receiver side. Mount the photodetector in its chamber, ensuring its active surface is perpendicular to the expected path of the reflected or interrupted light. Connect its leads to the pre-amplifier or signal conditioning board. This board is crucial for converting the tiny photocurrent into a robust, low-noise voltage signal. Secure all circuit boards inside the housing using non-conductive spacers to prevent short circuits.
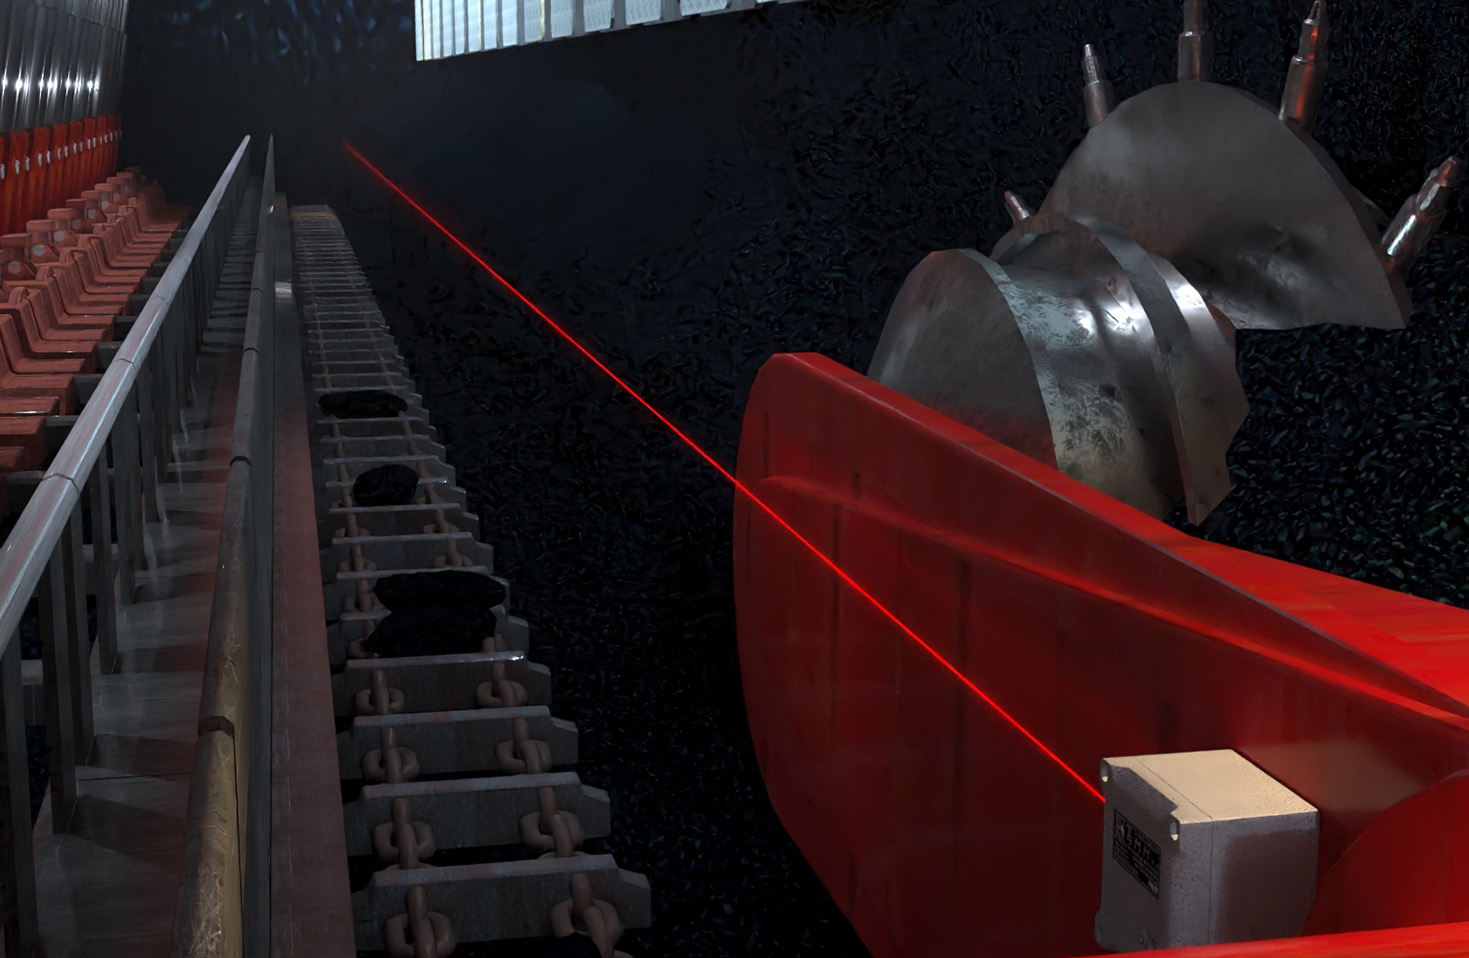
Now, integrate the electronic subsystems. Connect the laser driver board to the diode, ensuring current-limiting resistors are correctly valued to prevent overdrive, which drastically shortens diode lifespan. Connect the power supply lines, observing correct polarity. Many industrial laser sensors operate on 12-24V DC. Route wiring neatly, using cable ties or clamps to avoid stress on solder joints. Attach the output connector, ensuring pins are assigned correctly for power, ground, and the output signal (e.g., NPN/PNP open collector, analog voltage, or digital serial interface).
Before sealing the housing, initial testing is critical. Apply power briefly while monitoring the laser output with an appropriate power meter. Never look directly into the beam or its reflections. Check the beam profile and spot size at a reference distance. Then, test the detector response by introducing a target into the beam path. Observe the output signal on an oscilloscope or multimeter. Adjust potentiometers on the signal conditioning board for threshold, gain, or hysteresis as per the datasheet to achieve the desired switching or analog response characteristic.
Once functionality is confirmed, proceed to final assembly. Apply thread-locking compound to critical screws. If the sensor is rated for harsh environments (IP67/IP69K), install the sealing O-rings and gaskets meticulously. Use a calibrated torque wrench to tighten the housing screws evenly to achieve the specified ingress protection rating. For through-beam sensors, this process is done for both the separate transmitter and receiver units.
Post-assembly validation is mandatory. Perform a full calibration against known standards. This may involve checking the sensing range, repeatability, and response time. Environmental tests, such as brief exposure to temperature extremes or vibration, may be conducted to ensure robustness. Document all test results, including laser power output and sensor offset values.
Key to long-term reliability is understanding that laser sensors are not merely assembled but calibrated systems. Factors like ambient light immunity, temperature drift of the laser wavelength, and lens cleanliness all impact performance. Regular maintenance, such as cleaning the front window with approved solvents, is part of the lifecycle. Proper assembly, following these detailed steps and the specific manufacturer's instructions, ensures the laser sensor will deliver precise, non-contact detection or measurement, forming a reliable component in automation, quality control, and safety systems across manufacturing, packaging, and robotics industries.