Laser proximity sensors are critical components in modern industrial automation, providing precise, non-contact detection for positioning, counting, and inspection tasks. However, like all electronic devices, they are susceptible to failure due to environmental factors, mechanical stress, or component aging. Effective repair requires a systematic approach, combining diagnostic procedures with practical remediation techniques. This guide outlines a professional methodology for troubleshooting and repairing common laser sensor issues.
The initial step in any repair process is comprehensive diagnostics. Begin by verifying the symptom: is the sensor failing to detect objects, providing intermittent signals, or showing no power indication? Isolate the sensor from the control system if possible. Use a multimeter to check the power supply voltage at the sensor's terminals, ensuring it matches the rated input (commonly 12-24 VDC). An unstable or incorrect voltage often points to an external power supply or wiring issue rather than a sensor fault. Next, inspect the physical condition. Examine the sensor housing for cracks, the lens for dirt, oil mist, or physical damage, and the cable for cuts, fraying, or loose connections. Contamination on the lens is a frequent cause of reduced sensing range or false triggers. Clean the lens gently with a lint-free cloth and isopropyl alcohol.
If basic checks yield no results, proceed to internal inspection. Warning: Ensure the sensor is completely disconnected from power before opening the housing. Most industrial laser sensors are sealed but some models allow access to internal boards. Upon opening, visually inspect for obvious signs of damage: burnt components, bulging capacitors, cracked solder joints, or corrosion. Pay special attention to the laser diode module and the receiving phototransistor or photodiode. These are the core optical components. The laser diode can degrade over time, leading to diminished output power. A specialized optical power meter can measure the diode's output, but in field conditions, observing a bright, focused red dot (for visible laser types) on a surface can indicate basic functionality. Avoid direct eye exposure. The receiver circuit can be tested by simulating a reflection. Temporarily connecting a stable, low-current power source to the receiver output while monitoring the signal pin with an oscilloscope can help determine if the amplification and processing circuitry is functional.
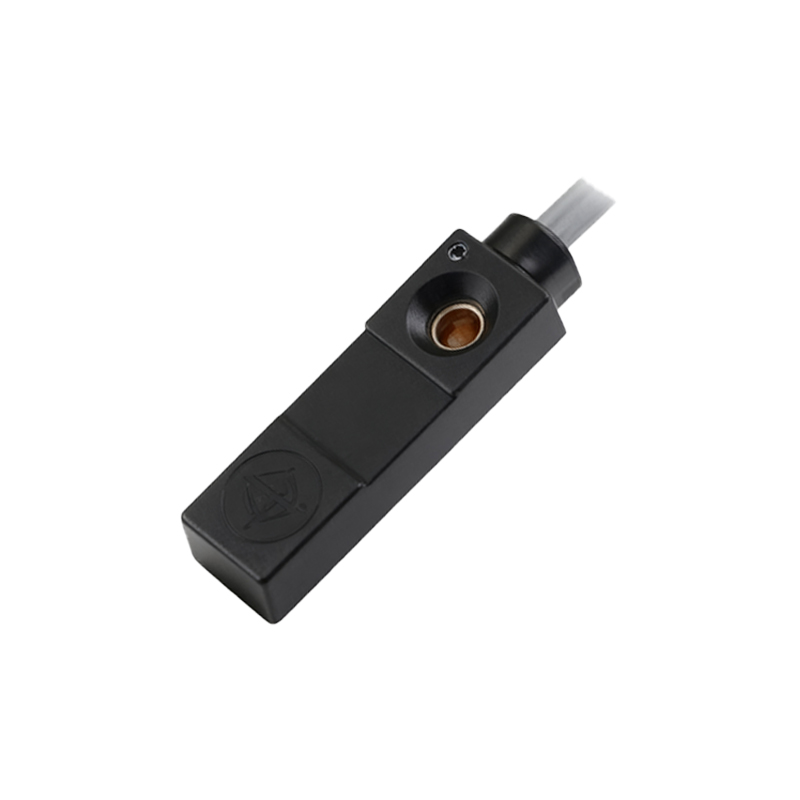
Common repairable faults include faulty wiring harnesses, damaged connectors, and failed output transistors or relays. For wiring issues, re-soldering broken connections or replacing the entire cable gland assembly may suffice. If the output stage (often an NPN/PNP transistor or a solid-state relay) is faulty, it can be desoldered and replaced with an identical or equivalent component, matching specifications precisely. For sensors with digital displays or communication interfaces (e.g., IO-Link), firmware corruption is a possibility. Consult the manufacturer for firmware recovery procedures, which may involve a specific programming tool.
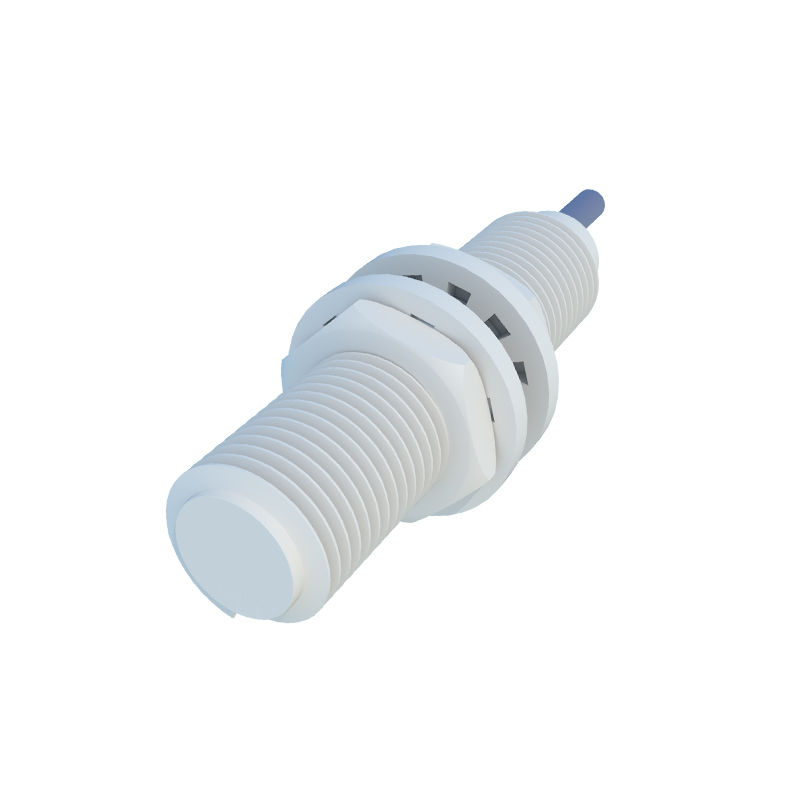
Calibration is crucial post-repair. After reassembling the sensor, perform a basic calibration using a target at a known distance. Adjust the potentiometers (if available) for sensitivity and response time according to the manufacturer's datasheet. Test the sensor across its intended sensing range and with different surface materials to ensure consistent performance.
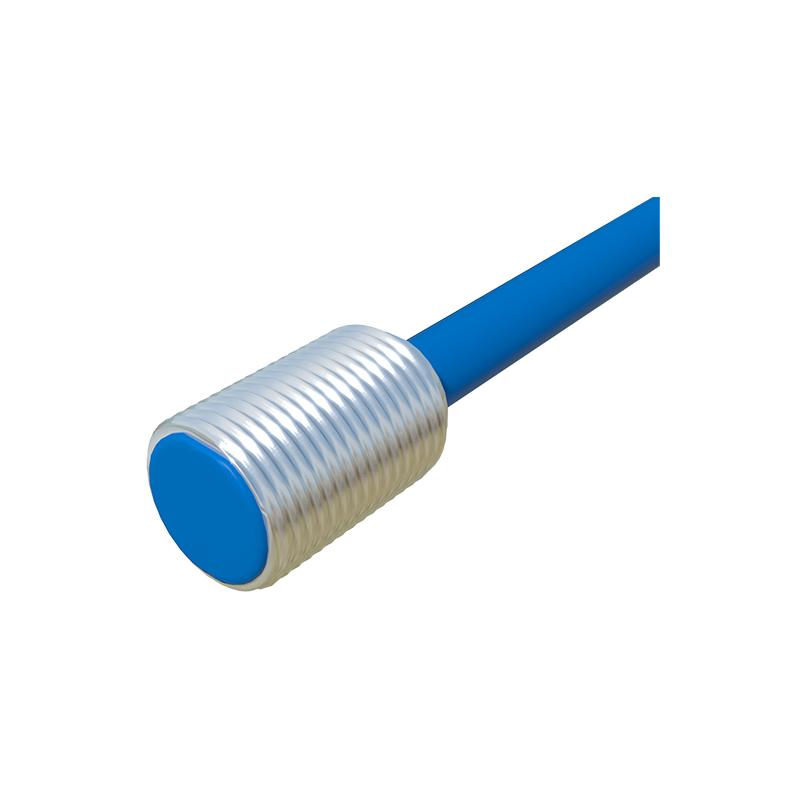
Preventive maintenance is key to longevity. Implement regular cleaning schedules for lenses, ensure stable and clean power, protect sensors from excessive vibration, and avoid operating them beyond specified environmental limits (temperature, humidity). While not all sensor failures are economically repairable—especially with highly integrated modern units—a methodical repair approach can restore functionality in many cases, reducing downtime and replacement costs. Always weigh the time and parts cost against the price of a new unit, and prioritize safety and manufacturer guidelines throughout the process.