In industrial automation and control systems, proximity switch sensors play a critical role in detecting the presence or absence of objects without physical contact. A key component ensuring their reliable operation is the locking nut, which secures the sensor in place. Proper installation and maintenance of this nut are essential for accuracy, durability, and safety. This guide covers best practices for handling proximity switch sensor locking nuts, addressing common challenges and solutions.
First, understand the design and function of the locking nut. Typically made from materials like stainless steel or brass, it resists corrosion and withstands harsh environments. The nut threads onto the sensor’s body, allowing adjustment of the sensing distance before tightening to lock the position. Incorrect installation—such as over-tightening or under-tightening—can lead to sensor misalignment, false triggers, or mechanical failure. Always refer to the manufacturer’s specifications for torque values, which usually range from 5 to 20 Nm depending on the sensor size and application.
Installation begins with preparing the mounting hole. Ensure it is clean, debris-free, and matches the sensor’s diameter. Insert the sensor into the hole, then hand-tighten the locking nut to avoid cross-threading. Use a calibrated torque wrench to apply the recommended torque evenly. Avoid tools like pliers that can damage the nut’s surface or strip threads. For sensors in high-vibration areas, consider adding a thread-locking adhesive to prevent loosening over time.
Regular maintenance is crucial for long-term performance. Inspect the locking nut periodically for signs of wear, corrosion, or loosening. In environments with extreme temperatures or exposure to chemicals, schedule more frequent checks. If re-adjustment is needed, loosen the nut carefully, reposition the sensor, and re-tighten to the specified torque. Never reuse a damaged nut—replace it immediately to maintain integrity.
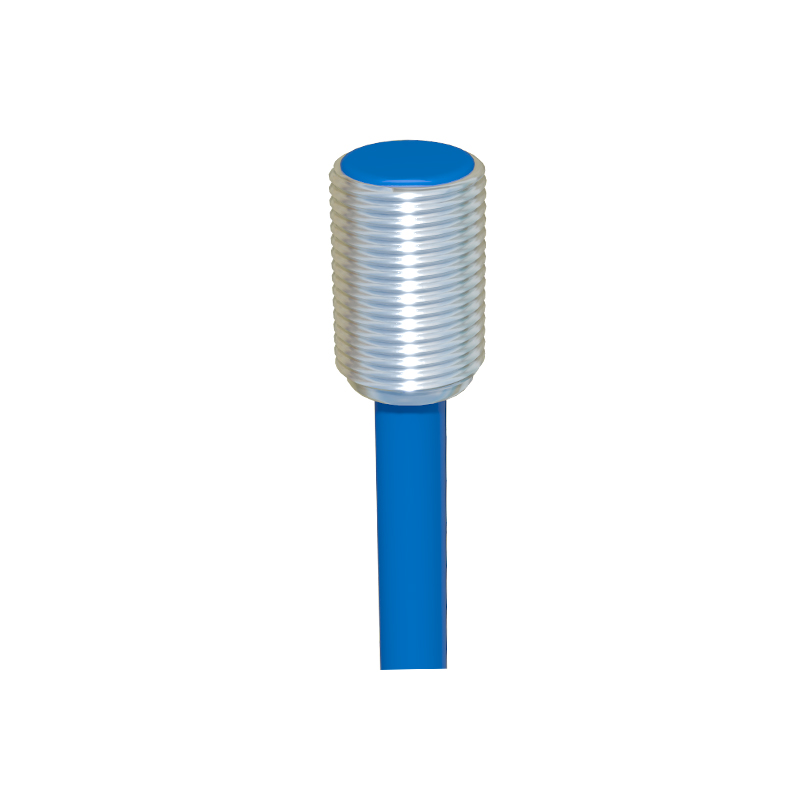
Common issues include sensor drift due to nut slippage and false readings from improper alignment. To troubleshoot, verify the torque setting and ensure the mounting surface is flat. For waterproof sensors, check that the nut’s sealing function is intact to prevent fluid ingress. In summary, the locking nut may seem minor, but it is vital for sensor stability. By following these guidelines, engineers can enhance system reliability and reduce downtime.
For advanced applications, such as high-speed machinery or hazardous locations, consult industry standards like IEC 60947-5-2. Investing in quality nuts and proper training for technicians pays off in reduced maintenance costs and improved operational efficiency. Remember, a well-secured sensor is the foundation of precise automation.