Adjusting the angle of a laser sensor is a critical task in industrial automation, measurement, and alignment applications. Proper alignment ensures accurate detection, precise measurements, and reliable system performance. This guide provides a systematic approach to adjusting laser sensor angles, tailored for engineers and technicians in the electrical and automation fields.
First, understand the basic principles. Laser sensors operate by emitting a focused beam of light toward a target. The reflected or interrupted beam is detected by the sensor's receiver. The angle between the sensor and the target surface directly influences the beam's path, reflection quality, and detection consistency. For diffuse reflection sensors, the angle affects the amount of light returning to the receiver. For through-beam or retro-reflective sensors, alignment is even more crucial to ensure the beam hits the receiver accurately.
Before adjustment, gather necessary tools: a stable mounting fixture, precision adjustment tools (such as goniometers or adjustable brackets), a calibrated target or test object, and safety equipment like laser safety goggles. Ensure the sensor is powered off during initial mounting to prevent accidental exposure or damage.
Step 1: Initial Mounting and Rough Alignment
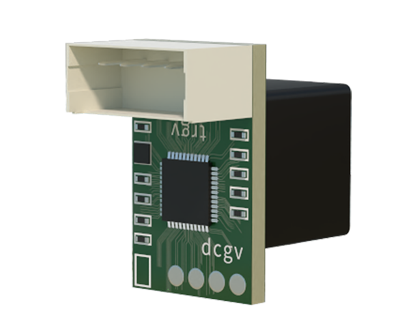
Mount the sensor securely on a bracket or fixture that allows rotational and tilt adjustments. Position it approximately at the desired location and orientation. Use a spirit level or digital inclinometer to achieve a rough horizontal or vertical alignment as per the design specifications. For through-beam sensors, roughly align the emitter and receiver so that the beam path is unobstructed.
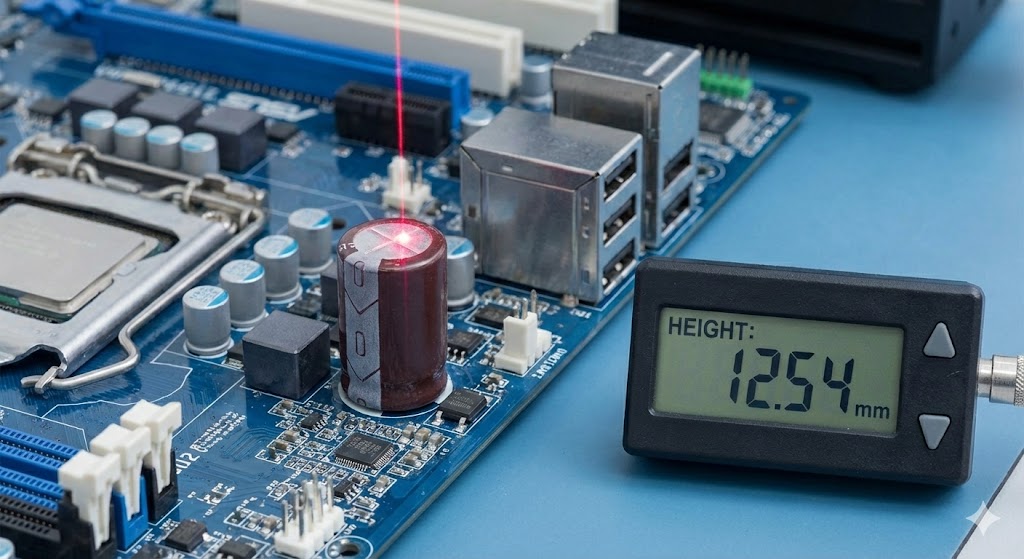
Step 2: Power On and Preliminary Testing
Power on the sensor and observe its indicator lights or output signals. Many laser sensors have built-in LEDs that show alignment status—green for good alignment, red or flashing for misalignment. Use a test target (e.g., a white card or a dedicated calibration plate) placed at the nominal sensing distance. Check if the sensor detects the target consistently. If not, proceed to fine adjustment.
Step 3: Fine-Tuning the Angle
For fine adjustment, use the sensor's adjustment screws or the bracket's fine-control mechanisms. Make small, incremental changes—typically in degrees or fractions of a degree. Adjust one axis at a time (e.g., horizontal angle first, then vertical tilt). Monitor the sensor's response in real-time using a multimeter, oscilloscope, or the system's monitoring software. For analog sensors, observe the output voltage or current; for digital sensors, check the signal stability.
A common technique is the "peak detection" method: adjust the angle until the sensor output reaches its maximum stable value, indicating optimal alignment. For diffuse reflection sensors, this maximizes the reflected signal. For through-beam types, align until the receiver signal is strongest and free of fluctuations.
Step 4: Verification and Stability Testing
After achieving the desired angle, lock the adjustment mechanisms securely to prevent drift from vibrations or thermal changes. Perform a verification test by moving the target through the entire sensing range or varying environmental conditions (e.g., ambient light changes). Ensure the sensor maintains consistent detection without false triggers or misses. Document the final angle settings and sensor parameters for future reference.
Step 5: Integration and System Calibration
Integrate the adjusted sensor into the larger control system. Calibrate the system by correlating sensor outputs with physical measurements. For example, in a positioning system, verify that the sensor's readings match the actual displacement or angle of the target. Use calibration software or manual logs to record offset values if necessary.
Important Considerations:
- Safety: Always adhere to laser safety standards (e.g., IEC 60825). Avoid direct eye exposure to the beam, especially with high-power lasers.
- Environmental Factors: Consider factors like temperature, humidity, and dust, which can affect beam propagation and alignment stability.
- Regular Maintenance: Schedule periodic checks to re-adjust angles if the sensor is subject to mechanical stress or environmental drift.
Advanced applications, such as LiDAR or precision metrology, may require automated alignment systems with motorized stages and feedback loops. However, the fundamental principles of careful manual adjustment remain essential for most industrial setups.
In summary, adjusting a laser sensor angle involves precise mechanical alignment, real-time signal monitoring, and thorough testing. Mastery of this skill enhances system accuracy and reduces downtime, making it a valuable competency for electrical engineers working in automation, robotics, and quality control.