Proximity sensors are critical components in modern industrial automation, enabling non-contact detection of objects with high precision and reliability. Proper adjustment of these sensors is essential to ensure optimal performance, minimize false triggers, and extend equipment lifespan. This guide provides a step-by-step approach to adjusting proximity sensors, covering key principles, common challenges, and best practices for engineers and technicians.
Understanding the working principle of proximity sensors is the foundation for effective adjustment. Inductive sensors detect metallic objects by generating an electromagnetic field, while capacitive sensors respond to both metallic and non-metallic materials based on changes in capacitance. Photoelectric sensors use light beams to detect objects, and ultrasonic sensors rely on sound waves. Each type requires specific adjustment techniques tailored to its operating mechanism.
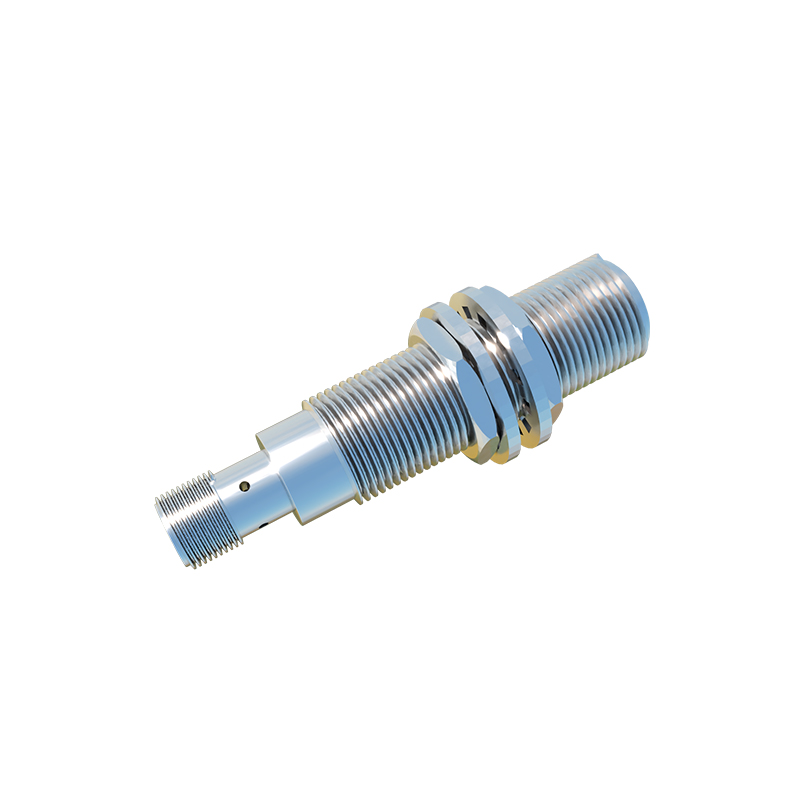
The adjustment process begins with sensor selection and installation. Ensure the sensor is compatible with the target material, size, and environmental conditions. Mount the sensor securely, aligning it perpendicular to the detection surface to maximize sensitivity. Maintain the recommended sensing distance, typically specified as a percentage of the nominal range (e.g., 70-80% for inductive sensors). Avoid mounting near metal surfaces or other sensors to prevent interference.
Electrical configuration is the next critical step. Connect the sensor to the power supply according to the manufacturer’s wiring diagram, observing polarity for DC sensors. Set the output mode (NPN or PNP) to match the control system. Use a multimeter or oscilloscope to verify the output signal stability under no-load and loaded conditions. Adjust the response time if applicable, balancing speed and noise immunity based on application requirements.
Sensitivity adjustment is often the most nuanced aspect of proximity sensor tuning. Most sensors feature a potentiometer or digital interface for sensitivity calibration. Start by placing a standard target object at the desired sensing distance. Gradually increase sensitivity until the sensor reliably detects the object, then reduce it slightly to avoid oversensitivity to environmental disturbances like dust, humidity, or temperature fluctuations. For applications involving small or fast-moving objects, fine-tune the hysteresis setting to prevent chattering.
Environmental factors significantly impact sensor performance. In high-vibration environments, use sensors with robust housings and anti-vibration mounts. For extreme temperatures, select models with extended operating ranges and compensate for thermal drift during adjustment. In dusty or wet areas, opt for sealed sensors (IP67 or higher) and regularly clean the sensing face. Electromagnetic interference (EMI) from motors or frequency drives can be mitigated by shielding cables and maintaining proper grounding.
Testing and validation are indispensable after adjustment. Conduct a series of tests with actual target objects under normal operating conditions. Check for false positives by introducing non-target materials near the sensing area. Monitor the sensor’s response over time to ensure consistency. Document the adjustment parameters, including sensitivity settings, sensing distance, and environmental conditions, for future maintenance or troubleshooting.
Common issues during adjustment include unstable detection, reduced sensing range, or premature failure. Unstable detection often stems from improper sensitivity settings or electrical noise—recalibrate sensitivity and inspect wiring for loose connections. A reduced sensing range may indicate sensor degradation or contamination; clean the sensing face and verify the power supply voltage. For persistent failures, consult the manufacturer’s diagnostics guide or consider replacing the sensor if it exceeds its service life.
Advanced techniques involve using programmable sensors with teach-in functions or integrating sensors with PLCs for dynamic adjustment. Smart sensors with IO-Link or analog outputs allow real-time monitoring and remote calibration, enhancing adaptability in complex systems. Always prioritize safety by disconnecting power during adjustment and following lockout-tagout (LOTO) procedures in industrial settings.
In summary, meticulous adjustment of proximity sensors enhances system efficiency and reduces downtime. By combining theoretical knowledge with hands-on practices, engineers can achieve reliable operation across diverse industrial applications. Regular maintenance, coupled with proactive adjustment in response to environmental changes, ensures long-term sensor performance and contributes to seamless automation processes.