Proximity sensors are ubiquitous in modern industrial automation, robotics, and consumer electronics. Their primary function is to detect the presence or absence of an object without physical contact. Given their critical role in ensuring system reliability and safety, determining whether a proximity sensor is functioning correctly is a fundamental skill for maintenance technicians, engineers, and hobbyists. A faulty sensor can lead to costly downtime, production errors, or even safety hazards. This guide outlines practical methods to test and assess the health of a proximity sensor, helping you distinguish between a good and a bad unit.
First, understanding the basic types is crucial. The most common varieties are inductive (for detecting metals), capacitive (for detecting both metals and non-metals), and photoelectric sensors. Each type has distinct operating principles and testing considerations. Always refer to the sensor's datasheet for its specific specifications, including sensing distance, supply voltage, output type (PNP/NPN, NO/NC), and housing material.
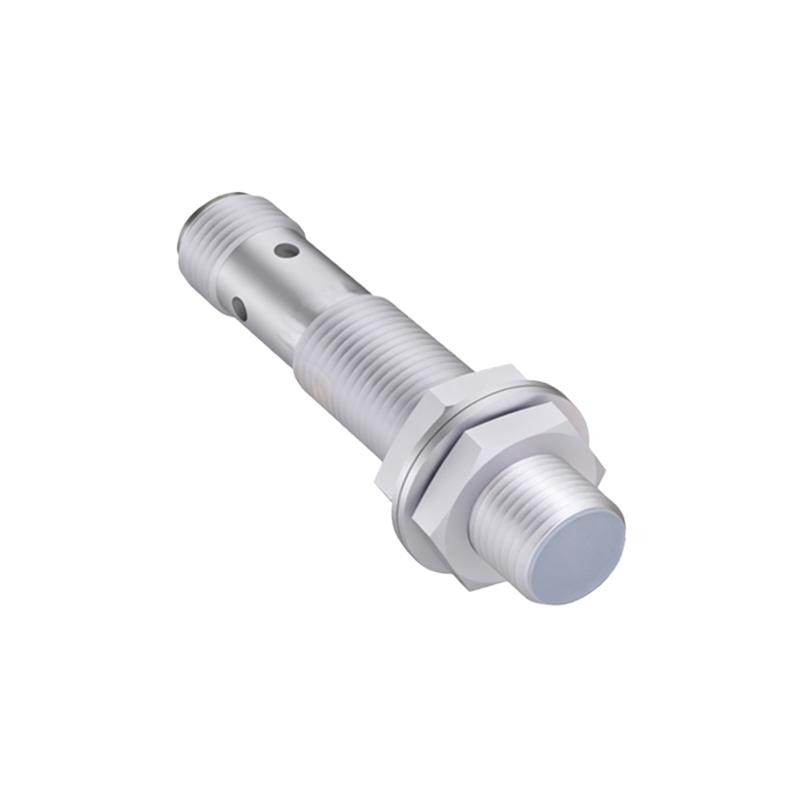
The initial step in evaluation is a thorough visual inspection. Look for obvious signs of damage such as cracks in the housing, bent or broken sensing faces, corrosion on the electrical connections, or melted components. Environmental factors like excessive moisture, oil contamination, or physical impact are common culprits for sensor failure. Ensure the sensor is clean, as accumulated debris on the sensing surface can significantly reduce its effective range or cause false triggers.
Next, verify the electrical connections and power supply. A sensor receiving incorrect voltage will not operate properly. Using a multimeter, check that the supply voltage (typically 10-30V DC for many industrial sensors) at the sensor's terminals matches the required specification. Loose wiring, poor connections, or damaged cables can cause intermittent operation, which is often mistaken for sensor failure. Inspect the cable for cuts, pinch points, or exposed wires.
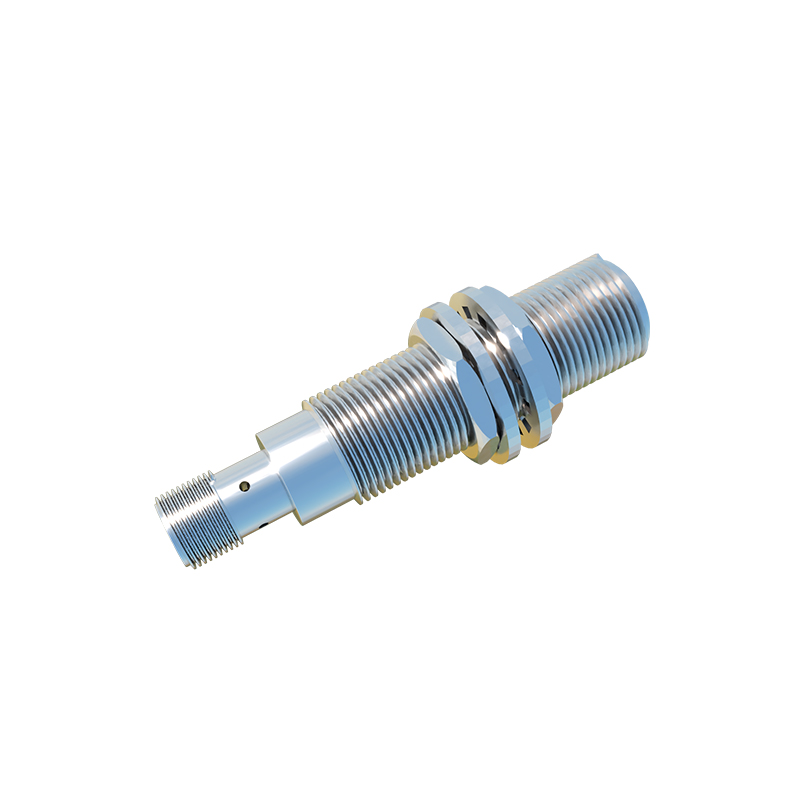
The core of testing involves checking the sensor's response to a target. For this, you will need a known-good target object appropriate for the sensor type (e.g., a piece of mild steel for an inductive sensor). Important: Always follow lock-out/tag-out (LOTO) procedures when working on powered equipment.
1. Power and Indicator Check: With power applied, many sensors have an LED indicator. Observe its behavior. A solid or blinking LED often signifies power and sometimes output status. Consult the manual for the specific indicator codes. No light usually indicates a power or internal fault.
2. Output Signal Test: This is the definitive test. Connect your multimeter to the output wire (usually the black or blue wire) and the common (usually the brown or black wire). Set the multimeter to measure DC voltage. Slowly bring the target object into the sensor's sensing field. For a normally open (NO) sensor, the output voltage should switch from a low state (near 0V or supply voltage, depending on PNP/NPN) to a high state (near supply voltage or 0V) when the target is within range. A normally closed (NC) sensor will behave oppositely. The change should be crisp and repeatable at the specified sensing distance. A sluggish response, failure to switch, or a voltage that doesn't reach the full supply level indicates a problem.
3. Sensing Distance Test: The rated sensing distance (Sn) is specified for a standard target. Using a non-metallic ruler or caliper, measure the exact distance at which the sensor consistently triggers. A good sensor will trigger very close to its rated distance. A significant reduction in operating distance (e.g., less than 50-60% of Sn) often points to internal component degradation or damage. Be aware that factors like target size, material, and temperature can affect this distance.
4. Load Simulation Test: In some cases, a sensor might appear to work with a multimeter's high-impedance input but fail under its rated load (e.g., a relay coil or PLC input). If possible, test the sensor by connecting it to its intended load or a suitable test load (like a pilot lamp or a resistor) to confirm it can sink or source the required current reliably.
Common symptoms of a bad proximity sensor include:
No Output: No change in output state regardless of target presence.
Intermittent Operation: Output flickers or works inconsistently.
Reduced Sensing Range: Only detects objects at a much closer distance.
Stuck Output: Output remains constantly high or low.
Overheating: The sensor becomes unusually hot during operation.
Troubleshooting should also consider external factors. Electrical noise from nearby motors or variable frequency drives can interfere with sensor operation. The presence of other metal objects in the sensing field can cause shielding or masking effects. Always ensure the sensor is properly installed, with adequate clearance