Proximity sensors are critical components in modern automation, manufacturing, and consumer electronics. They detect the presence or absence of nearby objects without physical contact, relying on electromagnetic fields, infrared light, or ultrasonic sound. Over time, these sensors can fail due to environmental factors, electrical surges, mechanical damage, or simple wear and tear. Knowing when and how to replace a proximity sensor is essential for maintaining system uptime and operational efficiency.
The first step in any replacement process is accurate diagnosis. Not all system faults are caused by a failed sensor. Begin by checking for obvious signs of damage, such as cracks in the housing, bent connectors, or corrosion on the metal sensing face. Use a multimeter to verify the power supply voltage at the sensor's terminals matches the specifications on its nameplate. Next, monitor the output signal. For a standard DC sensor, you should observe the voltage switching between high and low states as a metal target enters and leaves the sensing field. A lack of change in the output signal, despite a confirmed target presence and correct power, strongly indicates a faulty sensor.
Once a faulty sensor is confirmed, the replacement procedure begins. Safety is paramount. Always lock out and tag out the electrical power to the machine or control panel. Ensure any pneumatic or hydraulic pressure is fully drained if the sensor is integrated into a cylinder. Carefully disconnect the electrical wiring. It is highly recommended to take a photograph of the wiring connections before disassembly or label each wire according to its terminal number. This prevents errors during reconnection, which can lead to reverse polarity or short circuits.
Selecting the correct replacement sensor is crucial. Do not assume a physically identical sensor is functionally identical. Key specifications must match:
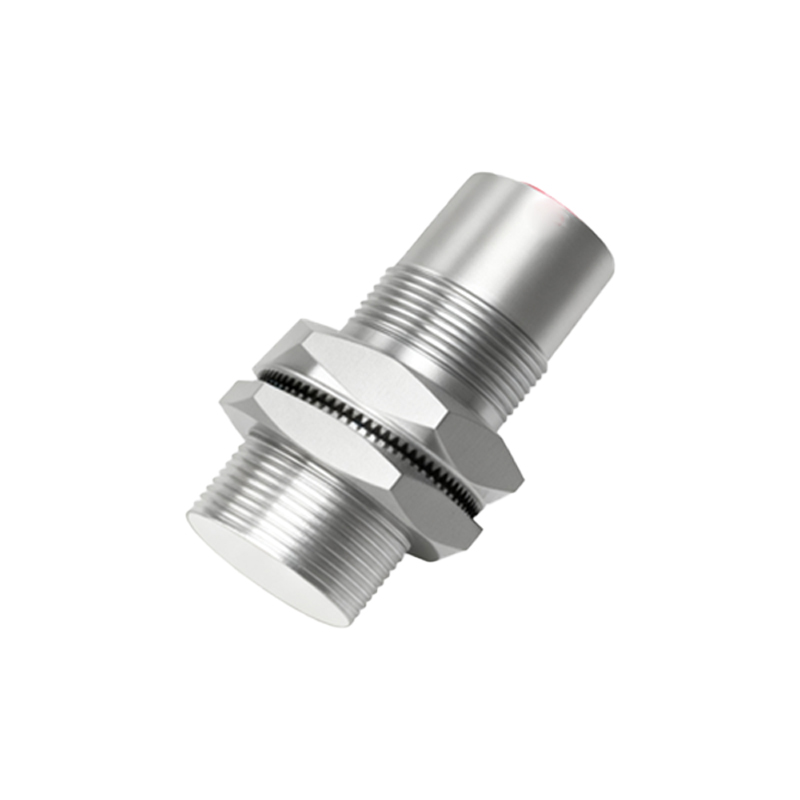
1. Sensing Technology: Inductive (for metals), capacitive (for various materials including liquids), or photoelectric.
2. Sensing Range: The maximum distance at which it can reliably detect a standard target.
3. Output Type: NPN (sinking) or PNP (sourcing) for DC sensors; Normally Open (NO) or Normally Closed (NC) contacts.
4. Electrical Ratings: Operating voltage (e.g., 10-30V DC) and current output.
5. Housing Size and Style: Cylindrical (e.g., M8, M12, M18, M30 threaded barrels) or rectangular block styles.
6. Connection Type: Pre-wired cable, quick-disconnect (QD) connector, or terminal block.
7. Environmental Rating: IP (Ingress Protection) rating for dust and water resistance, and suitability for washdown or hazardous areas.
After acquiring the correct part, install the new sensor. For threaded barrel sensors, screw it into the mounting bracket by hand to avoid cross-threading, then tighten to the specified torque. For block-style sensors, ensure the mounting screws are secure. Proper alignment is critical. The sensing face must be positioned correctly relative to the target's path. Even a small misalignment can drastically reduce the effective sensing range. Refer to the sensor's datasheet for the recommended gap between the sensor and the target.
Reconnect the wiring precisely as it was on the old sensor, using your photo or labels as a guide. Before restoring full power, perform a preliminary check. If possible, apply power in a controlled manner and use a multimeter or the machine's diagnostic interface to verify the new sensor is switching correctly when a target is presented. Finally, conduct a full operational test. Cycle the machine through its normal functions, monitoring the sensor's performance over several repetitions to ensure consistent and reliable detection.
Preventive maintenance can extend the life of proximity sensors. Regularly clean the sensing face of debris, dust, or oil buildup that can interfere with operation. Inspect mounting hardware for looseness caused by vibration. Check cable connections and strain reliefs to prevent wire fatigue. Keeping a small inventory of critical spare sensors for your most important machines can minimize costly downtime when a failure eventually occurs.
In summary, successful proximity sensor replacement hinges on accurate fault diagnosis, meticulous attention to specification matching during part selection, and careful installation focused on alignment and correct wiring. Following a structured approach ensures a swift return to normal operation and maintains the reliability of your automated systems.