In the modern smartphone, a multitude of sensors work silently in the background to enable intuitive and seamless user interactions. Among these, the proximity sensor plays a crucial, yet often overlooked, role. Its primary function is to detect the presence of nearby objects, particularly the user's face, without any physical contact. This capability is fundamental to several key features that define the smartphone experience. When you make a phone call and the screen turns off as you bring the device to your ear, that's the proximity sensor at work. This action prevents accidental screen touches from your cheek or ear, conserving battery life and ensuring the call isn't disrupted. Similarly, the sensor is employed to turn off the screen when the phone is placed face down or inside a pocket, and it can enable features like "Raise to Wake" or prevent the screen from dimming during a call if the phone is held away from the face.
The underlying technology for most proximity sensors is based on infrared (IR) light. A typical sensor module consists of an IR LED emitter and an IR photodiode receiver. The emitter sends out a beam of invisible infrared light. When an object comes close to the phone, this light reflects off the object and is detected by the receiver. The sensor's controller chip measures the intensity of the reflected light. A significant increase in intensity indicates a nearby object, triggering the system to perform the designated action, such as blanking the screen. Some advanced systems may use a time-of-flight (ToF) principle for more precise distance measurement.
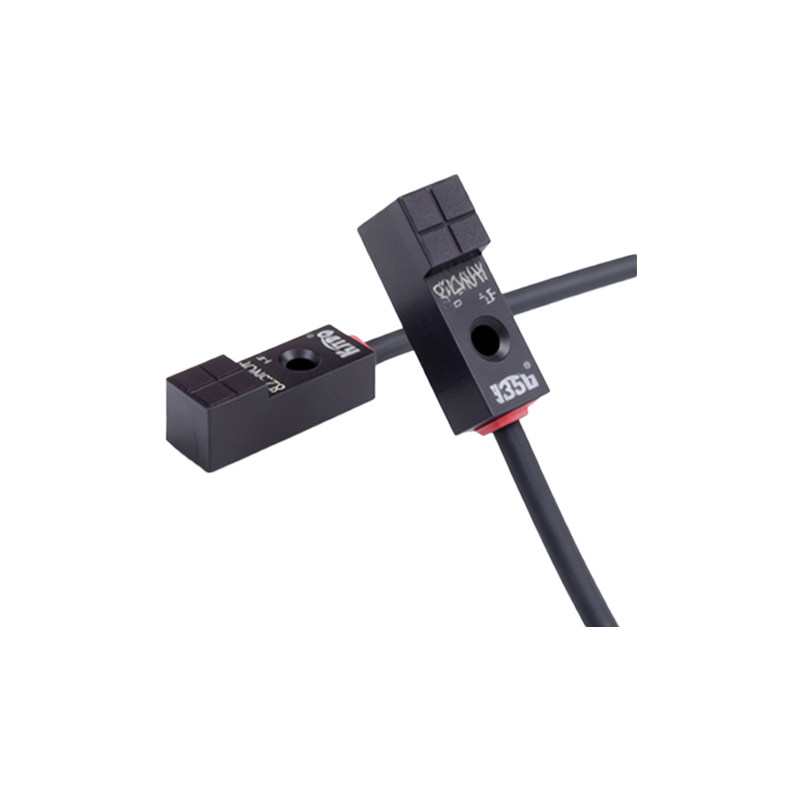
Given its importance for core functionality, rigorous testing of the proximity sensor is a critical phase in both the manufacturing process and quality assurance for mobile devices. Effective testing ensures reliability, user satisfaction, and prevents common issues like the screen failing to turn off during calls or turning off prematurely. Testing methodologies can be broadly categorized into hardware-level validation and software/functional verification.
At the hardware and production level, testing often involves specialized calibration and validation equipment. This equipment uses calibrated targets or simulated objects at precise distances to verify the sensor's response curve. Engineers test parameters such as the detection range (typically 1-5 cm for face detection), response time, and consistency under different environmental conditions. The sensor must be calibrated to account for variations in the IR emitter's output and the receiver's sensitivity, as well as the optical properties of the phone's front glass, which can affect light transmission. Automated test stations in factories can perform these calibrations rapidly, programming compensation values into the device's firmware to ensure uniform performance across all units.
For software, functional, and end-user testing, several methods are commonly employed. The most straightforward test is the "ear test" during a phone call. Simply make a call, bring the phone close to your ear, and observe if the screen turns off. Moving it away should immediately wake the screen. This tests the real-world use case. Most smartphones also have built-in diagnostic menus or secret codes that can be entered into the dialer to access hardware test modes. These menus often include a dedicated proximity sensor test. When activated, the test usually displays the raw sensor data or a simple pass/fail indicator. Placing your hand over the sensor should change the reading or status.
Third-party applications available on app stores can also provide detailed diagnostic information. These apps can graph the sensor's real-time output, showing the detected reflection intensity. This is useful for identifying intermittent issues or sensors that are only partially functional. Furthermore, developers and testers use automated testing frameworks, like those in Android's Accessibility Test Suite or using tools like Appium, to script test scenarios that programmatically trigger the sensor and verify the system's response (e.g., screen state change) without manual intervention.
Common problems identified during testing include sensor failure (no response), erratic behavior (screen flickering on and off), and reduced sensitivity due to hardware obstructions. Obstructions are a frequent culprit; a poorly applied screen protector, especially a thick or metallic one, can block or scatter the IR light. Accumulated dirt or debris in the earpiece grille where the sensor is usually located can also impair function. In some cases, software bugs or conflicts after a system update can cause the sensor to malfunction, which may be resolved through a software patch or a factory reset.
Best practices for comprehensive proximity sensor testing involve a multi-layered approach. It should begin with precise hardware calibration during manufacturing. Quality assurance must include functional tests in controlled environments and real-world scenarios, such as testing with different skin tones and under various lighting conditions (bright sunlight can contain IR interference). Automated regression tests should be part of the software development cycle to catch bugs introduced by new code. Finally, for end-users troubleshooting issues, a logical sequence is recommended: check for physical obstructions, reboot the device, test in diagnostic mode, and if problems persist, seek professional repair as the sensor