Proximity sensors are indispensable components in modern automation, manufacturing, and consumer electronics. They detect the presence or absence of an object within a specific range without physical contact. However, to ensure reliable and accurate operation, proper calibration is a critical step often overlooked. Calibration aligns the sensor's output with its actual detection performance, minimizing false triggers and missed detections. This guide outlines a systematic, best-practice approach to calibrating various types of proximity sensors.
Before initiating calibration, understanding the sensor type is paramount. The two most common categories are inductive and capacitive sensors. Inductive sensors detect metallic objects, while capacitive sensors can detect both metallic and non-metallic materials, including liquids and powders. Other types include ultrasonic and photoelectric sensors, each with distinct operating principles. Always consult the manufacturer's datasheet for specific specifications, including sensing range, output type (e.g., NPN/PNP, analog, digital), and recommended operating conditions.
The calibration process generally follows a sequence of preparation, adjustment, and verification. Begin by ensuring a safe work environment. Disconnect power to the machinery or system to prevent accidental activation. Physically inspect the sensor for any damage, contamination, or loose wiring. Clean the sensing face from dust, oil, or debris, as these can significantly affect performance, especially for capacitive sensors.
Next, identify the calibration controls. Most proximity sensors feature potentiometers (small adjustable screws) or teach-in buttons for setting the sensing distance or sensitivity. Some advanced models use software-based configuration via a connected interface. The core principle is to adjust the sensor's response threshold.
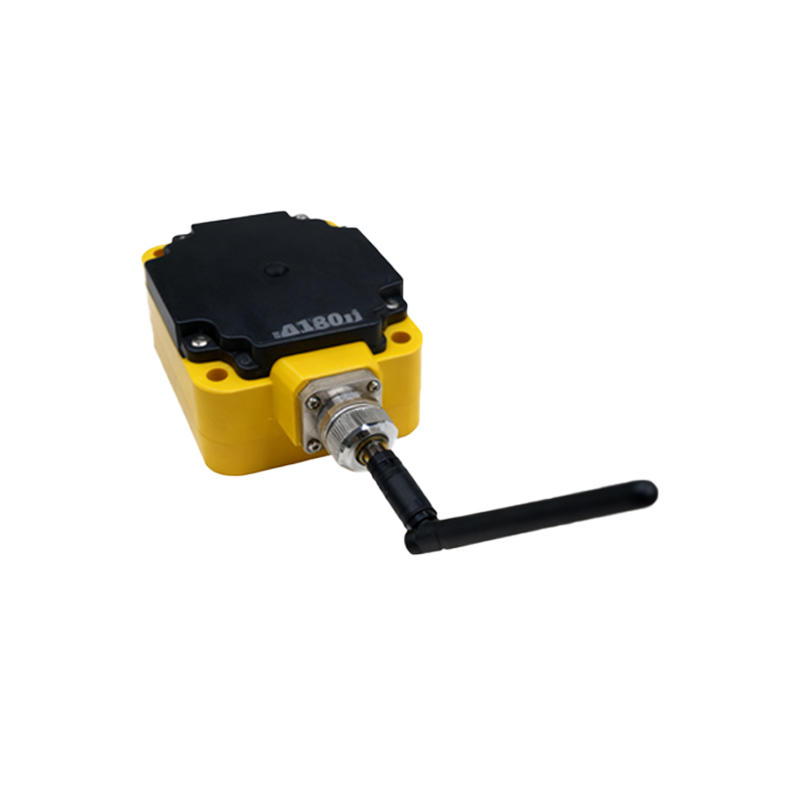
For a standard digital output sensor, the typical calibration procedure is as follows. First, power the sensor and connect a monitoring device, such as a multimeter set to measure voltage, or an LED indicator connected to the output line. This allows you to observe the sensor's switching state clearly. Position the correct target object—the standard target specified by the manufacturer, usually a square metal plate for inductive sensors—at the desired nominal sensing distance. This is the distance at which you want the sensor to reliably detect the object.
Slowly adjust the sensitivity potentiometer. Turn it until the output just switches state (e.g., from OFF to ON). This point is the activation threshold. Now, move the target object slightly closer to the sensor. The output should remain in the active state. Then, slowly move the target away from the sensor until the output switches back to its original state. This is the release point. The difference between the activation and release points is the hysteresis, which prevents output chatter when a target is on the edge of the detection zone. Fine-tune the potentiometer so that the activation occurs consistently at the required nominal distance, with a stable hysteresis band. For applications requiring precise positioning, analog output sensors need calibration against a known distance standard to map the output signal (e.g., 4-20mA or 0-10V) linearly to the measured distance.
Environmental factors are crucial. Calibrate the sensor in the actual operating environment or a close simulation. Temperature, humidity, and the presence of other materials or electrical noise can influence sensor behavior. For instance, a capacitive sensor calibrated in air might false-trigger when installed near a metal conveyor frame unless its sensitivity is adjusted downward to ignore that background. Similarly, inductive sensors can be affected by adjacent metallic structures.
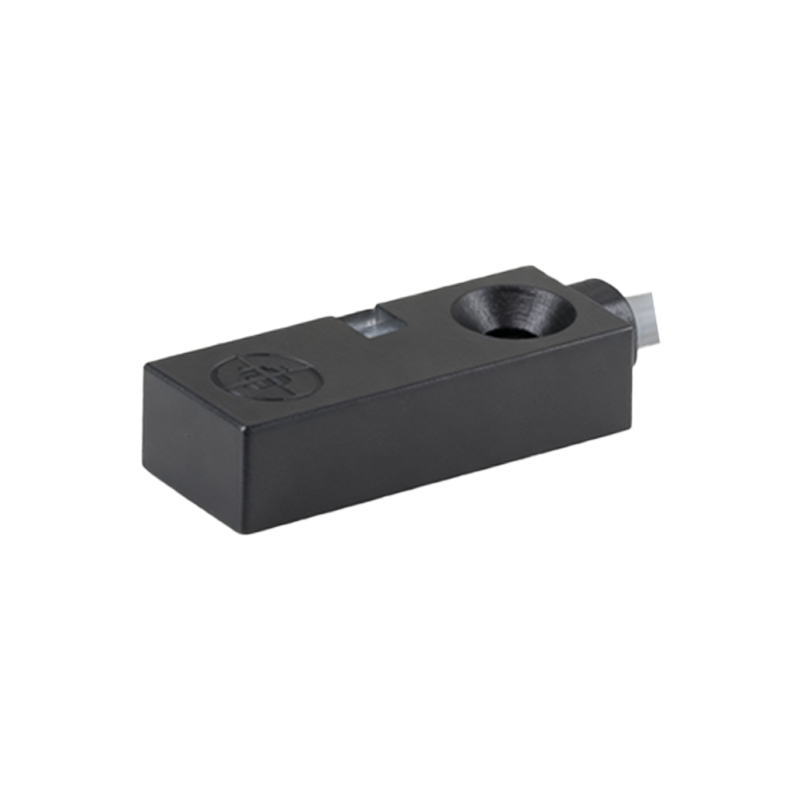
After adjustment, rigorous testing is mandatory. Do not rely on a single successful trigger. Cycle the target object into and out of the sensing zone multiple times at varying speeds and angles representative of the real process. Test with potential interfering objects that should not trigger the sensor. Verify the consistency of the response. For critical applications, document the calibration settings and environmental conditions.
Common calibration pitfalls include using an incorrect target material or size, calibrating without the target in motion (static calibration may differ from dynamic performance), and neglecting to account for installation conditions like flush or non-flush mounting for inductive sensors. Always allow the sensor to warm up for a few minutes if it has been powered off, as electronic drift can occur.
Regular recalibration is part of a robust maintenance schedule. Vibration, thermal cycling, and component aging can cause drift over time. The frequency depends on the application's criticality and the operating environment. A simple periodic check with a standard target can confirm if recalibration is needed.
In summary, effective proximity sensor calibration is a methodical blend of understanding sensor technology, meticulous adjustment using the correct target, and comprehensive environmental testing. It transforms a generic component into a reliable and precise tool, ensuring system integrity, reducing downtime, and maintaining product quality. Investing time in proper calibration pays significant dividends in operational reliability.