Proximity sensors are indispensable components in modern automation, manufacturing, and countless electronic devices. They detect the presence or absence of an object without physical contact, relying on electromagnetic fields, light, or sound. Ensuring these sensors function correctly is critical for system reliability, safety, and efficiency. This guide outlines practical methods for testing various types of proximity sensors.
Understanding the primary types is the first step. Inductive proximity sensors detect metallic objects. Capacitive sensors can detect both metallic and non-metallic materials, including liquids and powders. Ultrasonic sensors use sound waves, while photoelectric sensors utilize light beams. Each type requires a slightly different testing approach, though many share common diagnostic principles.
A fundamental and safe starting point is a visual inspection. Check the sensor's housing for any visible damage, cracks, or corrosion. Ensure the sensing face is clean and free from obstructions like dirt, metal shavings, or oil, which can severely impair performance. Verify that all electrical connections to the sensor—the power supply, load, and any ground wires—are secure, properly seated, and free from fraying.
For basic electrical testing, a digital multimeter (DMM) is essential. First, confirm the power supply voltage at the sensor's terminals matches its specifications (commonly 10-30V DC or 90-250V AC). With power applied, you can test the output. For a standard DC sensor, set your DMM to measure DC voltage. Connect the meter's probes between the output wire (often black or blue) and the negative (0V) wire. When the sensor is in its normal state (no target present), note the reading. Then, introduce a valid target object into the sensor's detection range. The output voltage should change dramatically. A sinking (NPN) sensor will switch from a high voltage (close to the supply voltage) to a low voltage (near 0V). A sourcing (PNP) sensor will switch from a low voltage to a high voltage. This clear switching action confirms basic functionality.
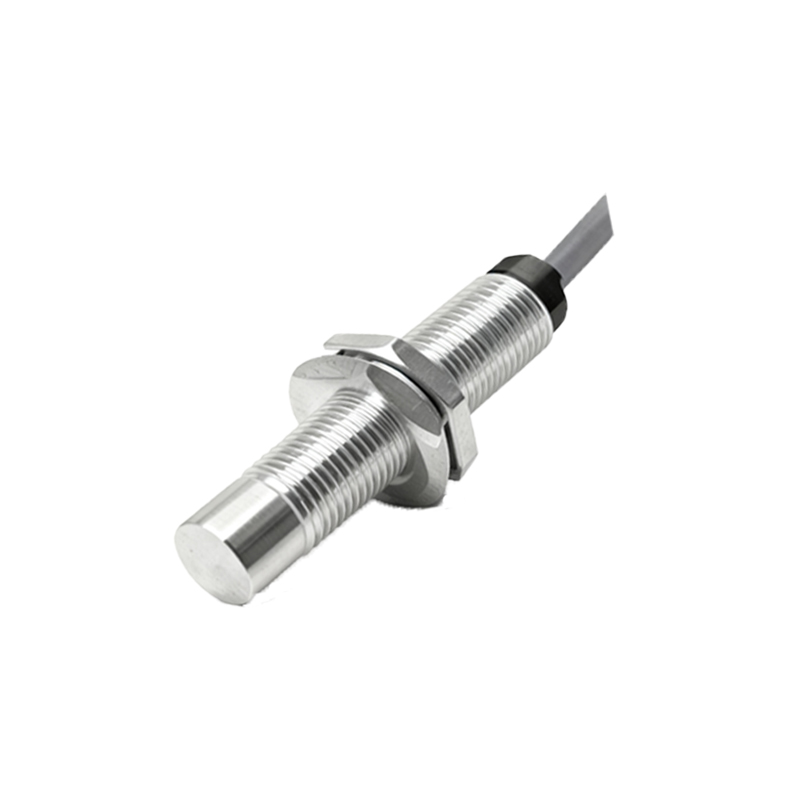
The response of an LED indicator, if present, provides immediate visual feedback. Most proximity sensors have an LED that illuminates or changes color when an object is detected. Observe this LED as you bring a target into and out of the sensing field. The LED should respond consistently and promptly. A flickering or inconsistent LED can indicate a failing sensor, power instability, or an incorrect sensing distance.
Testing the sensing range and repeatability is crucial for performance validation. Refer to the sensor's datasheet for its nominal sensing distance (Sn). Using a calibrated target (the correct material and size specified by the manufacturer), slowly move the target toward the sensor's face. Mark the distance at which the sensor activates (the "switch-on point"). Then, slowly move the target away and mark the distance where it deactivates (the "switch-off point"). The difference between these points is the hysteresis, which prevents rapid switching when a target is on the edge of the detection zone. The operating point should be within the specified range. Repeat this test several times to ensure consistent repeatability.
For photoelectric sensors, additionally check the lens alignment and cleanliness. A misaligned beam or dirty lens can cause intermittent detection. For ultrasonic sensors, ensure the sensing face is clear and the environment is free from excessive noise or air turbulence that could scatter the sound waves. Capacitive sensors can be sensitive to environmental changes like humidity; their sensitivity may need adjustment if they are falsely triggered.
If a sensor fails these tests, troubleshooting steps include verifying the load (e.g., the PLC input or relay) is operational and within the sensor's current rating, checking for electrical noise or interference from nearby motors or cables, and ensuring the target object's material, size, and approach angle are suitable for the sensor type. Remember, inductive sensors will not detect plastic, and a capacitive sensor might detect a hand behind a thin wall.
Regular testing and maintenance prevent unexpected downtime. Implementing a periodic check schedule that includes visual inspection, electrical verification, and range testing can identify degrading sensors before they cause a production halt. By methodically applying these testing procedures, technicians can ensure proximity sensors deliver reliable, accurate, and long-lasting service, forming a robust foundation for any automated system.