Understanding Proximity Switch Sensors
Proximity switch sensors are fundamental components in modern industrial automation, serving as non-contact detection devices. These sensors operate by generating an electromagnetic field or a beam of electromagnetic radiation, such as infrared light, and then monitoring for changes in that field or the return signal. When a target object enters the sensor's detection range, it disrupts the field or reflects the signal back, causing the sensor's output state to change. This change, typically a switch from open to closed (or vice versa), is then used to trigger an action in a control system, such as counting items on a conveyor, signaling the position of a machine part, or initiating a safety shutdown. Unlike mechanical limit switches, proximity sensors have no moving parts to wear out, offering higher reliability, faster response times, and longer service life in harsh industrial environments filled with dust, oil, and vibration.
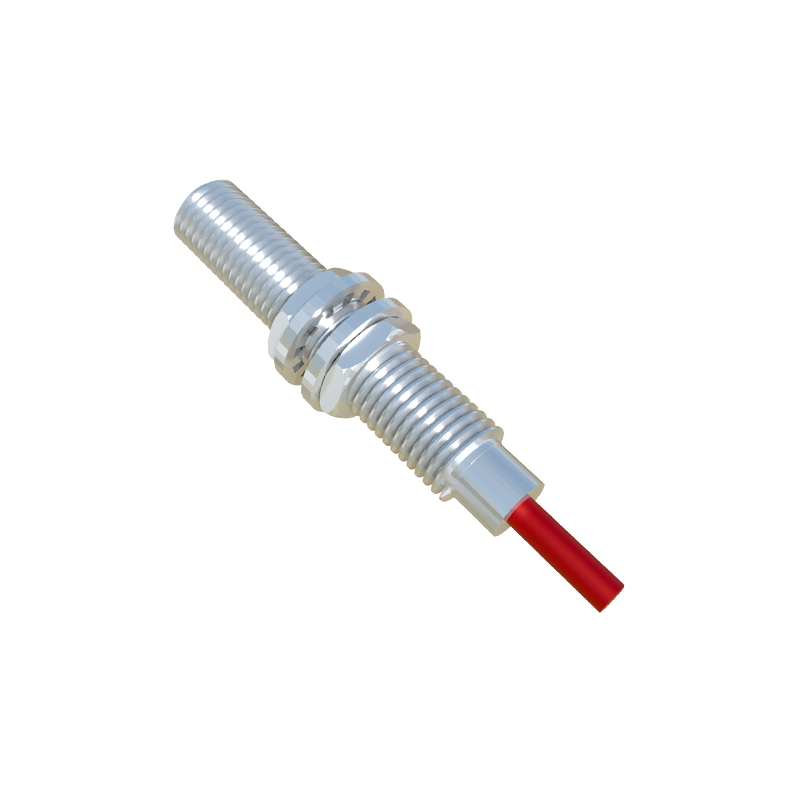
The Critical Role of Adjustment
The performance and reliability of a proximity sensor are not inherent; they are directly dependent on precise adjustment and correct installation. A poorly adjusted sensor can lead to a cascade of operational failures, including false triggering, missed detections, and reduced system efficiency. Adjustment primarily involves setting the correct sensing distance and fine-tuning the sensor's sensitivity to suit the specific application and target material. The nominal sensing range specified by manufacturers is typically defined for a standard mild steel target. However, factors such as the target's material composition, size, shape, and approach speed can significantly affect the actual usable sensing distance. Therefore, adjustment is not a one-time setup but a critical calibration step to ensure the sensor interacts predictably and accurately with its intended target in its specific operating context.
Key Adjustment Parameters and Their Impact
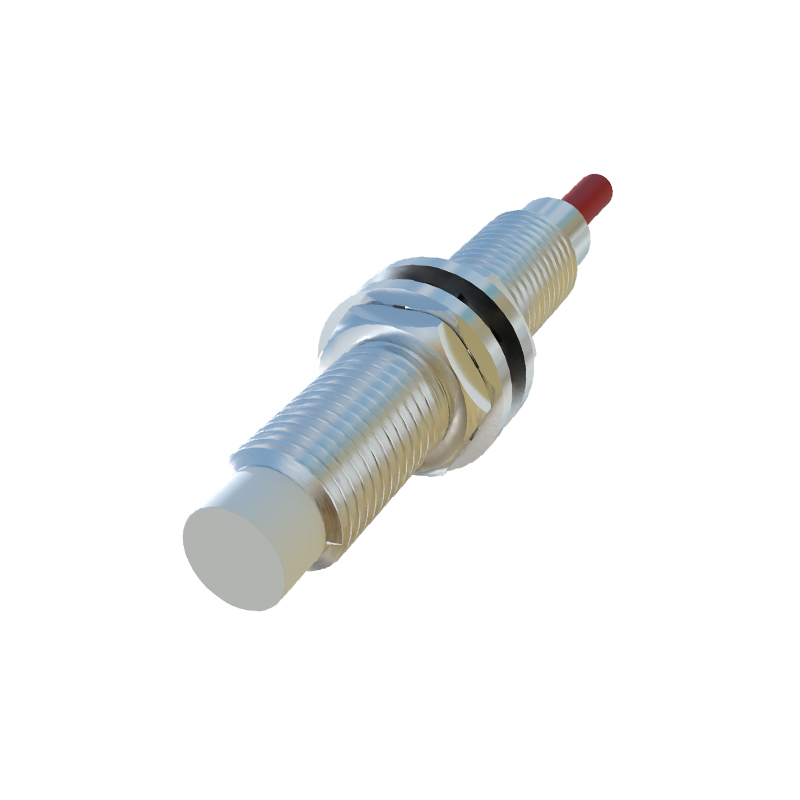
Several key parameters require attention during the adjustment process. The most crucial is the sensing distance adjustment. Many sensors feature a potentiometer or teach-in function to set the optimal operating point, ensuring a reliable detection margin without being overly sensitive to environmental noise. Sensitivity adjustment is closely related, allowing engineers to compensate for different target materials. For instance, non-ferrous metals like aluminum or copper have a reduced effective sensing range compared to steel and may require increased sensitivity. Response time adjustment is vital in high-speed applications to ensure the sensor can keep pace with rapidly moving targets without introducing signal lag. Finally, hysteresis adjustment—the difference between the switch-on and switch-off points—can be tuned to prevent output oscillation when a target is positioned at the very edge of the detection zone, ensuring a clean, single switching action.
Optimizing for Specific Applications
The adjustment strategy must align with the sensor's application. In precision positioning tasks, such as in robotic arm end-effector alignment, the sensor must be finely tuned for minimal repeatability error, often requiring the smallest possible hysteresis and a very stable sensing field. For counting or object detection on fast-moving conveyors, the response time and sensing window are adjusted to avoid double-counting or missed items. In harsh environments with heavy metallic dust or spatter, such as welding cells, sensitivity might be deliberately reduced to prevent false triggers from debris, while the physical mounting position is adjusted to avoid direct exposure. Liquid level detection using capacitive proximity sensors requires adjustment to the dielectric constant of the liquid and the thickness of the container wall. Each scenario demands a tailored approach to adjustment to achieve robust and fail-safe operation.
Installation and Environmental Considerations
Proper adjustment is inextricably linked to correct installation. The sensor must be mounted securely to prevent vibration from altering its alignment or sensing distance. Adjusting the sensor often involves considering the surrounding environment. The presence of other sensors, large metal structures, or powerful motors can create electromagnetic interference that affects performance. In such cases, adjustment may involve reducing sensitivity or increasing the separation distance from interfering sources. Temperature extremes can also affect the sensor's electronics and sensing characteristics; therefore, adjustments made at room temperature should be verified under actual operating conditions. Furthermore, for cylindrical sensors, the flush-mounted or non-flush-mounted style dictates the lateral and frontal sensing field shape, influencing how the adjustment is performed relative to the target's approach path.
Best Practices for Adjustment and Maintenance
A systematic approach ensures optimal adjustment. First, always refer to the manufacturer's datasheet for specific adjustment procedures and technical specifications. Use the correct target material, size, and shape during calibration. After initial adjustment, perform thorough testing by running the target through the entire range of expected operating conditions, including worst-case scenarios. Implement regular maintenance schedules to check and readjust sensors, as environmental factors like temperature drift, accumulation of dirt on the sensing face, or mechanical loosening can degrade performance over time. Documenting adjustment settings for critical sensors aids in quick troubleshooting and re-calibration. Ultimately, the