In industrial automation, manufacturing, and various electronic systems, proximity sensors play a crucial role in detecting the presence or absence of objects without physical contact. However, a common and frustrating scenario faced by maintenance technicians, engineers, and hobbyists is encountering an "unknown proximity sensor model." The sensor is installed, possibly unmarked, damaged, or from an obsolete product line, leaving you with no clear part number or manufacturer to guide replacement or troubleshooting. This situation can halt production and cause significant downtime. This guide provides a systematic, practical approach to identifying, characterizing, and finding a suitable replacement for an unmarked proximity sensor.
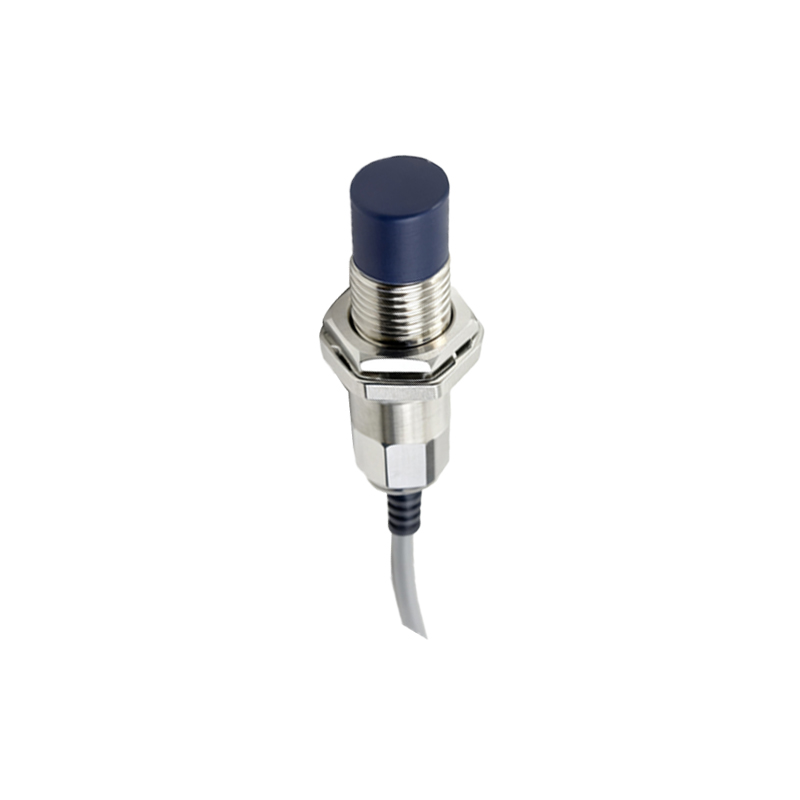
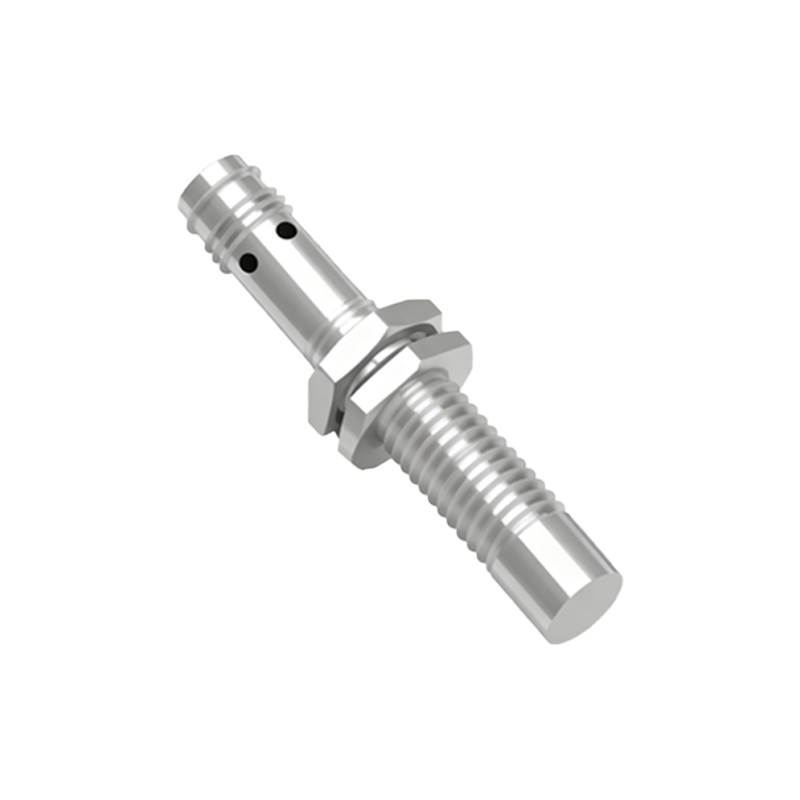
The first and most critical step is a thorough physical inspection. Do not remove the sensor immediately. Carefully examine its housing. Look for any engraved markings, laser-etched codes, or faint labels. These might be on the side, the back, or even underneath a layer of grime. Use a bright light and a magnifying glass. Common markings include brand logos (e.g., Omron, Sick, Pepperl+Fuchs, Balluff), abbreviated part numbers, voltage ratings (e.g., 10-30VDC), and output type symbols (PNP/NPN). Note the sensor's physical characteristics: shape (cylindrical, rectangular, block-style), dimensions (diameter and length for barrels, height/width/depth for rectangular), housing material (metal, plastic), and color. Also, identify the connection type: does it have a built-in cable, a quick-disconnect (M8, M12 connector), or terminal blocks?
Next, analyze the installation context. What is it sensing? Is it detecting metal (ferrous or non-ferrous), plastic, or liquid? This hints at the sensing technology. Inductive sensors detect metals only and typically have a metal face. Capacitive sensors can detect both metals and non-metals and often have a plastic or ceramic face. Photoelectric sensors have a lens. Ultrasonic sensors have a transducer face. Determine the sensing distance. Use a caliper to measure the gap between the sensor's face and the target object when it triggers. This "nominal sensing distance" (Sn) is a key specification.
Electrical characterization is the definitive step. Warning: Ensure the system is powered down and locked out/tagged out (LOTO) before disconnecting wires. Safely remove the sensor. Identify the wiring. Most standard 3-wire DC sensors have Brown (V+), Blue (V- / 0V), and Black (Output) wires. Some have White or other colors for complementary outputs or diagnostics. Using a multimeter and a benchtop DC power supply (set to a common voltage like 12V or 24V DC) is the safest way to test. Connect the Brown wire to V+, Blue to V-. Do not connect the Black wire yet. Power on the supply. Now, bring a target material (e.g., a piece of metal for a suspected inductive sensor) close to the sensing face. Use the multimeter to measure the voltage between the Black (output) wire and the Blue (0V) wire. Observe the logic:
If the output voltage jumps to near the supply voltage when the target is present, it is a PNP (sourcing) sensor.
If the output voltage is near the supply voltage when the target is absent and drops to near 0V when the target is present, it is an NPN (sinking) sensor.
This confirms the output type, which is non-negotiable for compatibility with your controller (PLC).
Note the output configuration: Is it Normally Open (NO) or Normally Closed (NC)? In a NO configuration, the output is OFF (low for PNP, high for NPN) with no target present, and turns ON when a target is detected. The opposite is true for NC. Your system's program logic will dictate which one you need. Test this with your target.
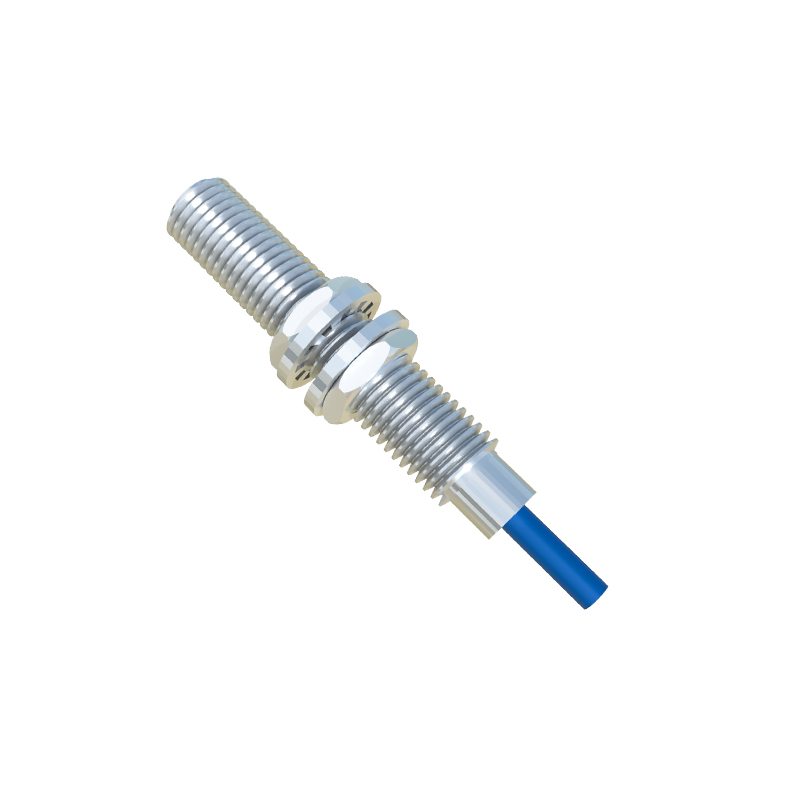
With this collected data—physical dimensions, likely technology (inductive/capacitive), voltage range, output type (PNP/NPN), output configuration (NO/NC), sensing distance, and connection style—you have a complete functional specification. Now, you can search for a replacement. Use industrial supplier websites (e.g., Digi-Key, Mouser, Allied Electronics, or direct manufacturer sites). Utilize their parametric search filters. Enter the known parameters: sensor type, diameter/length, voltage, output, and sensing distance. You will likely find several modern equivalents from multiple brands that match your "unknown" sensor's performance.
If physical marking analysis yields a partial code, search that code directly online. Often, forums or obscure PDF catalogs hold the key to deciphering old part numbers. Manufacturer technical support can also be invaluable if you provide clear photos and all measured specifications