In the realm of industrial automation and safety systems, proximity sensors like the X5 series are indispensable components. Specifically, the X5 proximity light sensor utilizes an infrared or laser light beam to detect the presence or absence of an object without physical contact. There are legitimate operational and maintenance scenarios where deactivating this sensor becomes necessary. This guide provides a professional, step-by-step methodology for safely and correctly turning off the X5 proximity light sensor, ensuring both personnel safety and equipment integrity.
Before initiating any shutdown procedure, paramount importance must be placed on safety. Always adhere to the lockout-tagout (LOTO) protocols established for your facility. This involves de-energizing the main control circuit powering the sensor and associated machinery. Verify the power is off using a properly rated multimeter. Consult the official X5 series datasheet and installation manual from the manufacturer for model-specific details, as wiring and control logic can vary between versions (e.g., NPN vs. PNP output, normally open vs. normally closed configurations).
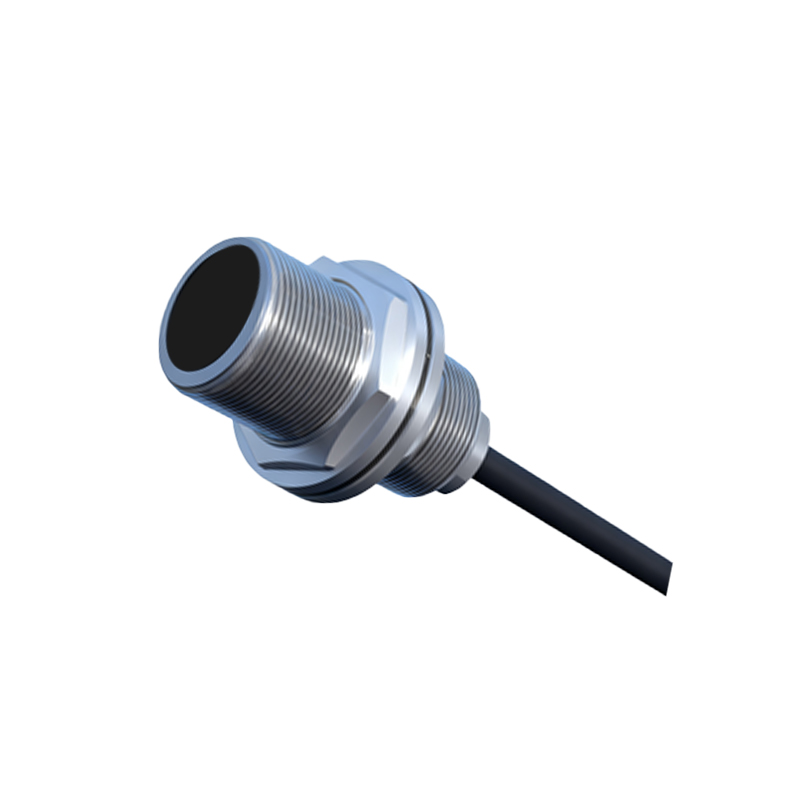
The primary method for deactivation is through the control system. The X5 sensor is typically integrated into a Programmable Logic Controller (PLC) or a relay-based control panel. To disable its function:
1. Access the PLC programming software or control schematic.
2. Locate the input register or ladder logic rung associated with the X5 sensor's signal (e.g., I0.5).
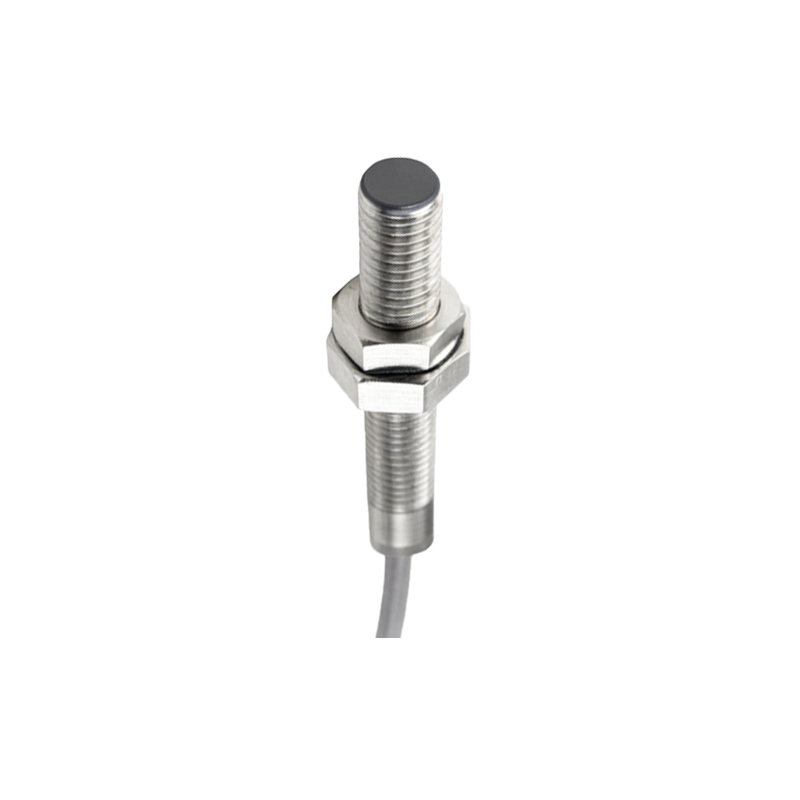
3. To turn off its influence on the machine cycle, you can either force the input to an "OFF" or "FALSE" state within the PLC program (a temporary measure for testing) or, more permanently, modify the control logic to bypass the condition triggered by this sensor. This often involves programming an alternative logic path or setting a maintenance mode flag within the HMI (Human-Machine Interface).
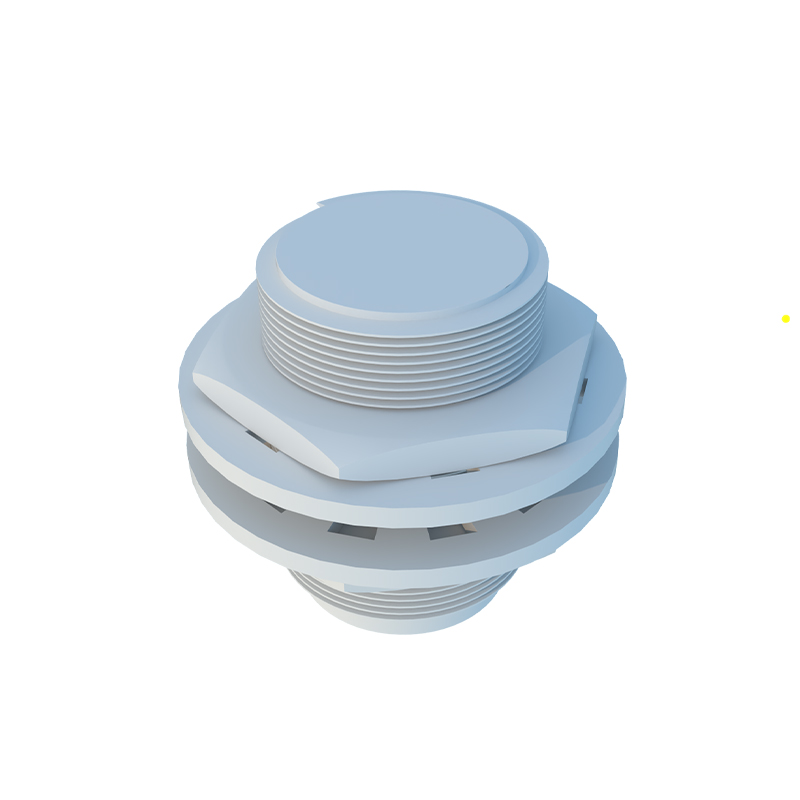
4. For hardwired systems, trace the sensor's output wires to the control relay. Installing a maintained toggle switch in series with the sensor's output signal line allows for manual disengagement without physical disconnection.
A secondary, hardware-based approach involves interrupting the sensor's power supply. The X5 sensor usually has three or four wires: typically brown (V+), blue (V-), black (output), and sometimes white (complementary output).
1. After confirming system lockout-tagout, locate the sensor's connection point, often at a junction box or terminal strip.
2. Identify the voltage supply wires (e.g., 10-30V DC). Carefully disconnect the positive (brown) wire from its terminal. Insulate the exposed end with a wire nut or electrical tape.
3. This method completely powers down the sensor, rendering it inactive. Ensure this action does not create an unsafe "open circuit" fault condition in the control system, which may need to be accounted for in the PLC logic to prevent system alarms or halts.
For temporary operational overrides, some X5 sensor models feature a built-in configuration mode accessible via a teach button or DIP switches. While primarily used for setting sensing ranges, these can sometimes be used to disable the output. Refer to the specific manual; a sequence of button presses might hold the output in a constant low or high state, effectively "turning it off" until the sequence is reversed. This is less common and not recommended as a standard procedure.
After performing any disabling action, it is critical to conduct a verification test. Attempt to restart the system in a controlled, step-by-step manner under close supervision. Use a test object to check that the sensor's output does not change state when the object enters its detection field. Monitor the PLC input status or use a multimeter on the output wire to confirm no signal is generated. Clearly document the action taken, the time, date, and the reason for deactivation on the equipment log and maintenance tag.
Re-enabling the sensor is the reverse process. Restore power connections or revert PLC logic changes. Perform a full functional test to confirm the sensor is detecting objects correctly and the integrated system operates as designed. Remember, the X5 proximity sensor is a critical safety and operational device in many applications. It should only be disabled by qualified personnel following approved procedures, and normal operation should be restored as soon as the maintenance or testing task is complete.