As an experienced electrical engineer in the automotive industry, I often encounter issues with tailgate proximity sensors, which are critical components for modern vehicle safety and convenience systems. These sensors detect obstacles near the tailgate to prevent collisions during opening or closing, and over time, they may require removal due to malfunction, damage, or maintenance needs. Removing a tailgate proximity sensor involves a systematic approach to ensure safety and avoid damage to the vehicle's electrical system. Below, I outline a detailed, step-by-step guide based on industry best practices.
First, ensure the vehicle is parked on a level surface and the ignition is turned off to prevent any electrical hazards. Disconnect the negative terminal of the battery to eliminate the risk of short circuits or accidental activation of the tailgate mechanism. This step is crucial for personal safety and to protect the vehicle's electronic control units (ECUs). Next, open the tailgate fully to access the sensor area. The proximity sensor is typically located near the tailgate's edge or within the bumper assembly, depending on the vehicle model. Refer to the manufacturer's service manual for the exact location, as designs vary between brands like Ford, Toyota, or BMW.
Once you've identified the sensor, inspect the surrounding area for any clips, screws, or panels that may need removal. Use appropriate tools, such as a trim removal kit, screwdrivers, or a socket set, to carefully detach these components. Avoid using excessive force to prevent cracking plastic parts or damaging adjacent wiring. In many cases, the sensor is housed behind a small cover or integrated into the tailgate's inner lining. Gently pry off any covers using a plastic pry tool to avoid scratches on the vehicle's paint.
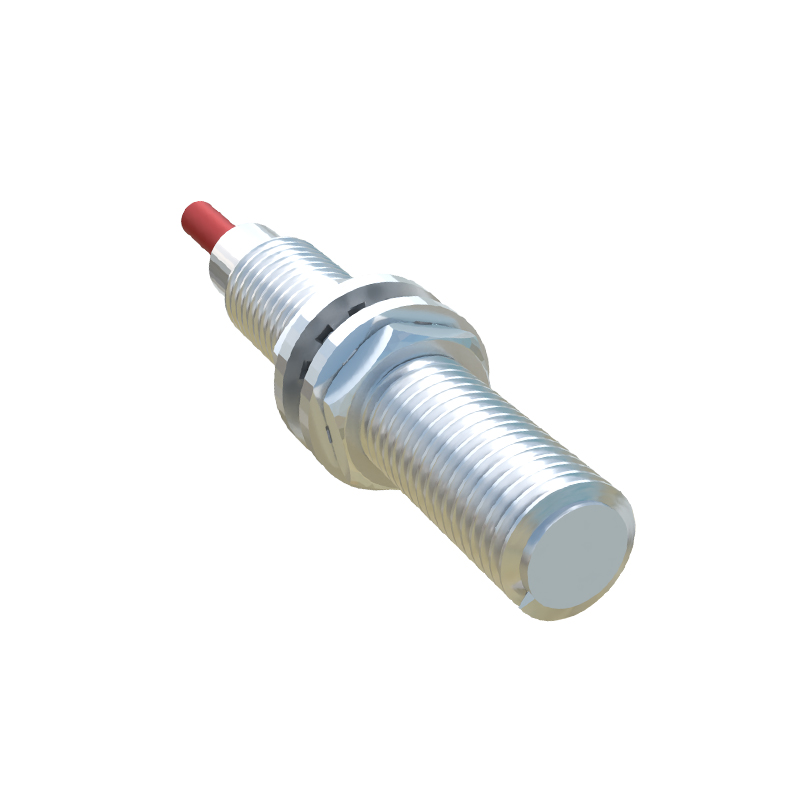
After gaining access to the sensor, locate its electrical connector. This connector links the sensor to the vehicle's wiring harness and is usually secured with a locking tab. Press the tab firmly and pull the connector straight out to disconnect it. Do not tug on the wires, as this can cause internal breaks or damage to the connector pins. With the connector detached, you can now focus on removing the sensor itself. Most proximity sensors are held in place by mounting brackets, adhesive, or screws. If screws are present, use the correct screwdriver bit to unscrew them and set them aside in a safe container. For adhesive-mounted sensors, apply gentle heat with a hairdryer or heat gun on a low setting to soften the adhesive, then carefully twist and pull the sensor free.
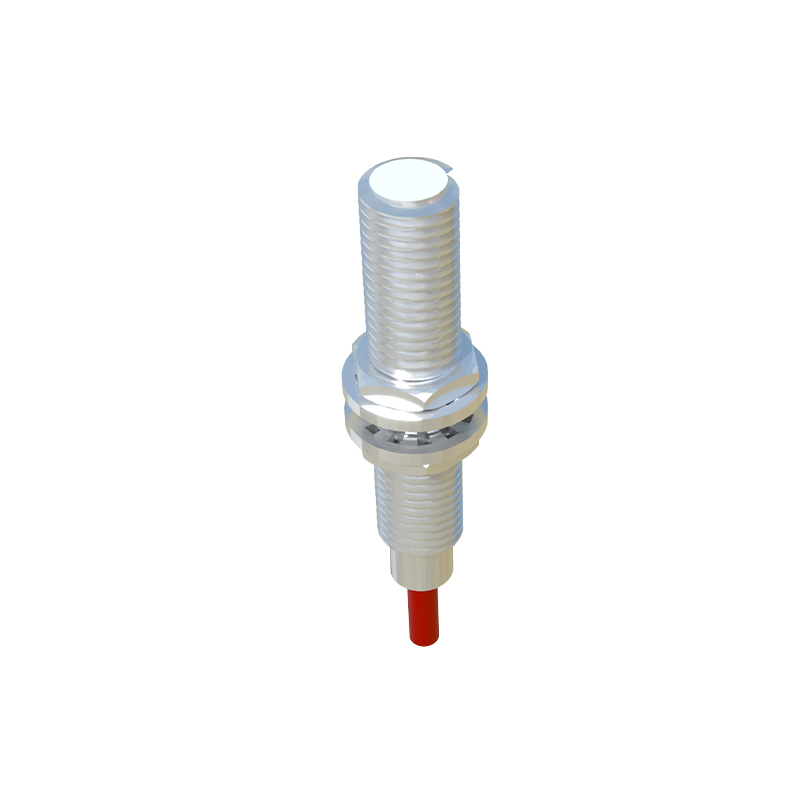
During removal, take note of the sensor's orientation and position, as this will aid in reinstalling a new unit correctly. If the sensor is part of a larger assembly, such as a handle or emblem, you may need to disassemble further components—follow the service manual instructions closely to avoid errors. Once the sensor is removed, inspect the mounting area for debris, corrosion, or damage that could affect the installation of a replacement. Clean the area with a mild solvent if necessary, and ensure it's dry before proceeding.
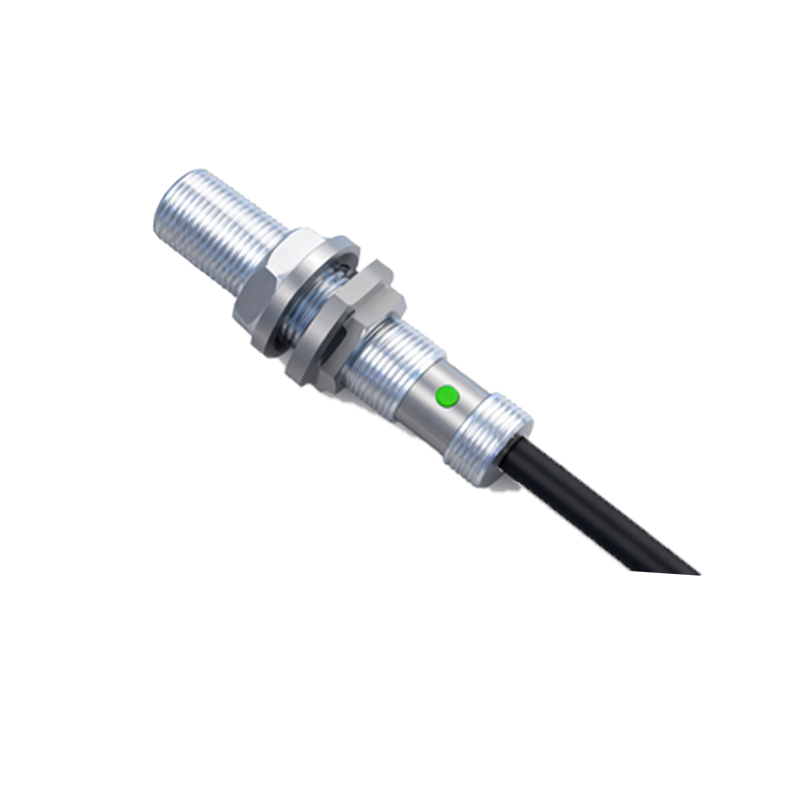
To conclude the removal process, store the old sensor safely if it needs to be tested or replaced. Reconnect the battery only after any new sensor is installed or if you're concluding the repair. Always test the tailgate system after reassembly to verify proper functionality. This procedure, while straightforward, requires attention to detail to maintain the integrity of the vehicle's electrical systems. By following these steps, you can efficiently remove a tailgate proximity sensor, whether for troubleshooting, replacement, or upgrade purposes in a professional automotive context.