Photoelectric proximity switch sensors are critical components in industrial automation, offering non-contact detection for various applications. Over time, these sensors may experience performance degradation due to environmental factors, mechanical wear, or internal component failure. This guide provides a detailed, step-by-step approach to disassembling and repairing common photoelectric sensors, ensuring safe and effective restoration of functionality.
Before beginning any repair work, always prioritize safety. Disconnect the sensor from all power sources and associated equipment to prevent electrical shock or damage. Wear appropriate personal protective equipment, such as safety glasses and anti-static gloves, to protect against debris and electrostatic discharge. Gather necessary tools, including precision screwdrivers, multimeter, soldering iron, lens cleaning solution, and replacement parts like LEDs or phototransistors if available.
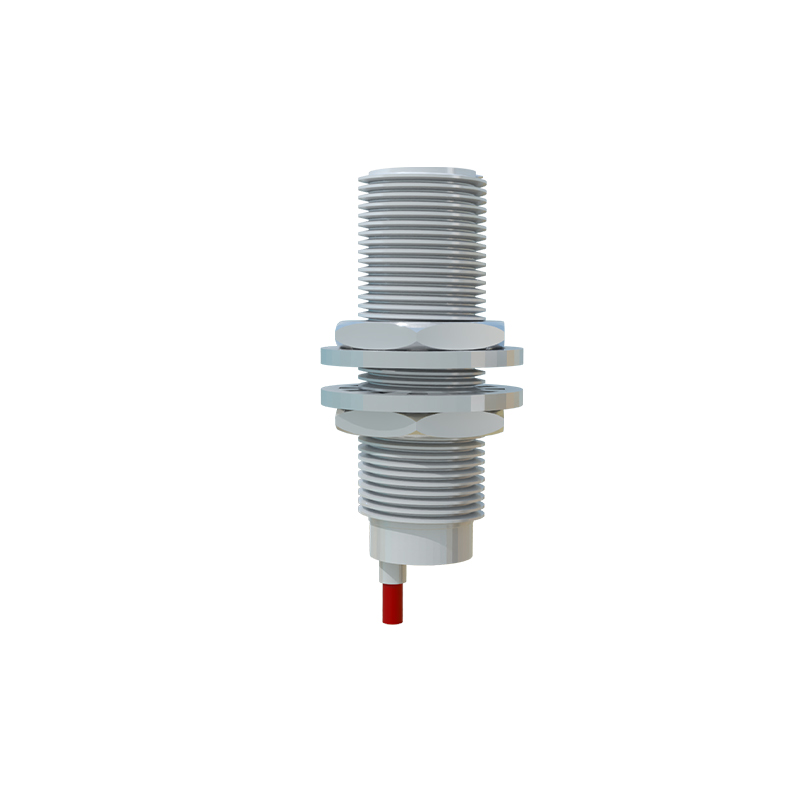
Start by inspecting the sensor housing for visible damage, cracks, or signs of contamination. Most photoelectric sensors feature a rugged, sealed design to withstand harsh industrial environments. Carefully remove any mounting brackets or fasteners. Using the correct screwdriver, unscrew the housing screws. Note that some models may have tamper-proof screws or seals; if present, use specialized tools to avoid damaging the housing. Gently separate the housing halves, taking care not to strain internal wiring or components.
Inside, you will typically find the optical assembly, consisting of an emitter (usually an infrared LED) and a receiver (such as a phototransistor or photodiode), along with a signal processing circuit board. Dust, oil, or moisture accumulation on the lens is a common issue. Clean the optical surfaces with a soft, lint-free cloth and approved optical cleaning solution. Avoid using abrasive materials or harsh chemicals that could scratch or degrade the lens.
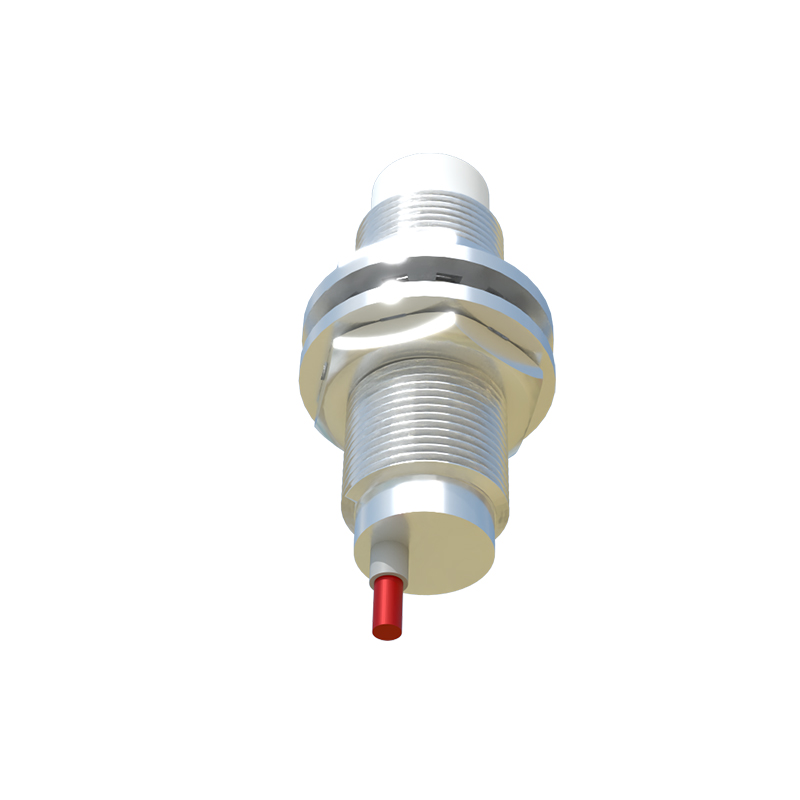
Next, examine the circuit board for obvious defects like burnt components, cracked solder joints, or corroded traces. Use a multimeter to test the continuity of connections and measure voltage levels at key points, referring to the sensor’s datasheet if available. Check the emitter and receiver separately: for the emitter, apply a low voltage (e.g., 1.5V) and observe for light output using an infrared viewer or by testing receiver response; for the receiver, expose it to a known light source while monitoring output signal changes. If either component is faulty, desolder it carefully and replace it with an identical or manufacturer-approved part. Pay attention to polarity and orientation during installation.
Re-solder any weak joints using a fine-tip soldering iron and lead-free solder. Ensure that all connections are secure and free from bridges or cold joints. For sensors with adjustable sensitivity or timing potentiometers, avoid unnecessary adjustment unless calibration is required post-repair. If the sensor includes a microcontroller or specialized IC, avoid touching pins directly to prevent static damage.
After repairs, reassemble the housing carefully, ensuring that seals and gaskets are properly aligned to maintain the sensor’s IP rating. Tighten screws evenly to avoid distortion. Before reinstalling, perform a functional test in a controlled environment. Reconnect the sensor to power and a test setup, using a target object to verify detection range and response consistency. Compare performance with original specifications; if deviations persist, recheck internal connections or consider professional calibration.
Regular maintenance can extend sensor life. Keep lenses clean, avoid exposure to extreme temperatures or corrosive substances, and periodically inspect wiring for wear. For complex issues like signal drift or intermittent operation, consult manufacturer documentation or seek expert assistance, as some failures may stem from integrated circuits or proprietary algorithms beyond typical repair scope.
By following these guidelines, technicians can effectively troubleshoot and repair photoelectric proximity switches, minimizing downtime and reducing replacement costs. Always adhere to industry standards and manufacturer recommendations to ensure safety and reliability in industrial applications.