Proximity sensors are indispensable components in modern industrial automation, providing non-contact detection of metallic and, in some cases, non-metallic objects. Their reliability is paramount for ensuring smooth production line operation, machine safety, and process control. However, there are critical scenarios where a proximity sensor must be physically removed or "debonded" from its installed position. This process, often overlooked in standard operational manuals, requires careful consideration to prevent damage to the sensor, the mounting fixture, and the surrounding machinery. Improper debonding can lead to sensor failure, costly downtime, and potential safety hazards. This article outlines professional methods and best practices for the safe and effective debonding of various types of industrial proximity sensors.
The primary reasons for debonding a proximity sensor include preventive maintenance, sensor replacement due to failure or upgrade, process reconfiguration, and calibration checks. Before initiating any debonding procedure, a thorough risk assessment and preparation are essential. First, ensure the associated machinery is in a safe state—locked out and tagged out (LOTO) to prevent accidental energization or movement. Verify that all power sources to the sensor and the controlled equipment are disconnected. Document the sensor's current wiring configuration with photographs or diagrams, noting the connection of each wire (e.g., brown/+, blue/-, black/switched output). This step is crucial for correct reinstallation or replacement.

The debonding method heavily depends on the sensor's housing style and mounting mechanism. The most common types are cylindrical threaded barrels and rectangular block-style sensors.
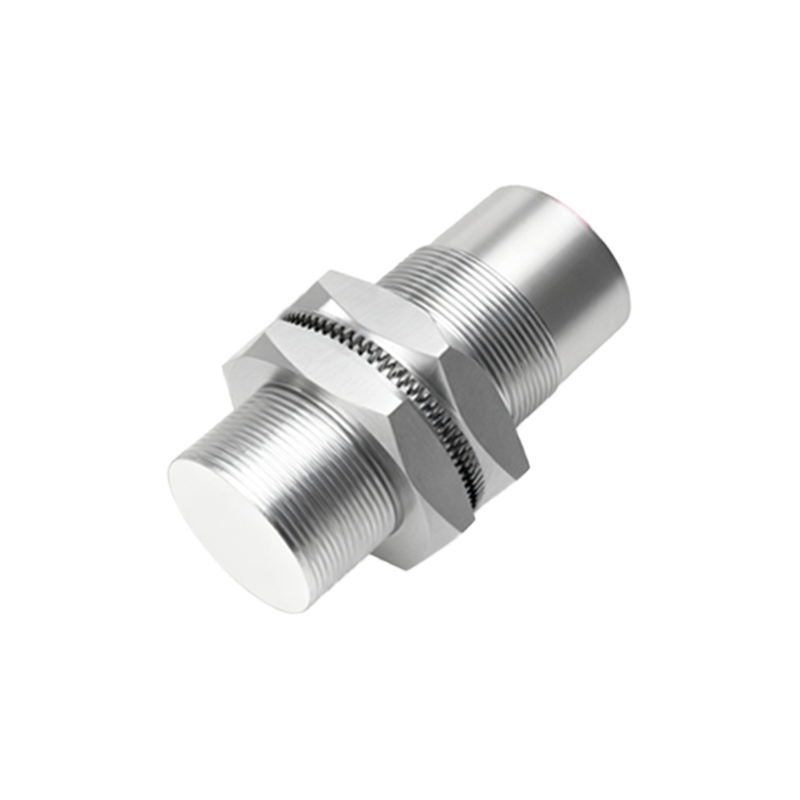
For threaded barrel sensors, the standard mounting involves screwing the sensor into a threaded hole in a metal bracket or machine frame. Debonding requires unscrewing it. To avoid damaging the threads or the sensor body, use the correct size wrench or socket on the sensor's hex flats. Never apply force to the sensing face or the plastic cable strain relief. If the sensor is seized due to corrosion, vibration, or overtightening, apply a penetrating oil specifically designed for metal threads and allow it to soak. Use steady, controlled force to break the bond. In extreme cases, carefully applying heat to the mounting bracket (not the sensor itself) with a heat gun can expand the metal and loosen the grip, but this must be done with extreme caution to avoid melting sensor components or damaging seals.
Block-style sensors are typically mounted using separate brackets, bolts, or specialized mounting channels. Debonding usually involves loosening and removing the mounting hardware. Pay close attention to any integrated mounting tabs or slots. Keep all bolts, nuts, and washers organized.
A critical challenge is debonding sensors installed with thread-locking adhesives or epoxy compounds. These are used to prevent loosening from severe vibration. Mechanical force alone is often insufficient and risky. The recommended approach is to first consult the adhesive manufacturer's data sheet for recommended solvent or thermal debonding temperatures. For many medium-strength thread lockers (e.g., Loctite 243), localized heat application (around 250°C / 480°F) to the external metal threads can break the adhesive's bond. Specialized debonding solvents are available but must be compatible with the sensor's housing material (e.g., nickel-plated brass, stainless steel, PBT plastic) and seals to prevent degradation. Always test a solvent on a small, inconspicuous area first.
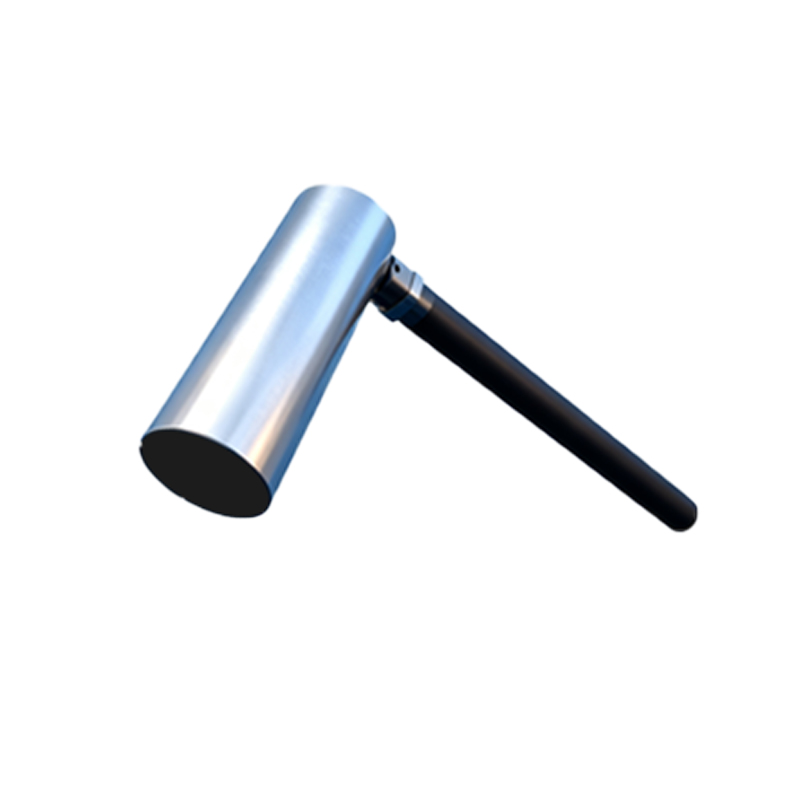
For sensors potted or bonded with epoxy, the process is more complex. Controlled mechanical methods, such as carefully drilling or milling, may be necessary, but this carries a high risk of damaging the mounting surface. Often, the most practical solution is to replace the entire mounting bracket assembly along with the sensor.
Post-Debonding Inspection and Handling: Once removed, immediately inspect the sensor's body for cracks, deformation, or damage to the sensing face and electrical connections. Inspect the mounting threads or surfaces for wear or contamination. Clean the sensor's mounting area and the host thread/bracket using appropriate cleaners and tools like thread chasers to remove debris, old adhesive, or corrosion. This prepares the site for a new sensor. Store the debonded sensor in an anti-static bag if it is to be reused, tested, or sent for analysis. Properly label it with its origin and status.
In summary, proximity sensor debonding is not merely a matter of unscrewing or unbolting. It is a systematic procedure that demands an understanding of the sensor's design, its bonding method, and the application of correct mechanical and sometimes chemical techniques. Adhering to these best practices—prioritizing safety, using the right tools, and handling components with care—ensures the integrity of the sensor and the mounting infrastructure, minimizing downtime and maintaining operational reliability in demanding industrial environments.
SEO