Proximity sensors are essential components in modern industrial automation, providing non-contact detection of metallic or non-metallic objects. Proper adjustment ensures reliable operation, reduces false triggers, and extends sensor lifespan. This guide outlines practical methods for adjusting inductive, capacitive, and ultrasonic proximity sensors in industrial settings.
First, understand the sensor type. Inductive sensors detect metallic objects using electromagnetic fields, while capacitive sensors respond to both metallic and non-metallic materials by measuring changes in capacitance. Ultrasonic sensors use sound waves for detection. Each type requires specific adjustment techniques.
For inductive proximity sensors, start by verifying the sensing distance. Refer to the datasheet for the nominal sensing range (Sn). Ensure the target object is within this range. Adjust the sensor position so the target approaches axially for optimal sensitivity. Avoid mounting the sensor near metal surfaces other than the target, as this can cause shielding effects. Use the potentiometer (if available) to fine-tune sensitivity. Turn it clockwise to increase sensitivity for smaller targets or counterclockwise to decrease it, preventing interference from nearby objects. Test with the actual target material, as different metals (e.g., steel, aluminum) affect sensing distances due to their material factors.
Capacitive proximity sensors often include a sensitivity adjustment screw. Begin by placing the sensor at the desired installation point. Adjust the screw to set the detection threshold. For liquid or granular material detection, ensure the sensor is calibrated to ignore container walls. Avoid environmental factors like humidity or dust, which can alter capacitance. Shield the sensor from direct contact with conductive materials unless intended. Regularly clean the sensing face to prevent false readings from debris buildup.
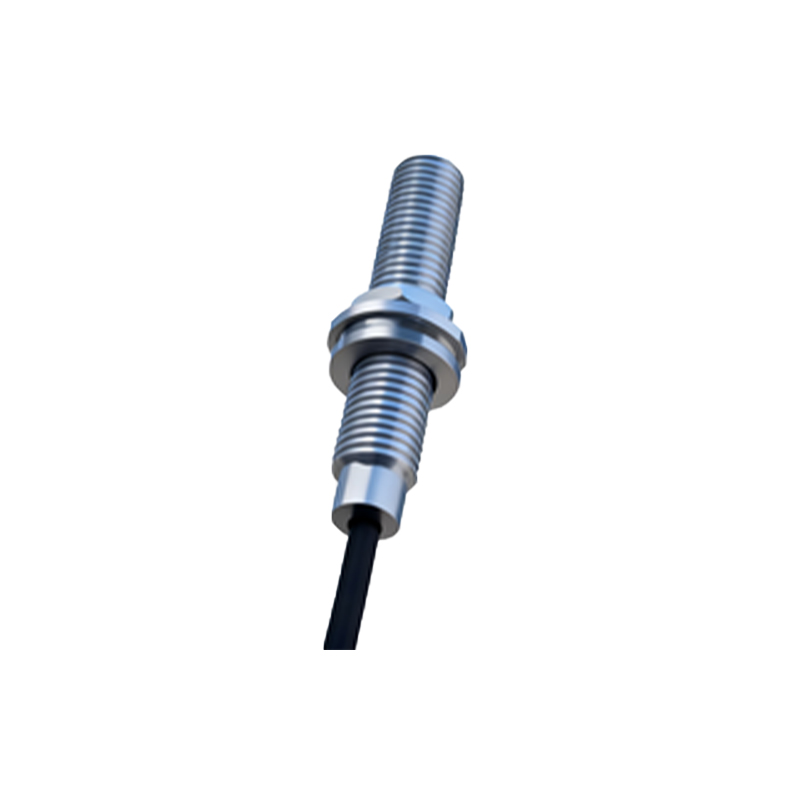
Ultrasonic sensors require alignment and range setting. Use the built-in teach-in function or external programming tool to define the switching points. Adjust the blind zone (minimum distance) and sensing window to avoid reflections from nearby surfaces. Ensure the target surface is perpendicular to the sensor’s sound waves for accurate detection. Temperature changes can affect ultrasonic speed, so compensate using temperature-stable models or recalibrate in varying conditions.
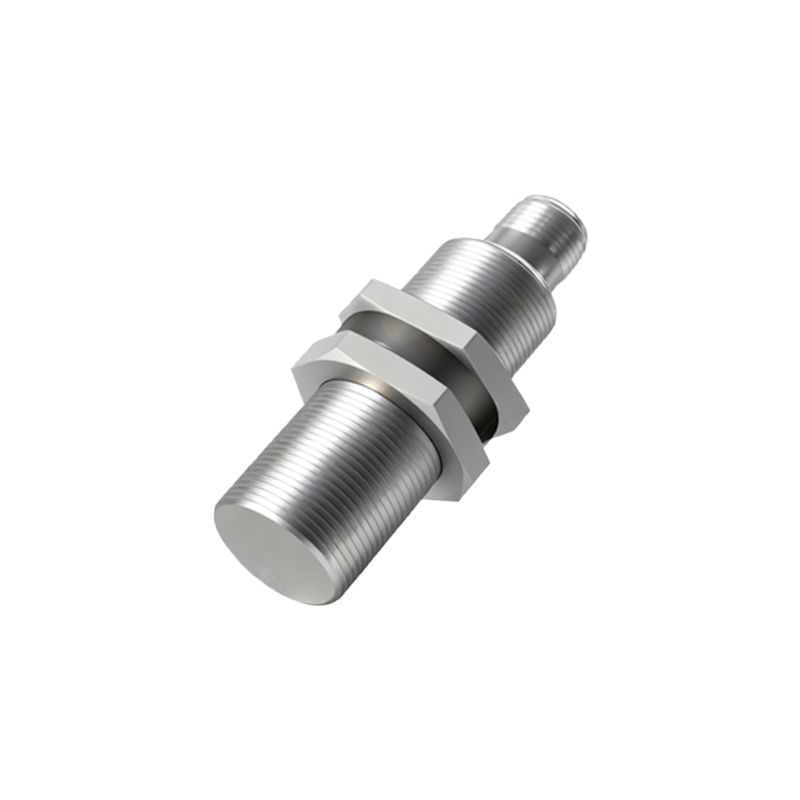
Environmental considerations are critical. Electrical noise from motors or frequency drives can interfere with sensor signals. Use shielded cables and separate sensor wiring from power lines. For high-vibration environments, secure mounting brackets and inspect regularly for loosening. In dusty or wet areas, select sensors with appropriate IP ratings (e.g., IP67 for dust and water resistance).
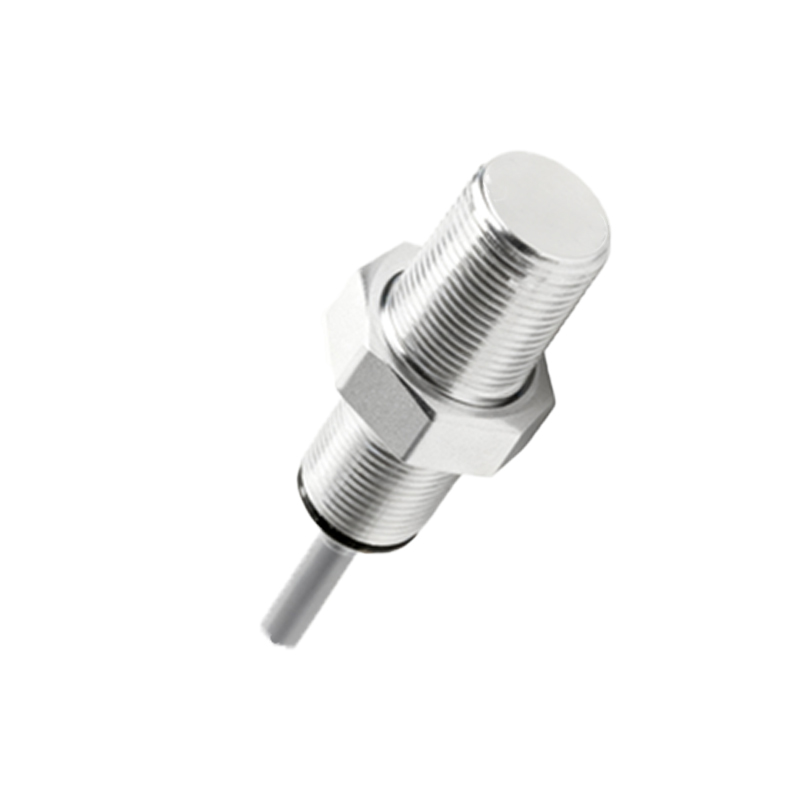
Maintenance tips include periodic calibration checks. Compare sensor response with a reference target under normal operating conditions. Document adjustment settings for consistency. Replace sensors showing drift or inconsistent behavior.
By following these methods, engineers can optimize proximity sensor performance, enhancing system efficiency and reducing downtime. Always consult manufacturer guidelines for model-specific instructions.